I know, it’s been a while. I’m still playing catchup on this blog writing stuff. Liam has taken up so much of what used to be “free time” I find less time to write anymore. Just getting further behind! Not to mention the last couple of months we were away to run Backwoods at Mulberry Mountain for the year – but I digress. Have patience with me, I will eventually report back on it all…
The Below Took Place in February and March, 2019
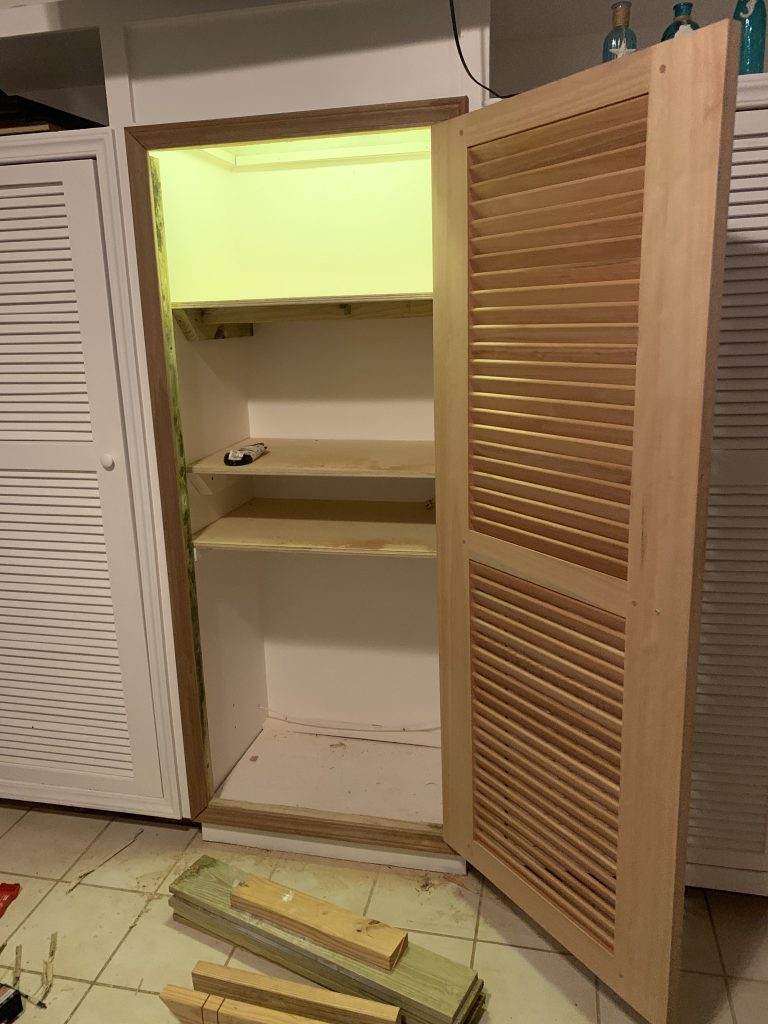
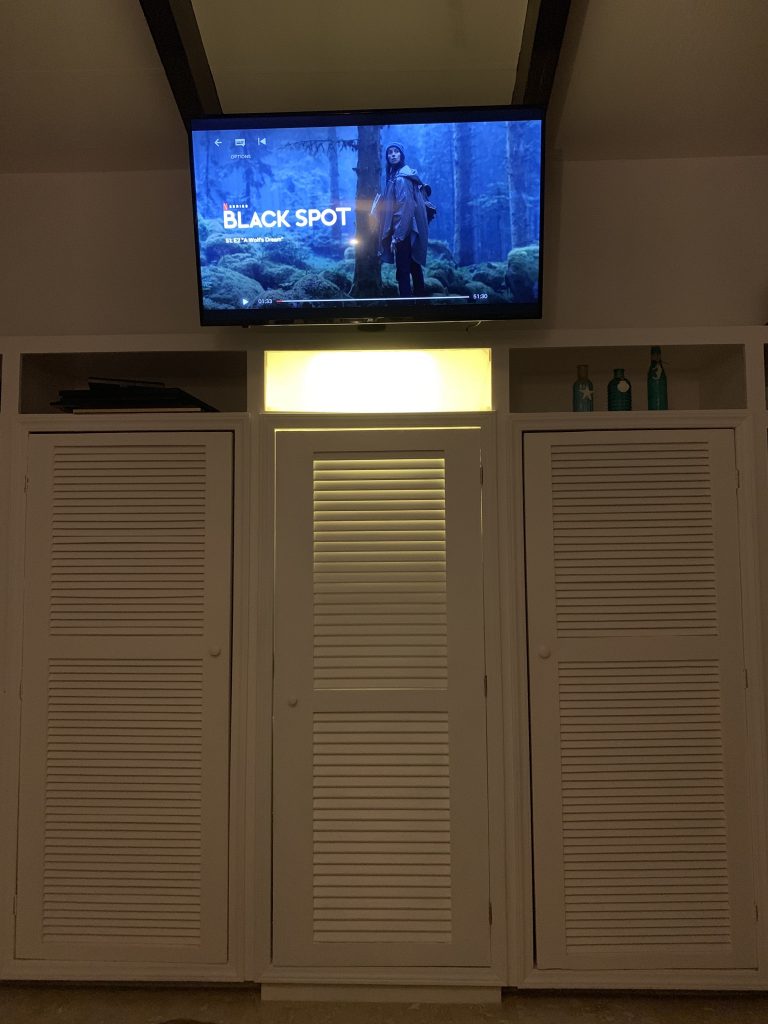
In our master bedroom there was a space between two closets, which looked like it was used for an old TV set placement. The issue was that it was only about 36 inches across, and well most TVs now-a-days are much larger than that. The awkward space seemed to collect junk, so I went ahead and built a third closet in our bedroom and tried to match the doors as best as possible. In the end, it turned out great, now hiding all of my scuba gear instead of having it out in the open.
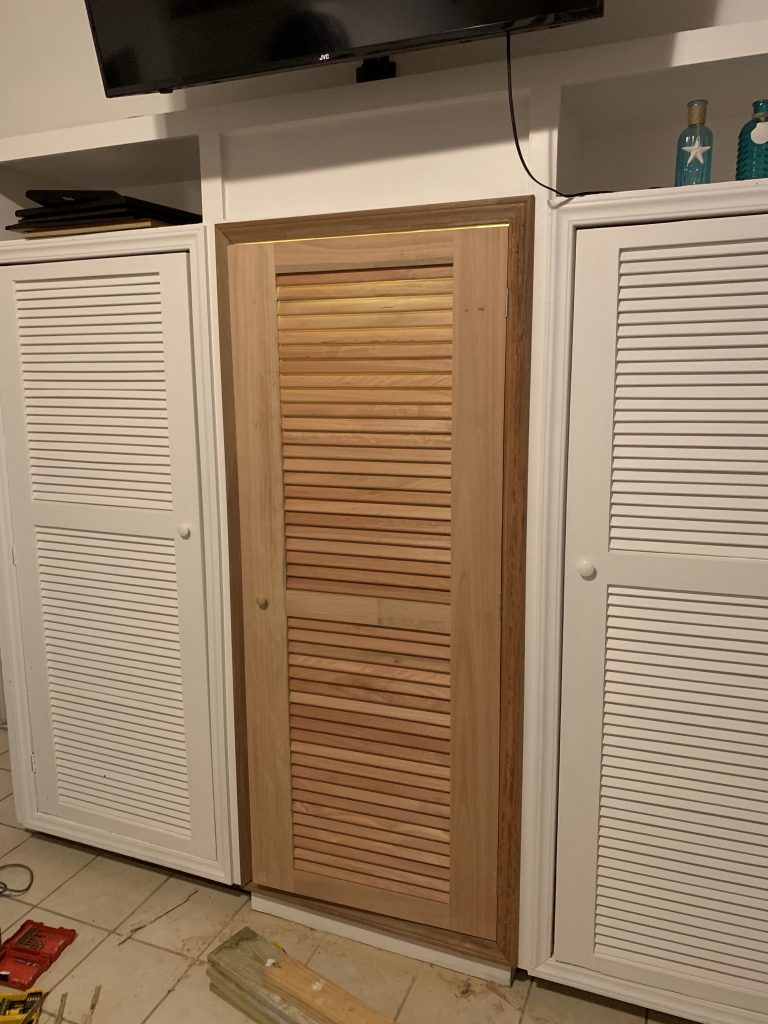
We mounted the TV above the closets more towards our ceiling as well, which is great when you’re laying in bed. No neck strain! I also cut out the top panel that was above this area to create an indirect light that served a dual purpose of lighting the closet so I can see my scuba gear, and lighting the room when you first walk into the bedroom. I used a piece of plexiglass on the front, and as the closet ceiling, and used a high grit sand paper (and sander) to give it a frosted look. It turned out great and provides a soft light!
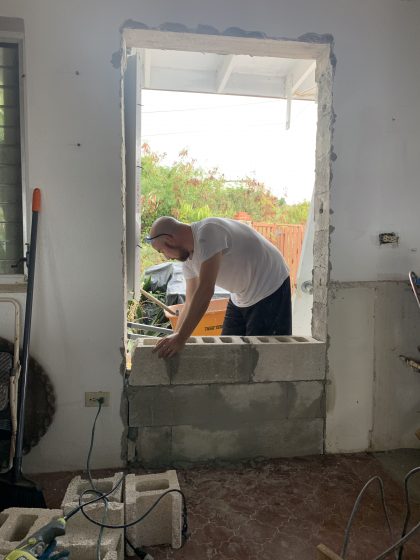
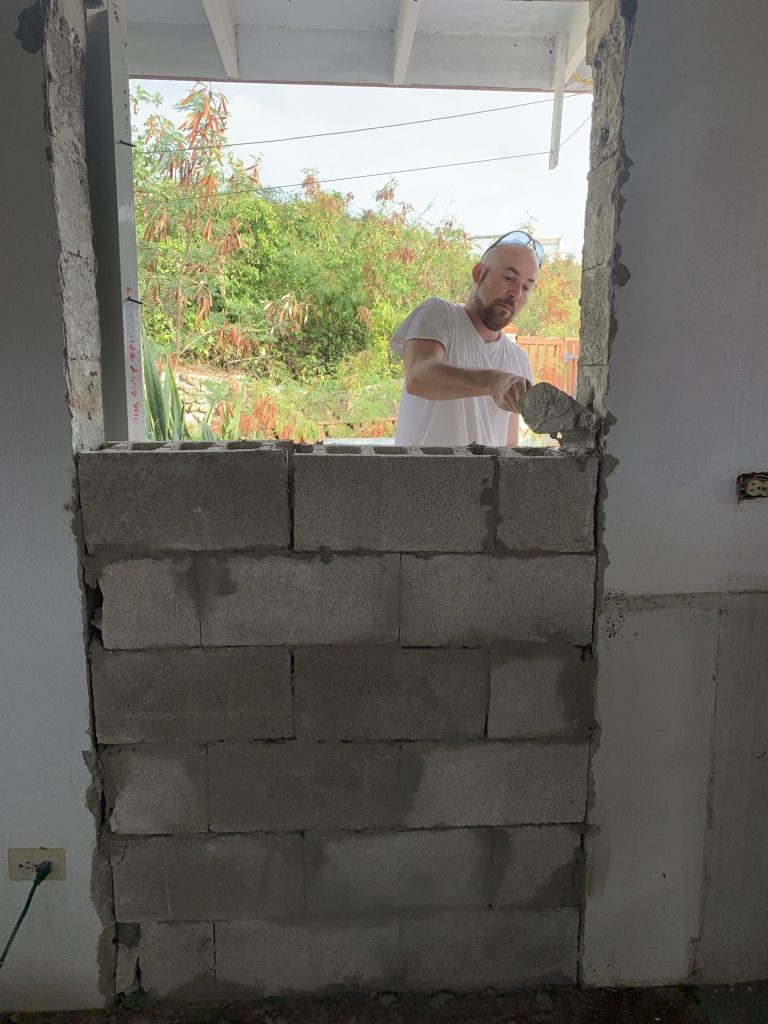
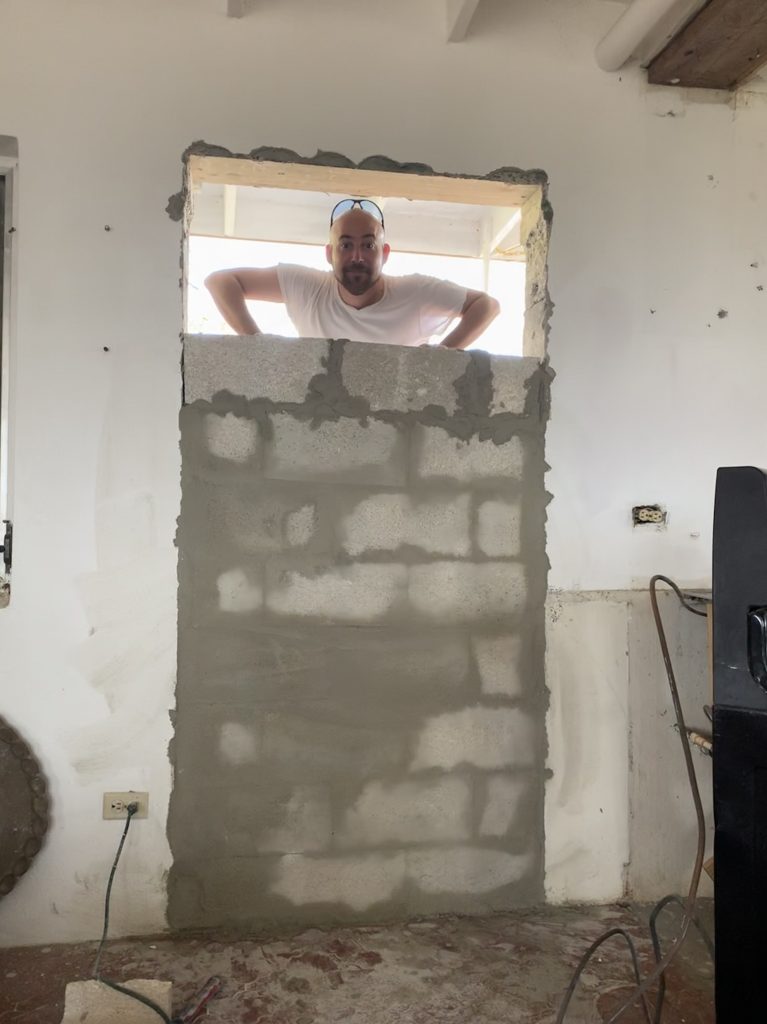
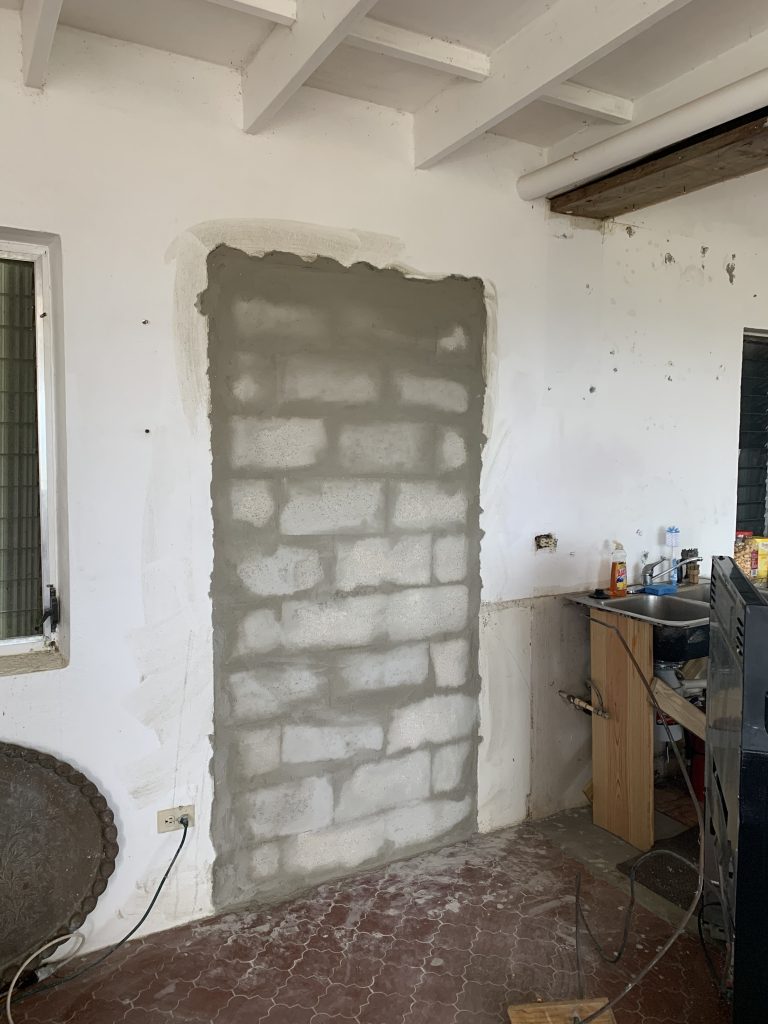
I’ve also gone ahead and blocked up an exterior door way that lead to our back patio which is no longer needed now that we’ve torn down kitchen walls and created an open floor plan. The doorway was redundant as we have another just 155″ away on the same wall. We’ll be using this space for kitchen cabinets now in the new kitchen layout.
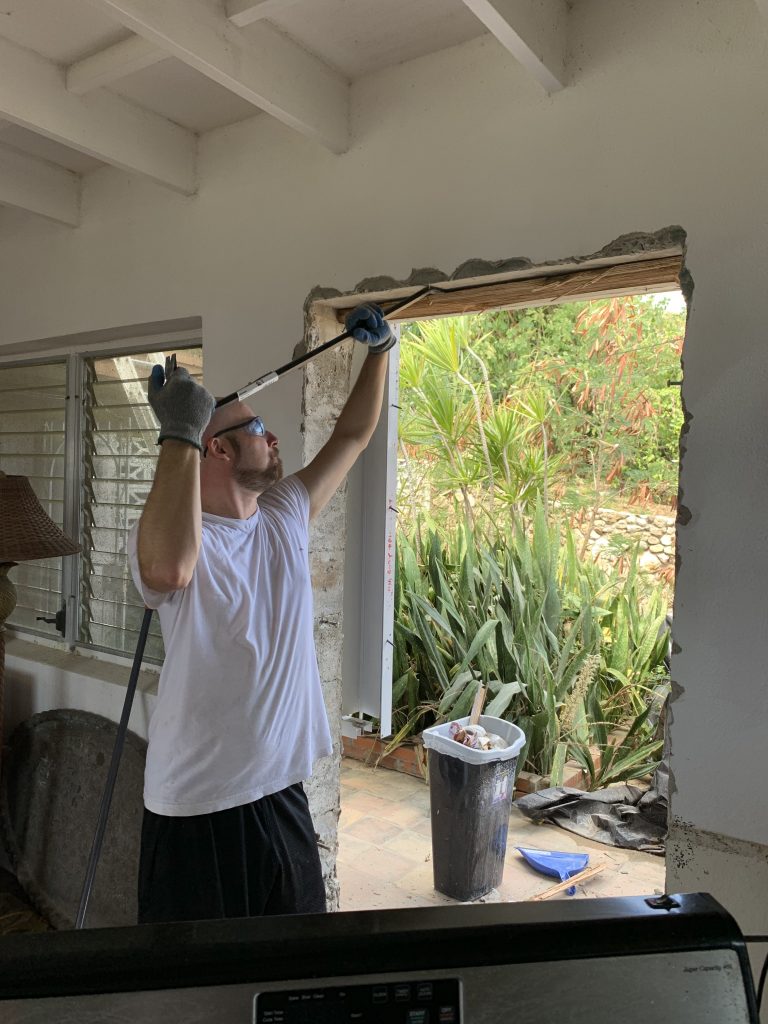
Demolition First, Before Blocking Up Doorway 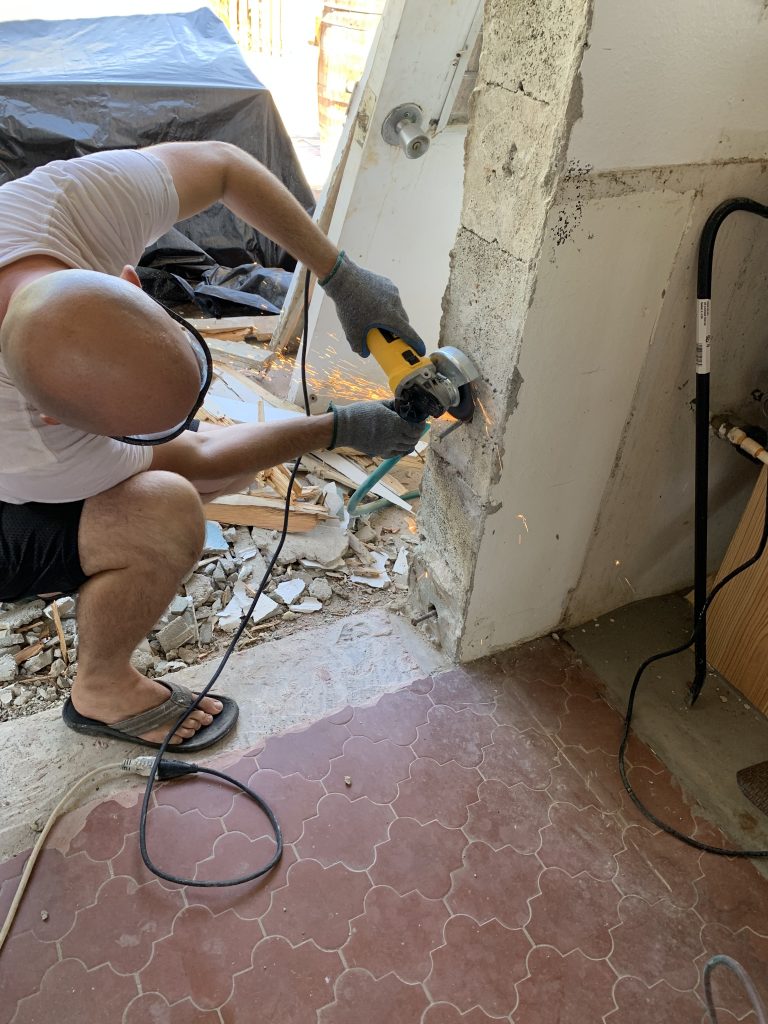
Grinding Off Bolts In The Rough Opening
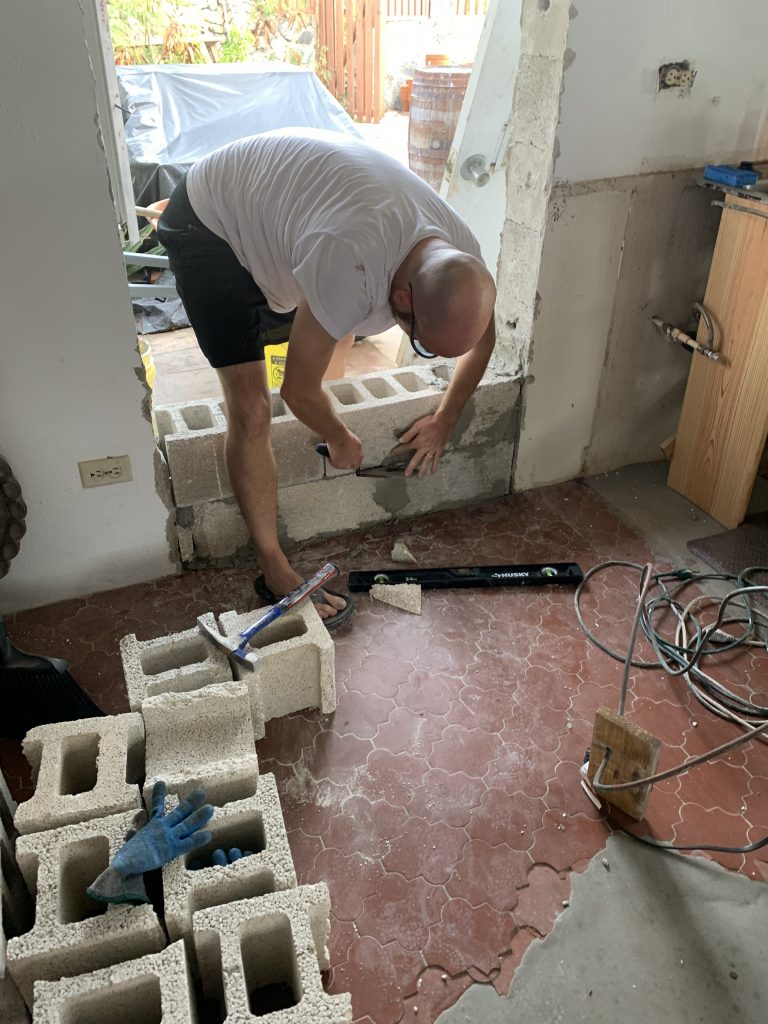
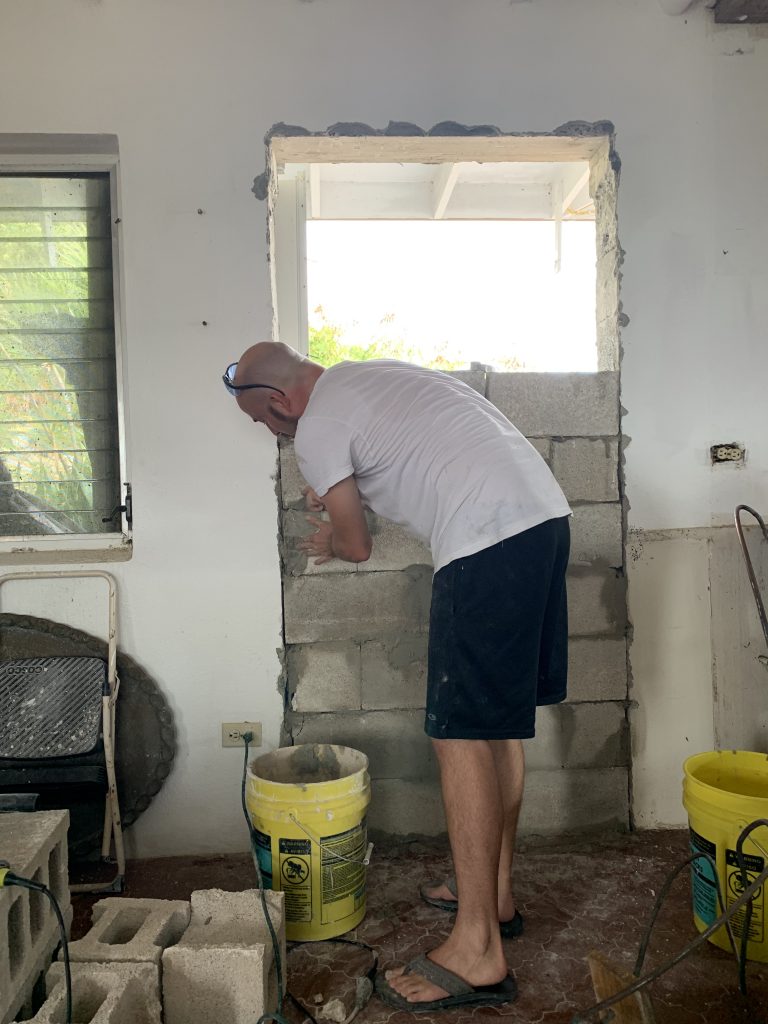
I’ve never bricked up a wall before, so this was not only a learning process but my first attempt on an important aspect of the house. I had to get it level so you wouldn’t notice it, which I think I did a great job at in the end.

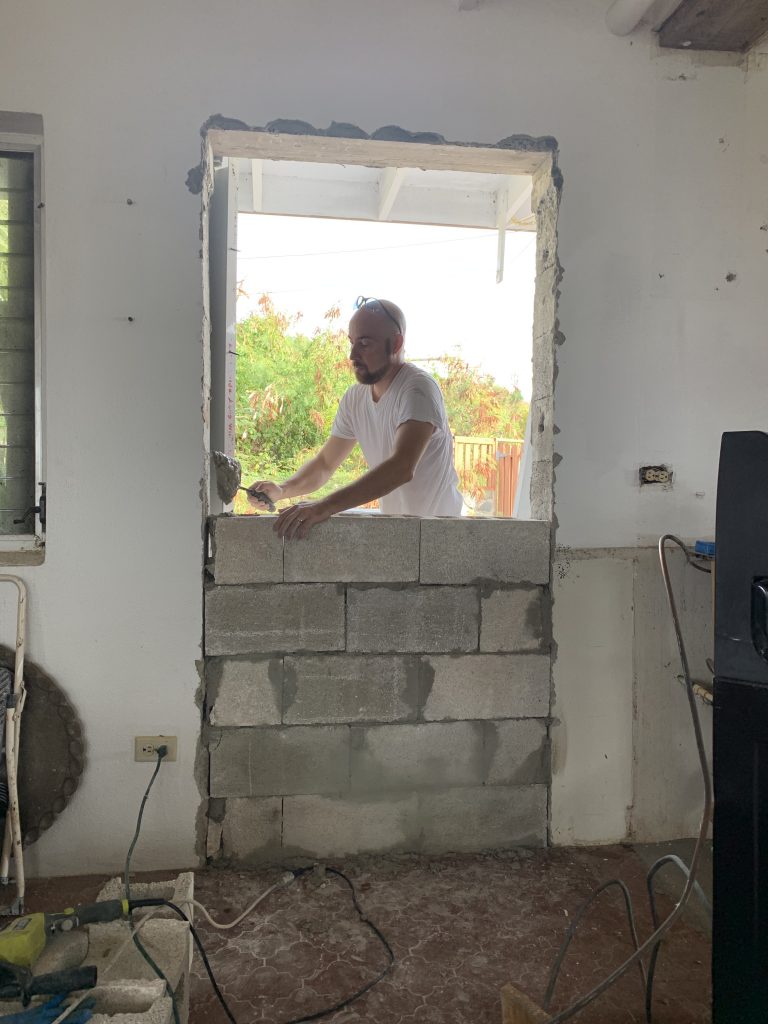
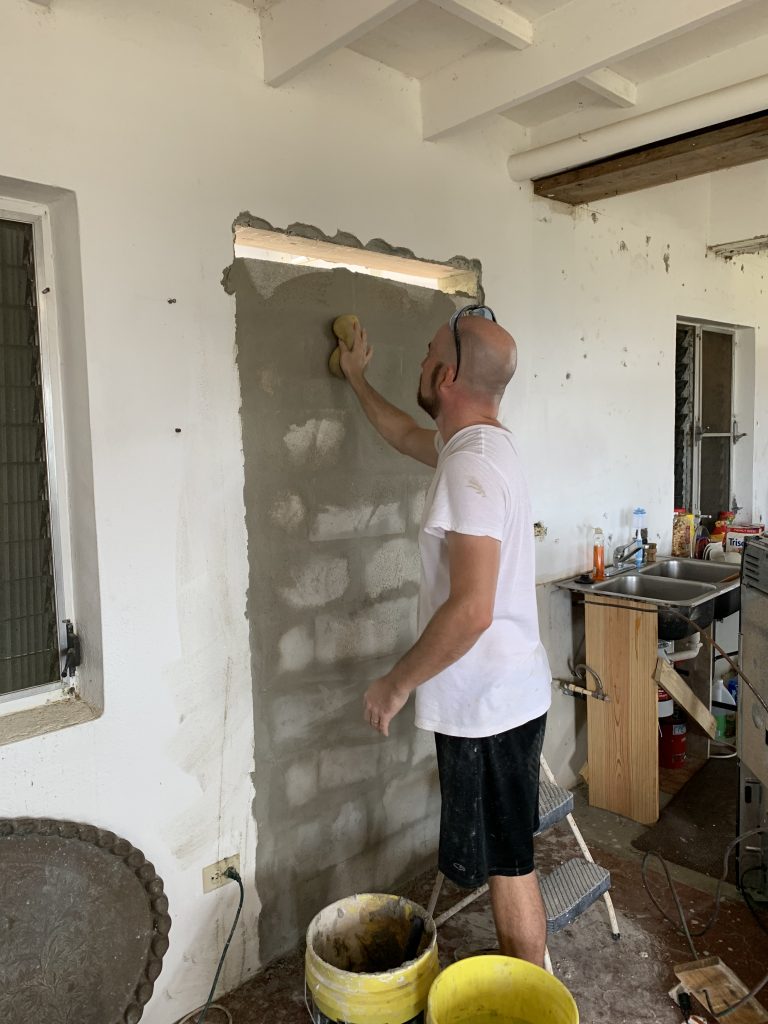
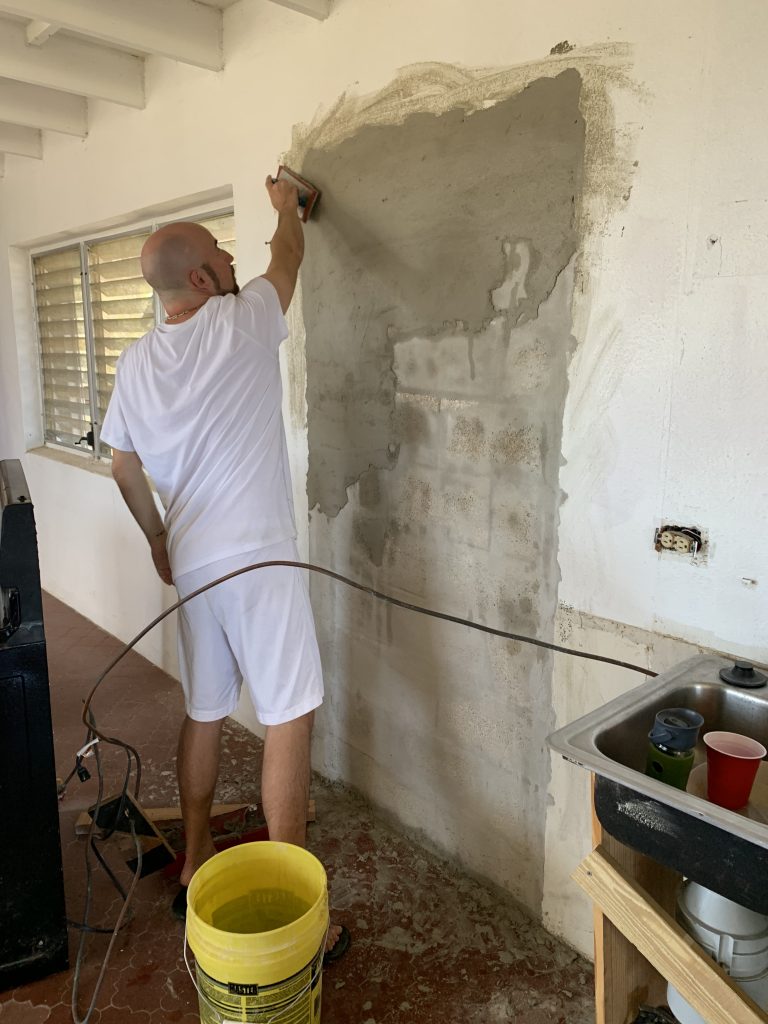
Ready for the Final Coat of Plaster!
It turned out lovely. I’ve learned a lot about plastering lately which will be needed for all the window replacements. I’m not horrible at it, but I will tell you I’m not a fan of the work itself.
Laying on the Final Plaster Layer 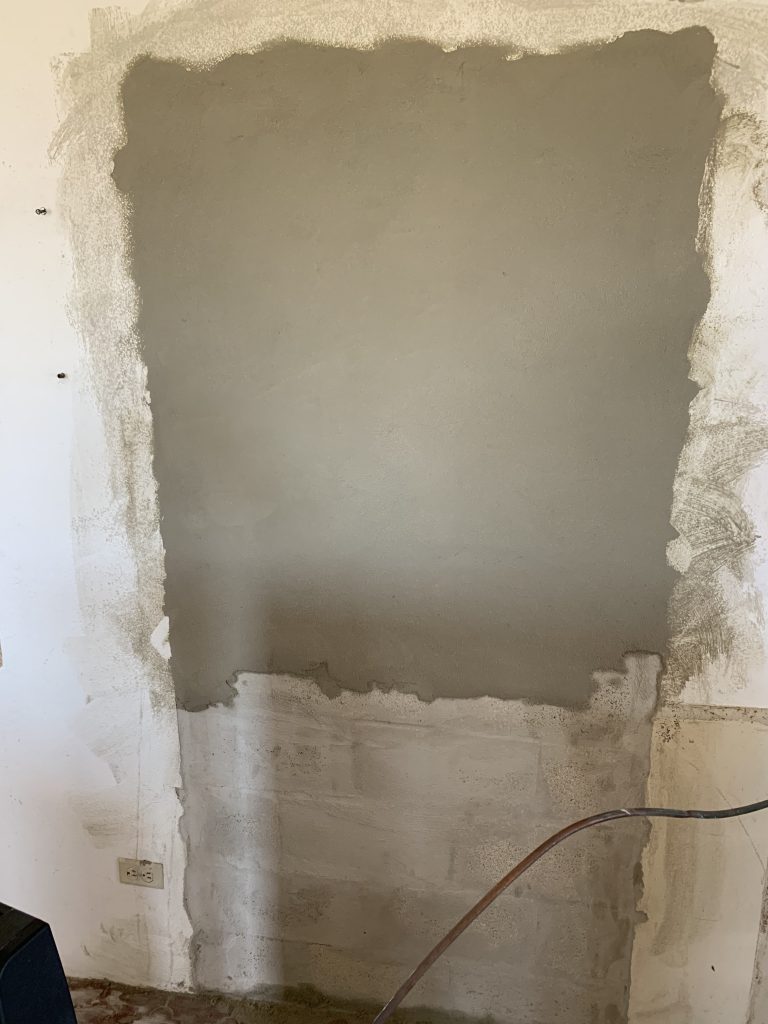
It Sponges Surprisingly Smooth!