Barn Door Installation Started in April of 2019
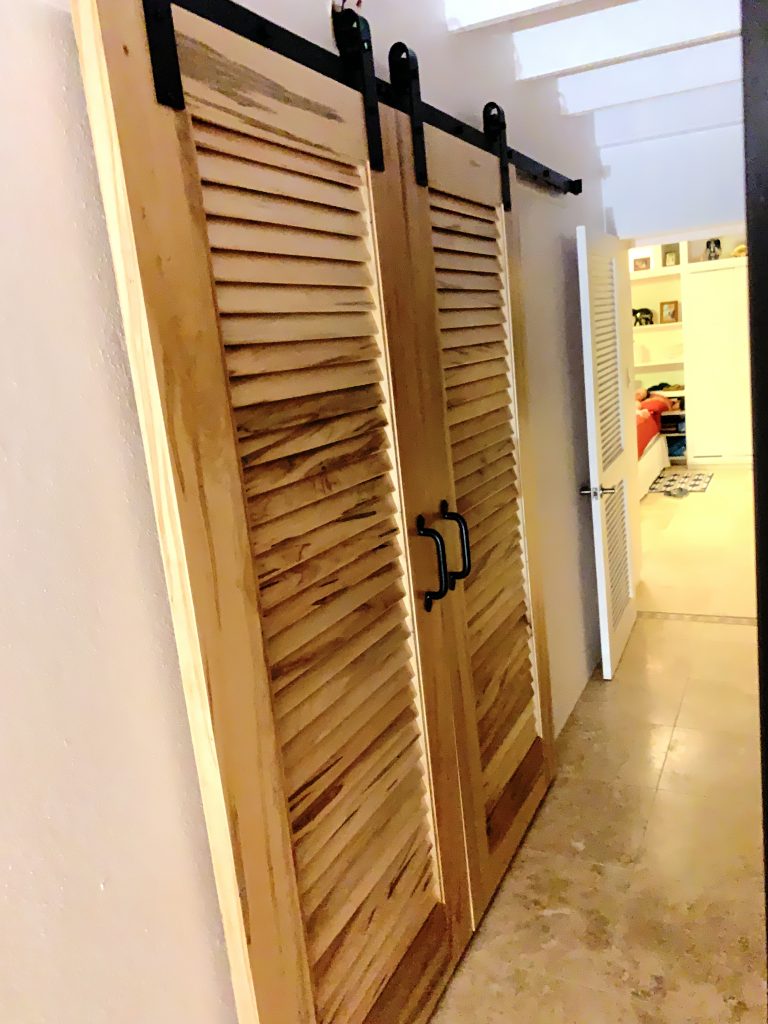
I started this project before I left for Backwoods at Mulberry Mountain this year, and it’s still un-finished. I’d say it’s 95% there. The main reason it’s not finished is that I have to have the tile completed in the dining room before I can screw down the floor tracks that keep two of the 6 doors from swinging back and forth bumping the wall. I have indeed finished 4 of the 6, the ones that run down the hallway and cover Liam’s room and the laundry room.
This project was much bigger than I anticipated. In the end, the doors and hardware cost me around $14,000 by the time everything was shipped here, and of course as all prices outlined in this blog, not including my labor. They sure are beautiful though and worth every penny.
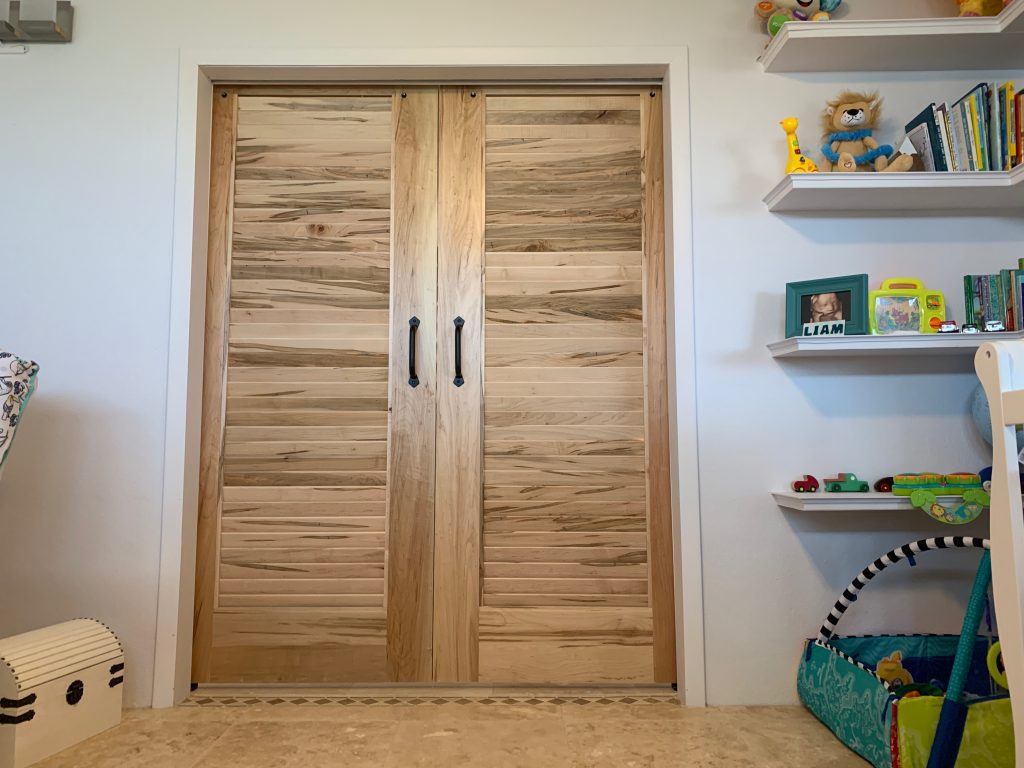
I started by designing a door that was going to look and feel like a quality door. That meant real wood, something a bit exotic, and thick/heavy/large construction. Additionally, I wanted to pay homage to our location and ensure there was a Caribbean feel to them. I settled on a slated door (like a Plantation Door) which not only shows well in the Caribbean, but also is functional for a home like ours which uses the natural Eastern Tradewinds as our form of air conditioning. The doors breath while providing privacy. Normally, a slatted door has a solid center piece that crosses it, around where a handle is usually installed – but since these are barn doors, I didn’t want the center panel as it wasn’t needed, and I thought the more simplified custom look would bode well on the wall. I’m trying to think of everything we do here as a statement or art piece when it comes to the larger pieces in the house.
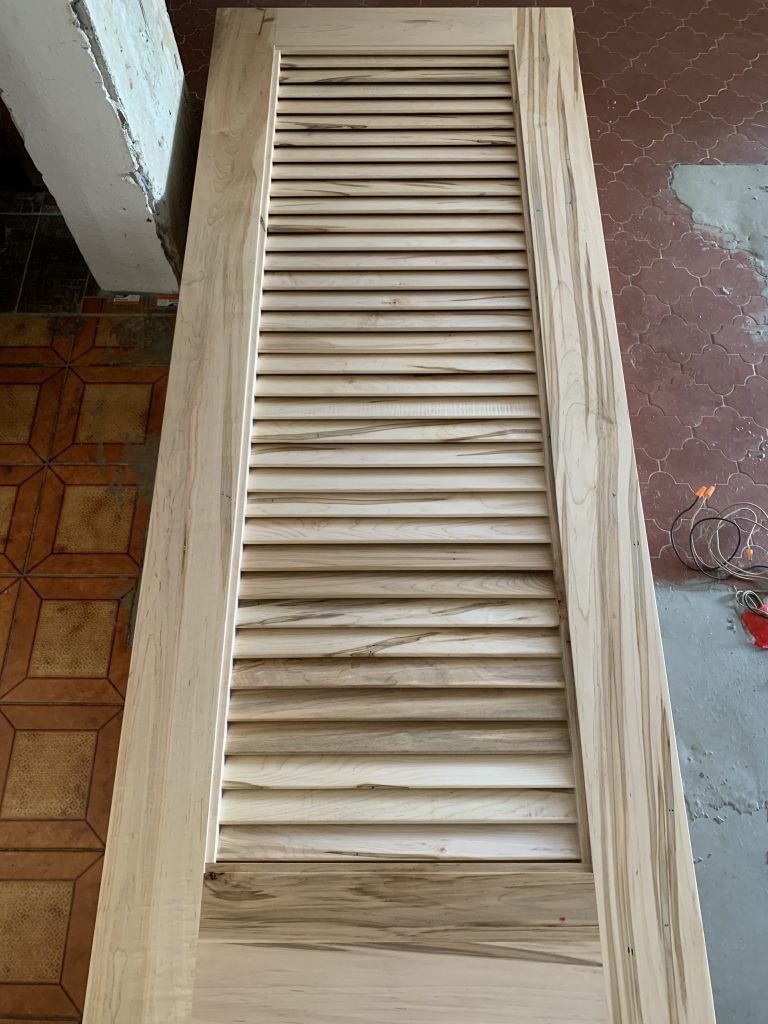
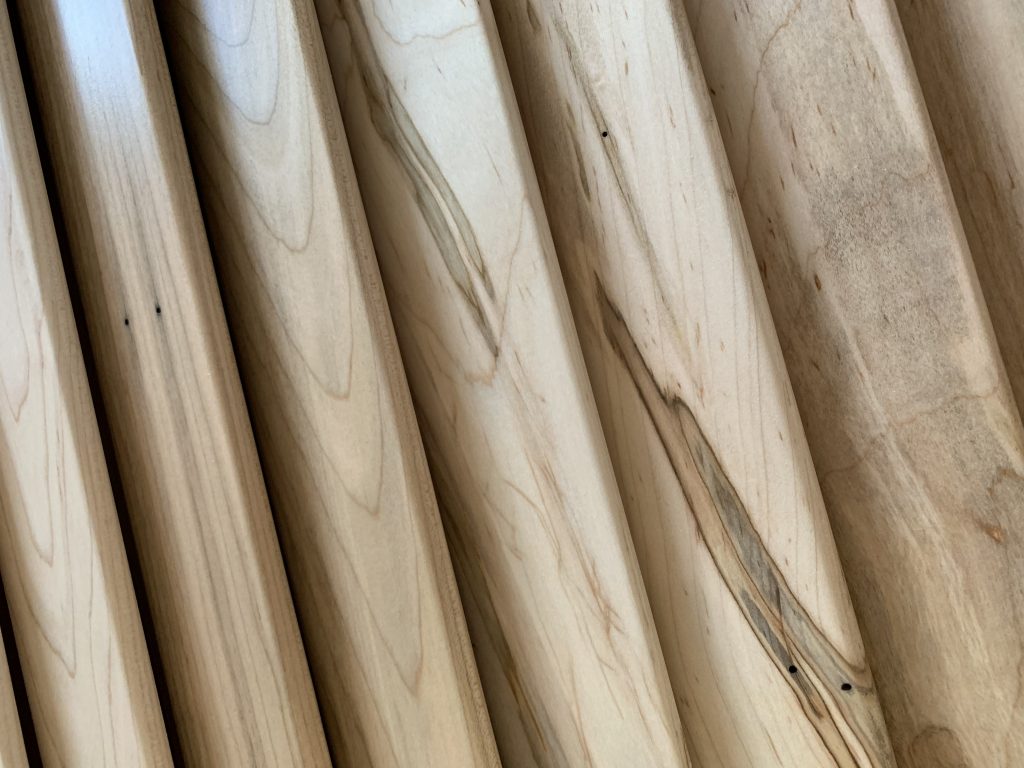
In the end, I chose wormy maple which shows not only some nice zebra striping in the wood, but also the little holes which the worms have eaten through. I had them oversized built, and 1 3/4″ thick so they look beefy and hang heavy. I couldn’t believe how beautiful they were when they arrived. The guys who built them custom for us are at Sun Mountain Doors, and they did a great job!
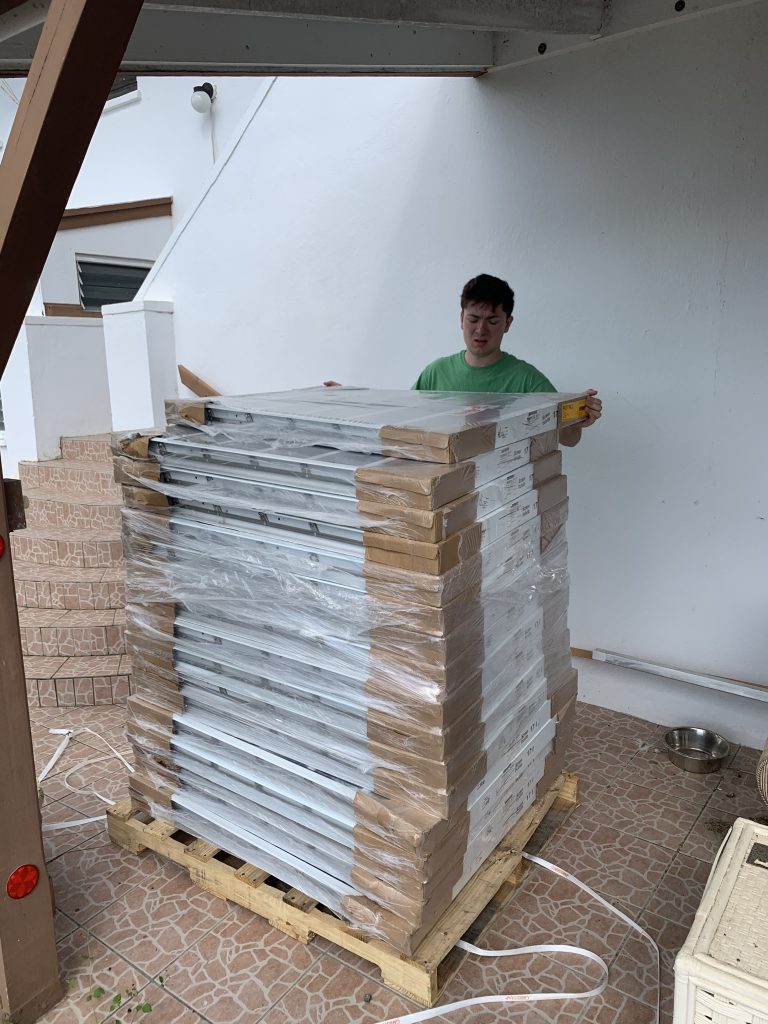
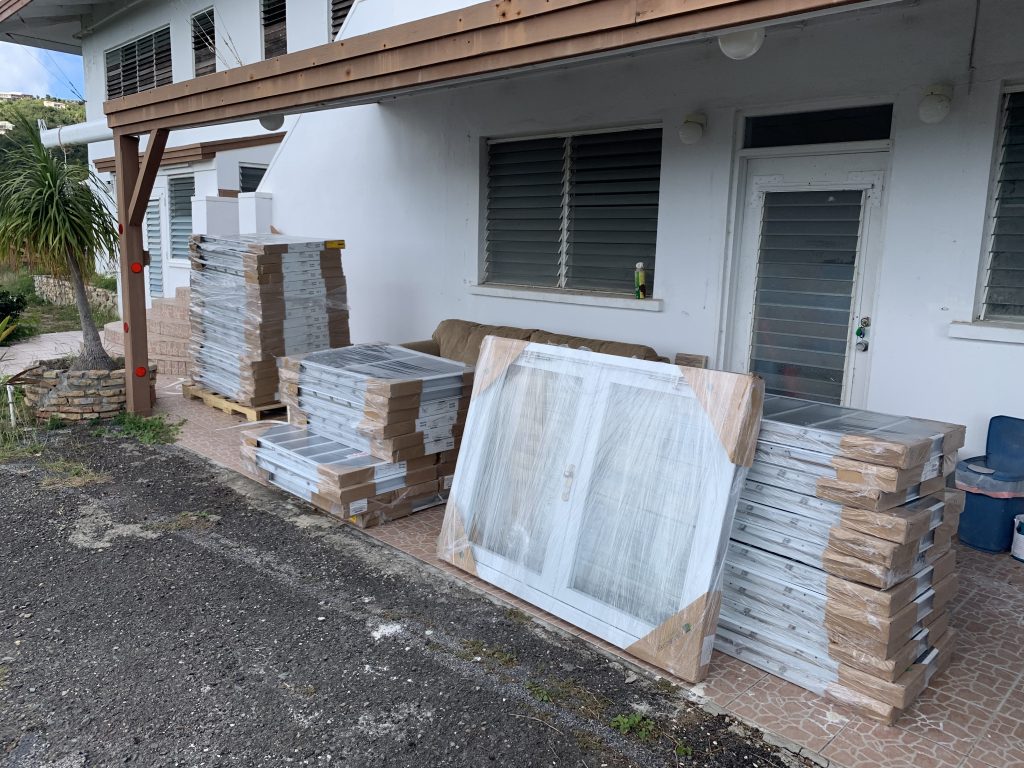
A note on getting them here… along with other things I’ve shipped like Granite (in the next article) … pay the extra money ($400-$800 depending on the item) to have it crated well by a professional before it starts it’s long journey to the Caribbean.

Your product will be handled by multiple people on multiple trucks, sometimes on multiple boats, and a good crate is worth all the hassle to ensure the product arrives in perfect condition. The doors did just that, and I was impressed with the crating job. These were shipped from California, across the country to Miami, and then put on a boat to get to the island of St. Croix, and finally moved from the port to a truck that delivered it to my house. They have traveled many-a-miles to be here. 3,723 miles to be exact.
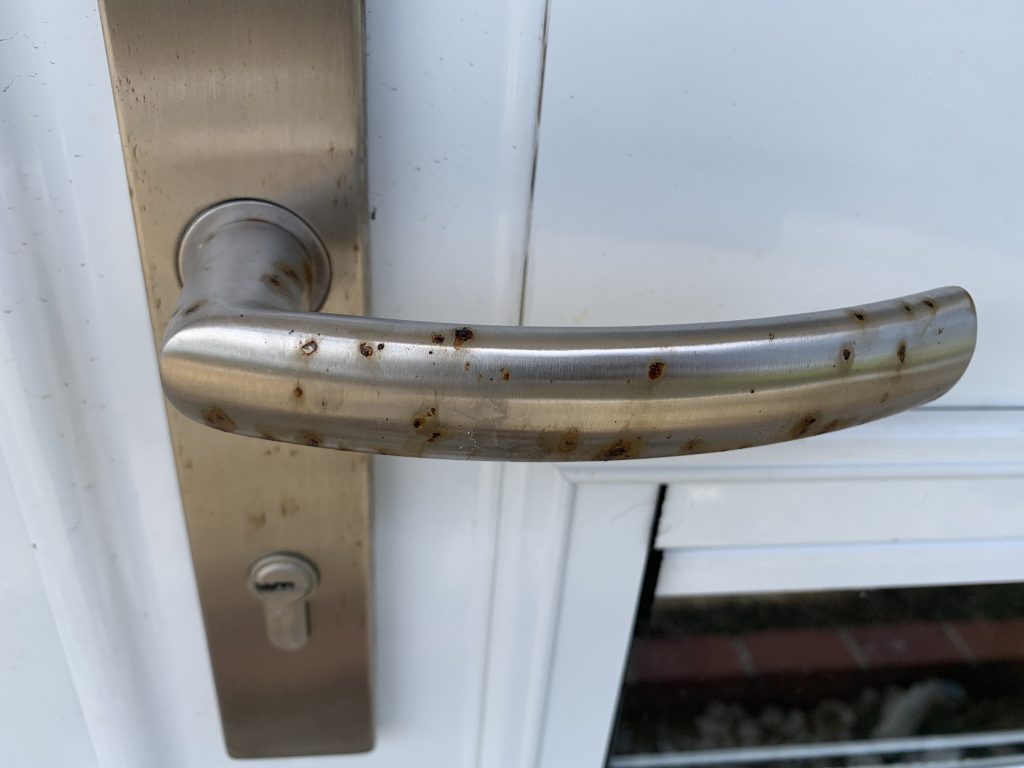
For the hardware, we went again, with something big, heavy, and statement like. We wanted a little bit of “stand the test of time” to the design, so we chose a hammered black powder-coated iron with stainless steel bearings. This will keep them from rusting and the sheer weight of these are looking mighty nice. Everything we do here, even indoors we try to get rated for outdoors, as it prevents against rust. (Because EVERYTHING RUSTS on an island.) – Here’s a link to the barn door hardware we purchased.

The next challenge was deciding how to hang the thousand pounds of wood and iron on the wall without it crashing down in a safe manner. I decided on what’s called a header board for the track installation, which created a multi-step process to hang them. Step 1 was creating the header board and installing it, and Step 2 was then installing the track rails to the header board. After that, we could hang the doors and make all the adjustments to the soft-close mechanisms we also purchased.
Step 1 – Creating the Header Board
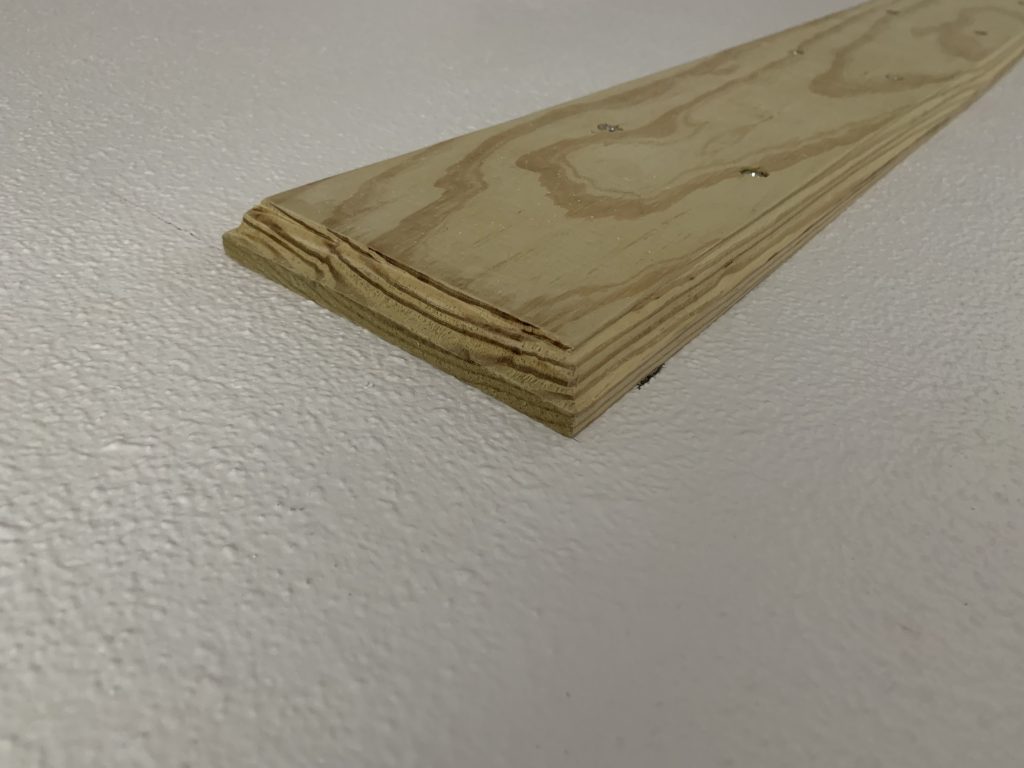
I needed two header boards for this since two separate walls were to house the barn doors. One was approximately 12′ in length, while the other was 26′ long. I started with three 16′ long 1″x6″ boards. After cutting the length to size, I routered the edges to give a more designed and polished look to the boards.
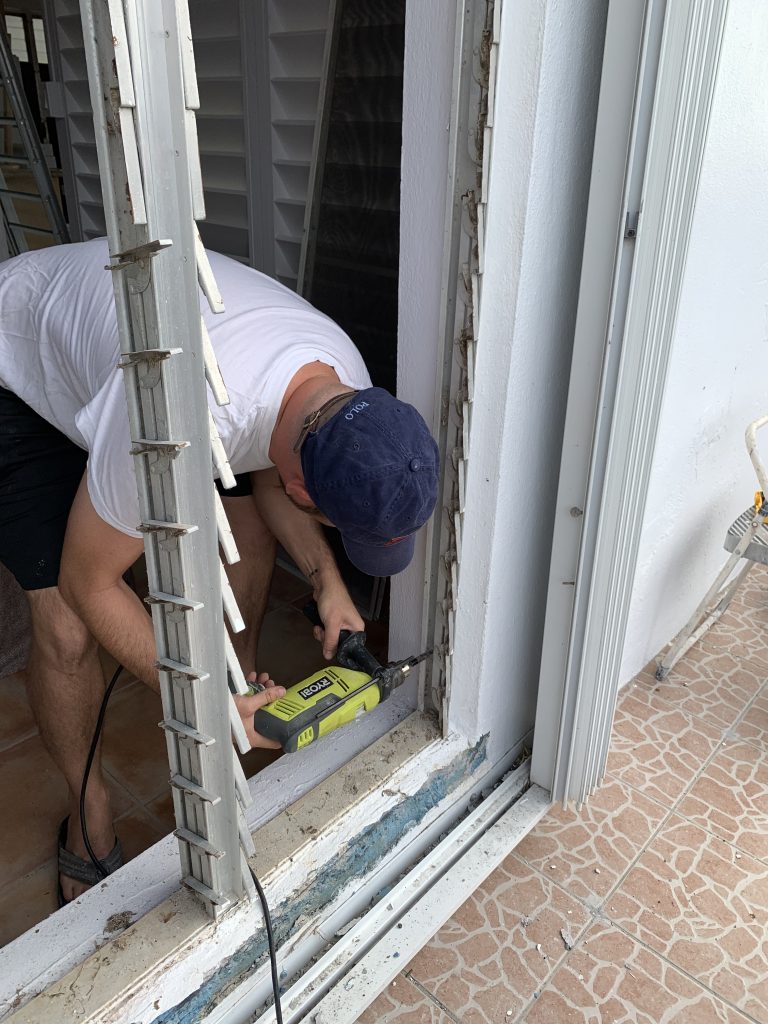
I then used a total of 96 concrete anchors and screws to install the boards on the wall. Each with a rated weight capacity of 45lbs. That’s right… 96 times (32 per set of doors) I had to use a hammer drill into the concrete wall, only after properly measuring and drilling pilot holes in the boards themselves so that all the anchors would line up with the screws in the boards. (That means putting up and taking the board down once or twice after installing just the end screws.)
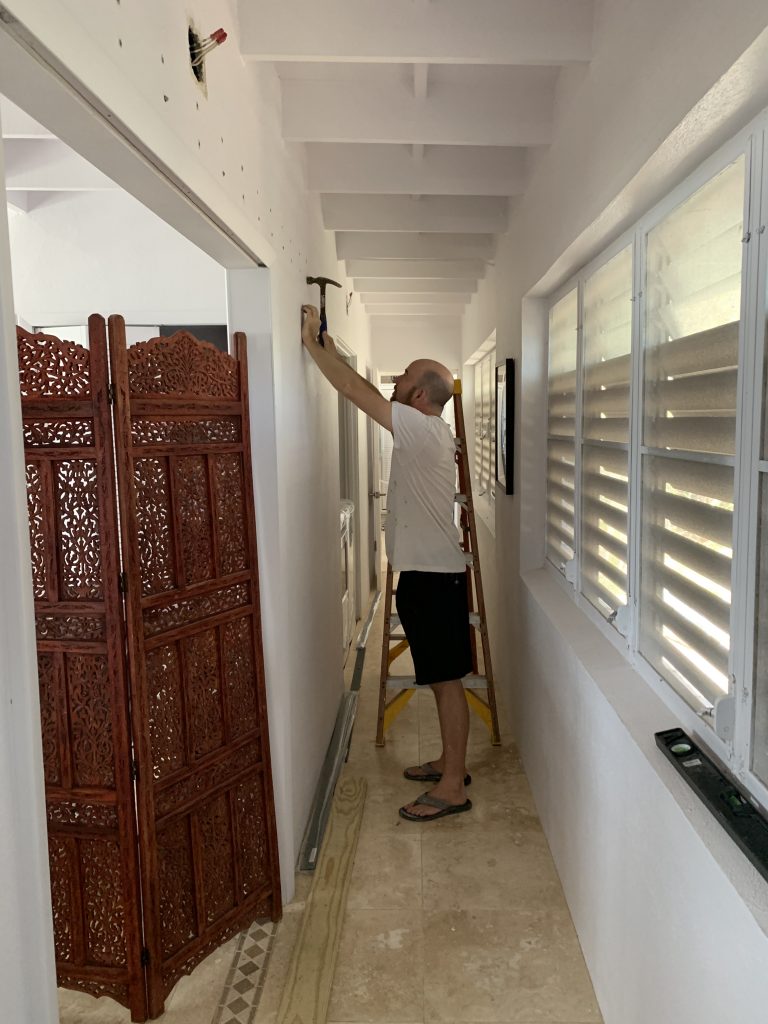
Hammering in All 96 Concrete Anchors 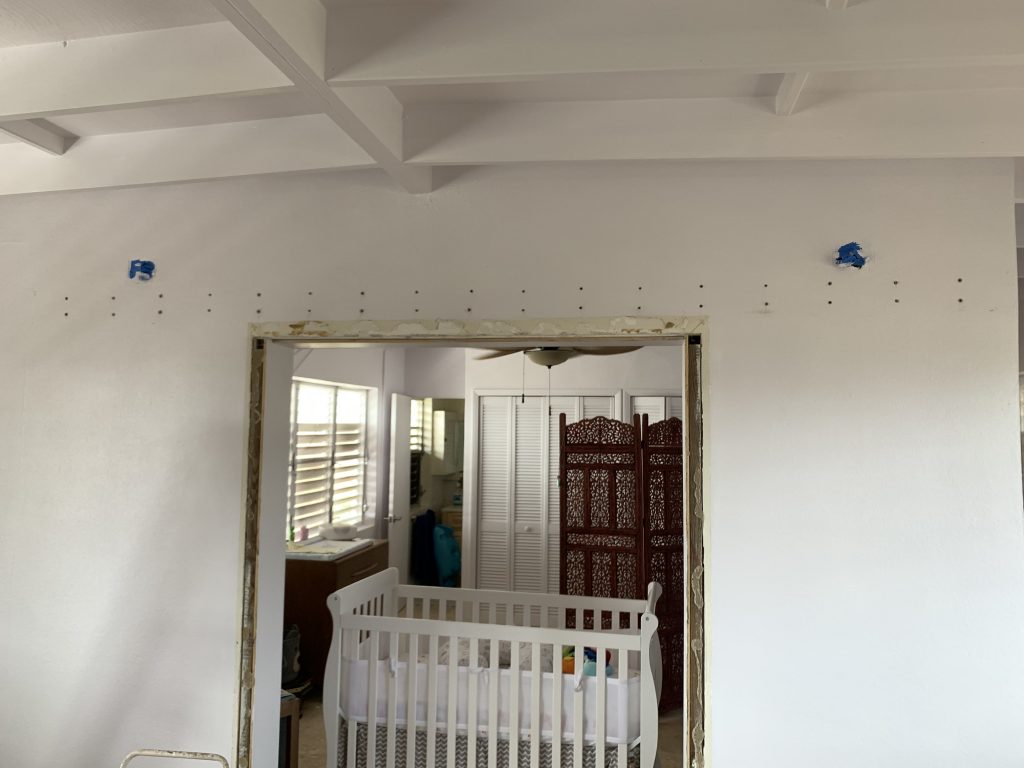
Anchors Installed, Ready for the Header Board 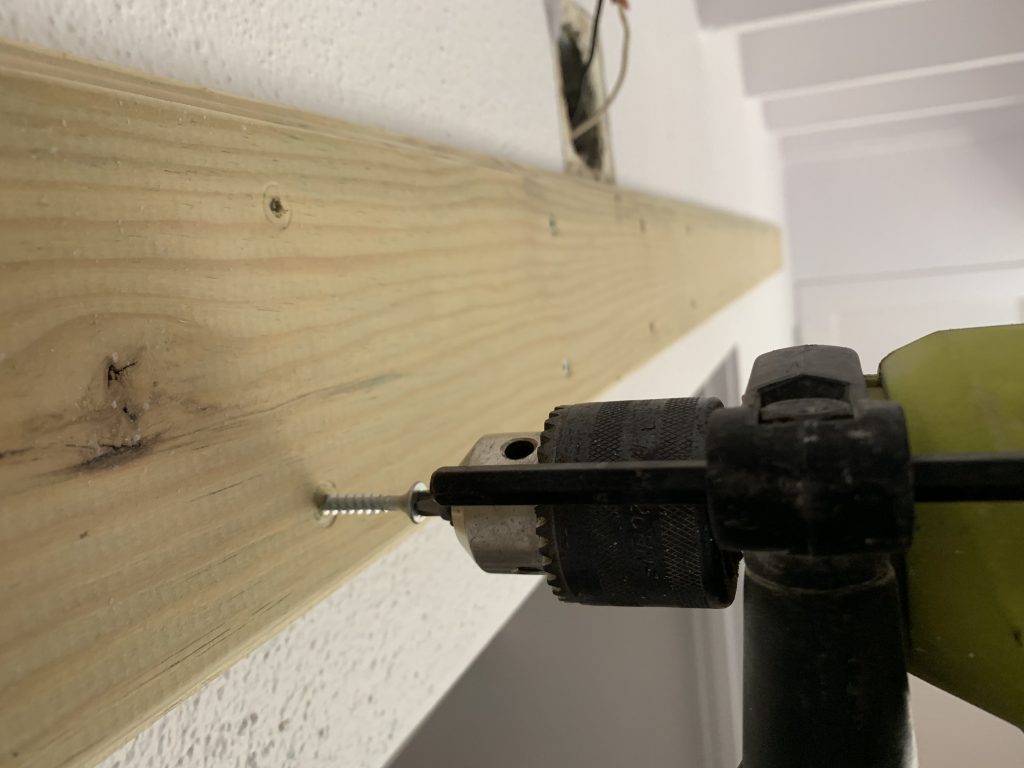
Screwing In the Header Board 
Dining Room Header Board Installed 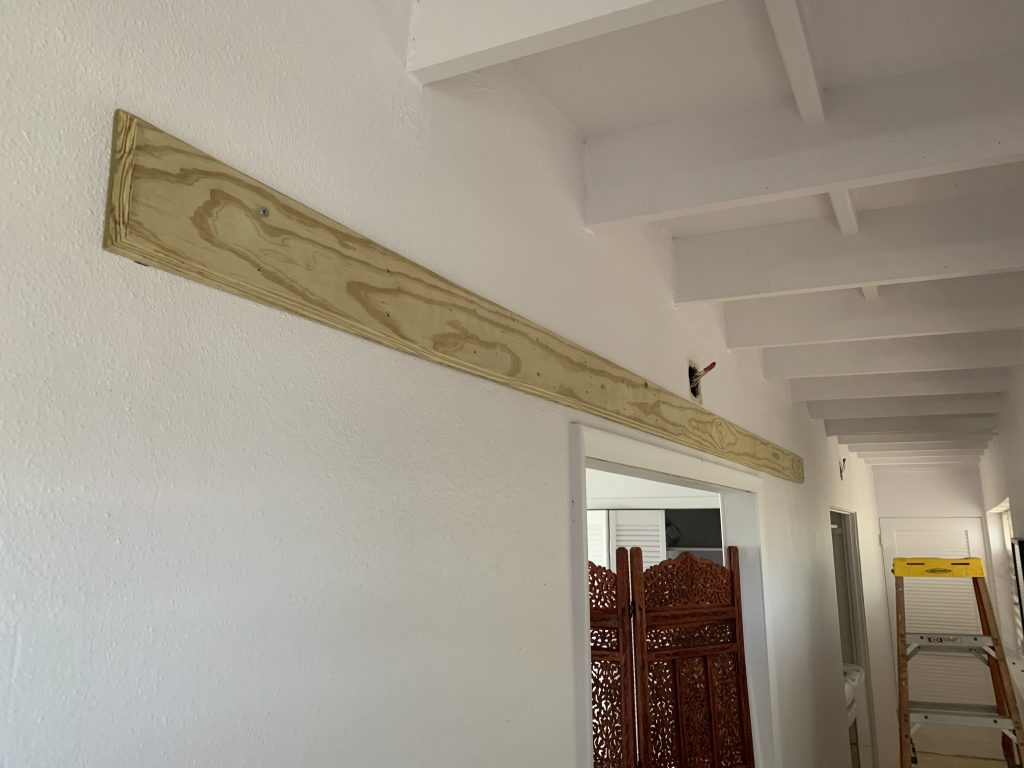
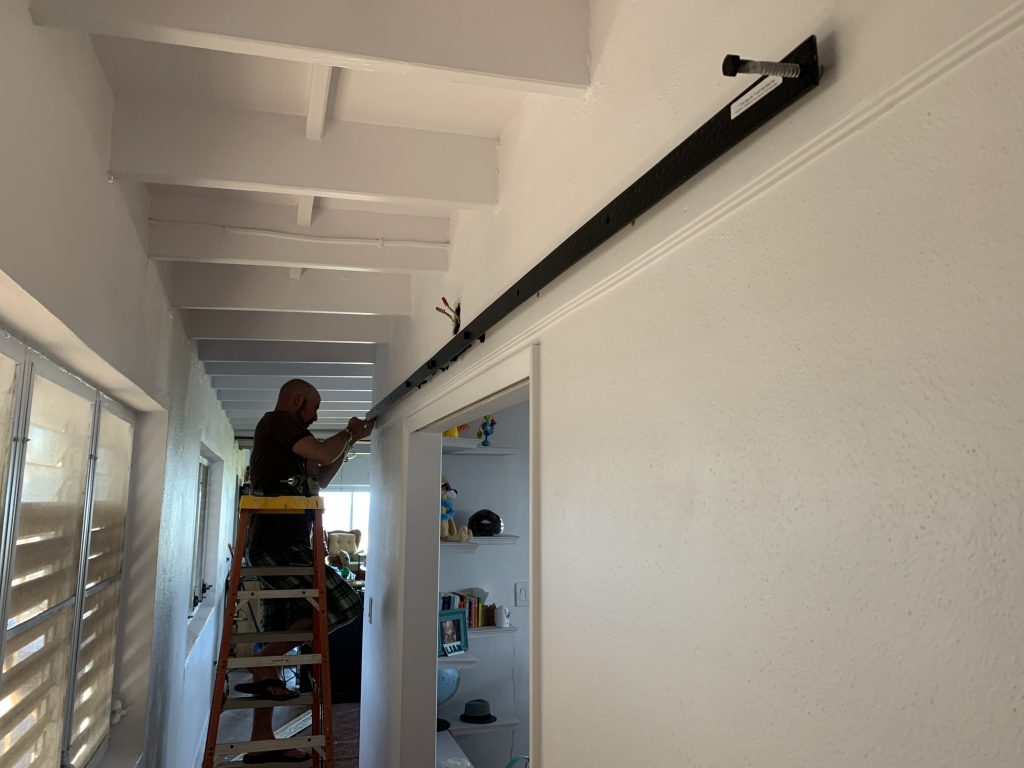
One Up, One to Go in the Hall
After getting the boards on the wall, which took a few hours, and a painful right arm when finished, I caulked all the edges for a seamless look. I also took the time to sink the screws a bit when installing the board, so that I could cover over the screw heads with spackle to hide them before painting the header. (Good luck to the next guy who tries to take these off the wall!)

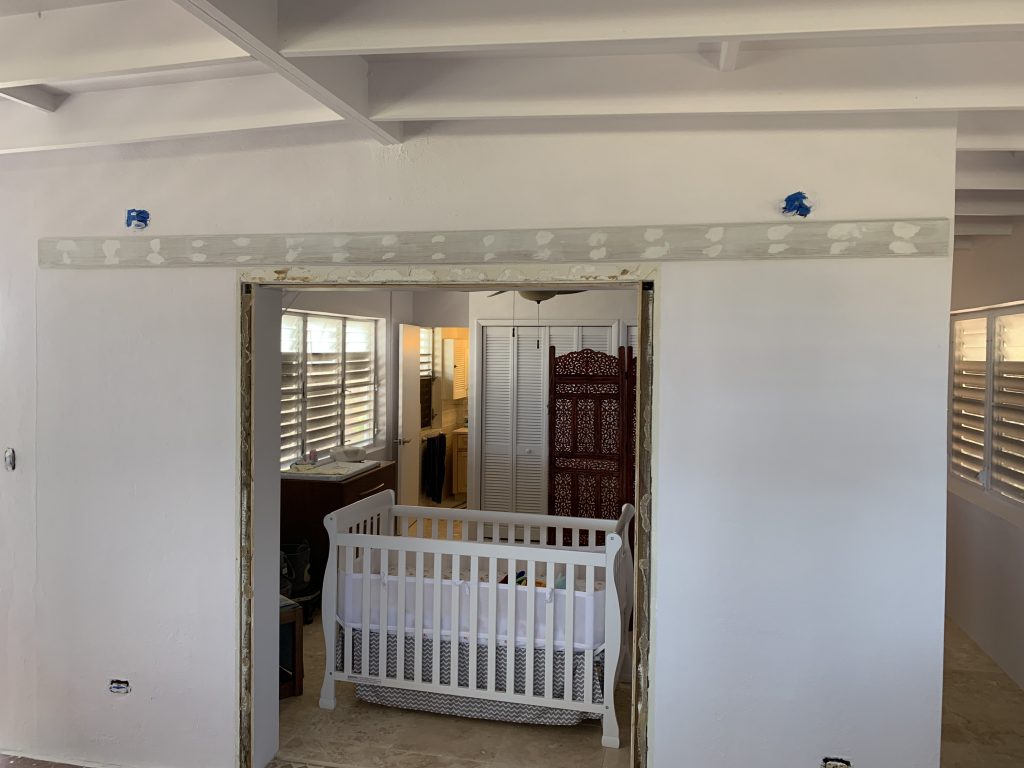
The finished header boards looked great.
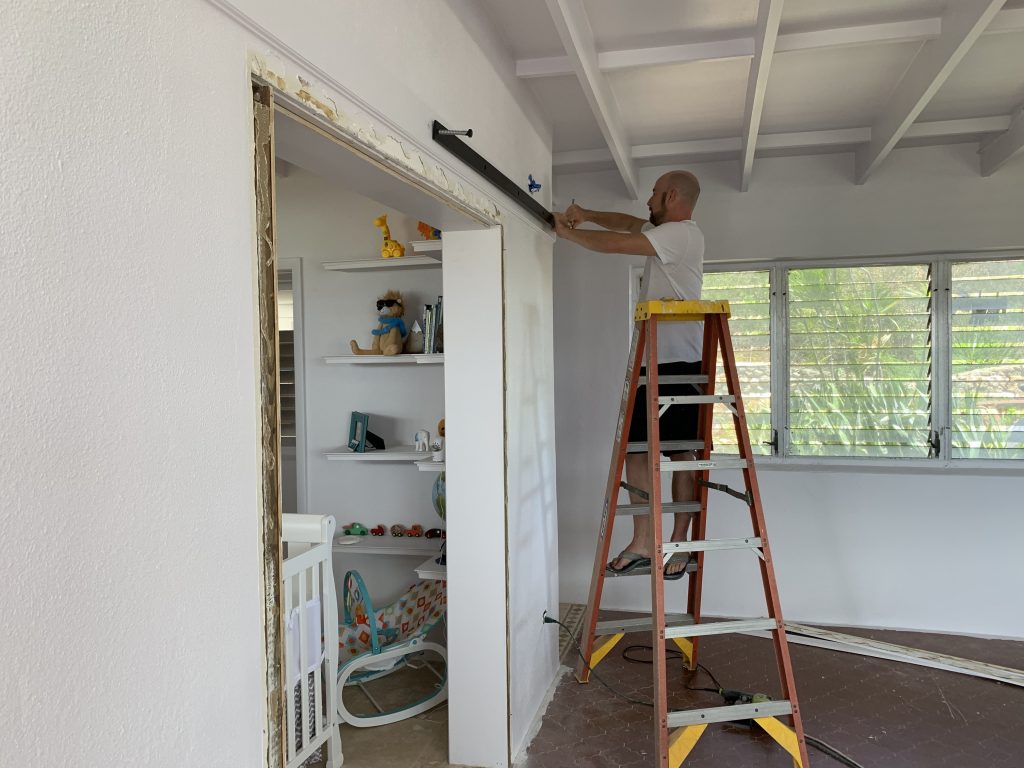
Step 2 – Installing the Track to the Header Board
Getting the track onto the header board was the next step, and to do so it meant installing 5 half-inch lag bolts into the wall and header board for each track/door – a total of 30. That’s right, more hammer drilling! But for a 1/2″ lag bolt, you’ve got to drill pilot holes first… so double the workload again for another 60 drills!
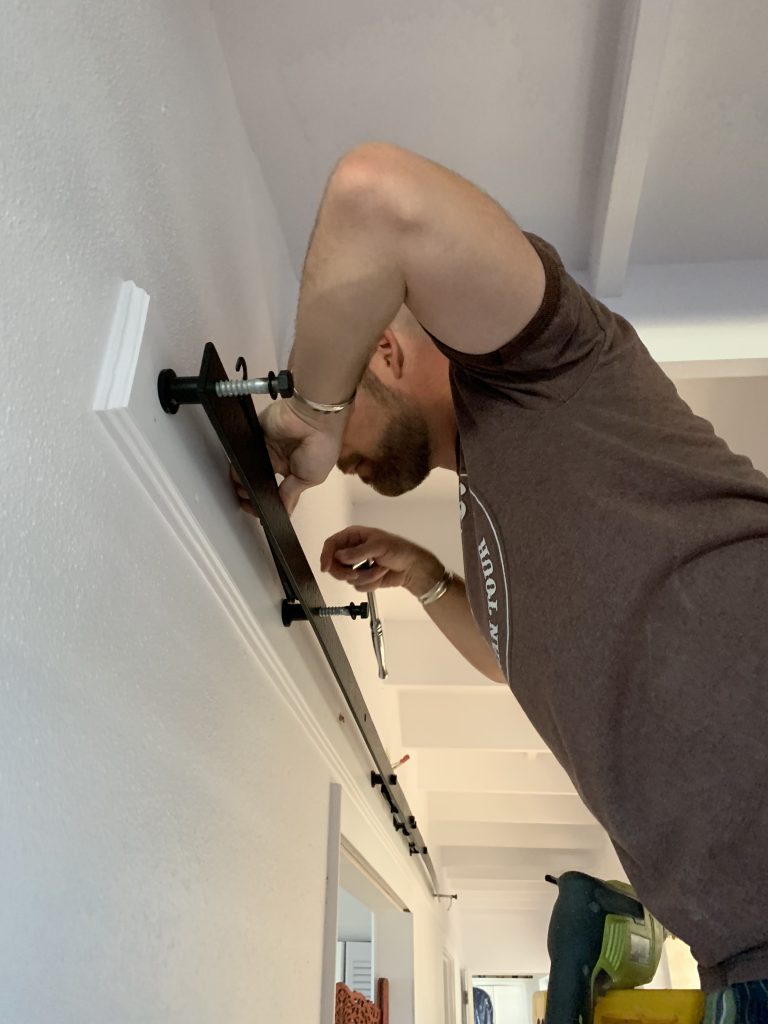
The tricky part about this is that you must install the tracks as you go to ensure they are level. Since we are splicing tracks (meaning two doors will meet in the middle to create a set for a larger opening) both tracks that connect also have to be level with each other. You only get one shot at drilling these holes level… if it’s off ever-so-slightly you will get a gap where the doors meet that is uneven (the top of the doors touch while the bottom has a gap for example.) You can’t re-drill your holes because they would only be off by a fraction of an inch, yet the holes themselves are 1/2″ around. I think you get the importance here.
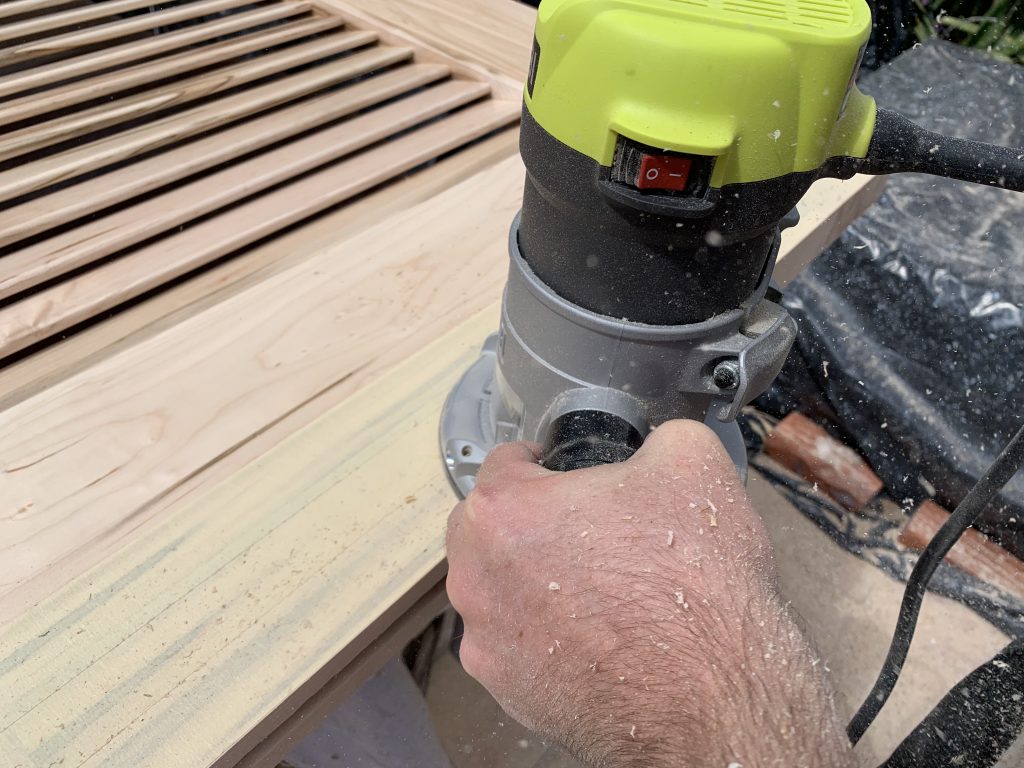
Step 3 – Preparing the Doors
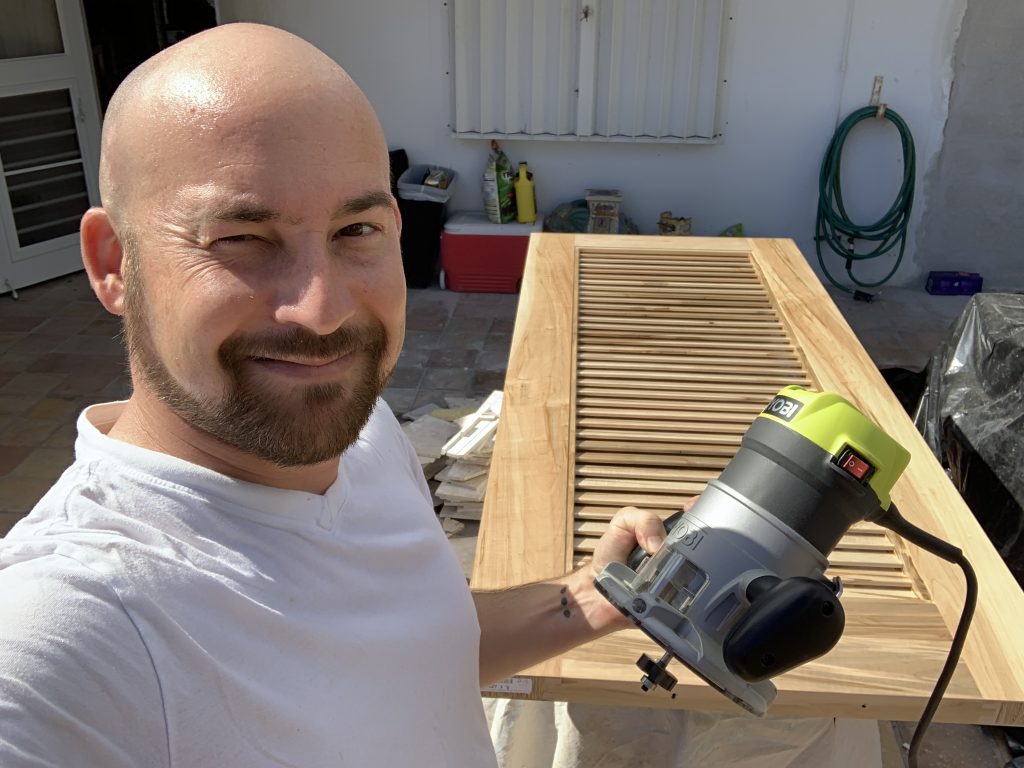
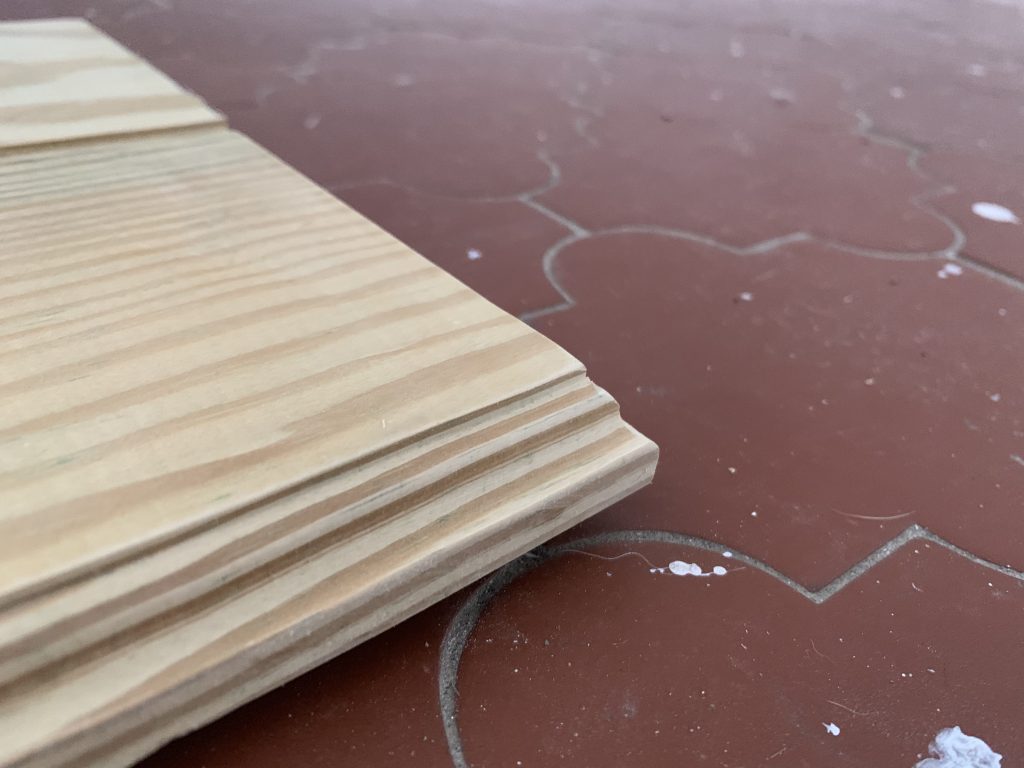
Taking the heavy doors outside for a bit of prep work, I drilled holes (very scary considering how much each door cost) for the wheel hardware in the tops of them and also routered a 1/2″ x 1″ deep channel through the bottom of them so that the floor track would be hidden. Some people choose to put this on the front and back of the door – but we wanted to continue with the clean look by hiding the track inside and under the door so it wasn’t seen. It’s extra work to cut the channel in the door, but worth it… Here’s an image showing the difference.

Step 4 – Hanging the Doors
Hanging the doors required simply lifting them onto the tracks. I realized though that I did this preemptively at times getting excited. I needed to have the T-Guides down on the floor first to slide them over top of into the channel, and the soft close catch holes and end-stops drilled installed on the top of the doors before hanging them.
The first time I hung them I didn’t have the top soft close catches installed or drilled, and the second time I didn’t have the track channel routered, So I’ve taken them on and off a couple of times now. I’m not sure I would have done it differently though because each time I hung them, I learned something new and also made sure I was moving in the right direction. With doors these expensive you want to measure not twice, but 5 times, and cut once.
Step 5 – Adjustments to Soft Closes and Floor Track Installations
The soft close mechanisms (12 in total, two for each door) allows the door to catch itself and slow down before coming to a stop on each end of the slide/track. This means no pinched fingers, and we can stop the doors exactly where we want them. Check out the video below. These again were an expensive upgrade, but well worth it for these extremely heavy doors that would probably just fly off the tracks without them.
Door Gaps… I spoke of them earlier and of course I had a bit of this going on with such a large installation and long run of track. As much as I tried I was still a little off at times on the leveling where the splicing of the tracks met. I was able to counter act it though by slightly adjusting the hardware wheels attached to the tops of the doors after installing them the first time however, having to redrill a couple holes larger, to raise or lower the wheel on the door – effectively leveling it by way of changing the door angle ever so slightly with one side up or down. This worked, and they ended up looking great. Of course, I had to take the doors off again to do this, so we’re talking like 4 times I’ve re-hung these things. (The third was a channel that wasn’t deep enough for the T track on the floor and needed to be re-routered.)
I installed the handles as well which matched the hardware above, on both sides of the doors with the exception of the laundry closet – which hopefully no one finds themselves in our washing machine trying to get out.
In the end, we absolutely love the doors and it was well worth the few weeks of work to get them built and hung. They are surely a statement piece in the house. Unfortunately for my budget and I, they make our bedroom and bathroom doors look weak and cheap… We will definitely be upgrading these in the future to finished custom wormy maple doors as well from Sun Mountain after our kitchen is done.
Now, enjoy this video of a baby deer running through our driveway!