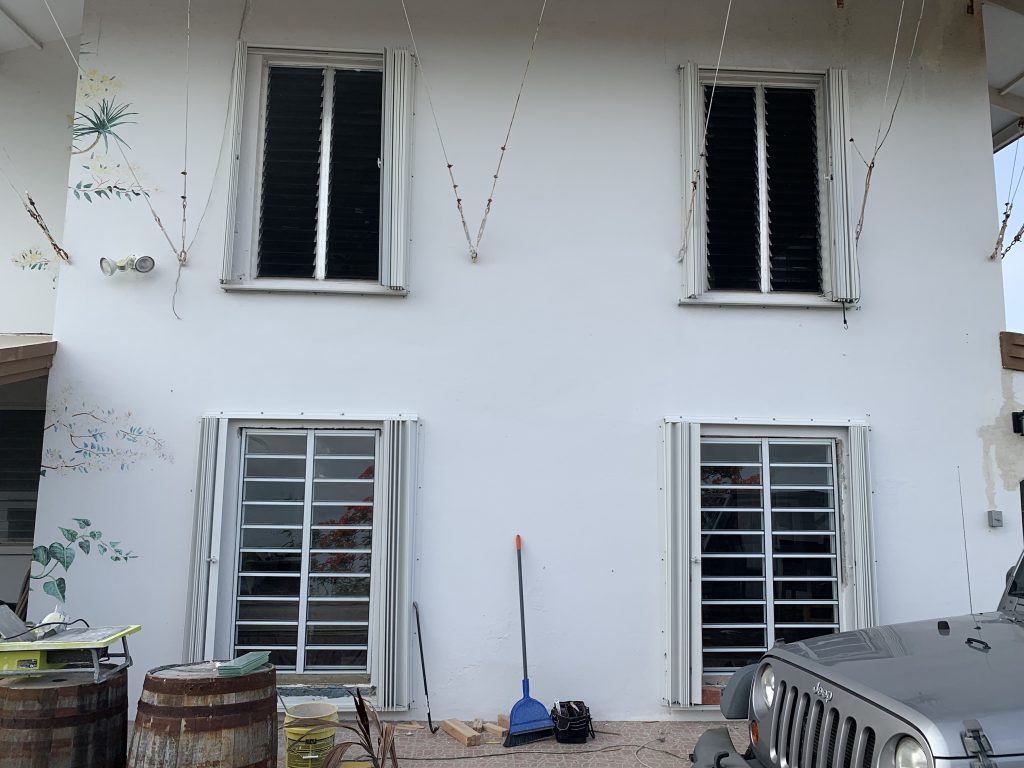
Windows Replaced Throughout The House – CHECK!

Day 474
Total Spent So Far: $146,501.80
30 Yard Dumpsters Filled: 5.5

We’ve finally gotten most all of the windows replaced in the house, save a few in the small studio AirBnB Windsor’s Rest. The priority now though has switched to finishing the flooring in the kitchen area (we are half way there having already done the living room) because the kitchen is literally sitting in boxes right now. It’s taking up our entire living room waiting to be installed. What a mess half our house is – rendered completely unusable right now. Very soon, by the end of November, this place will be so much nicer as the flooring and kitchen gets done – and we can put our lives back together.

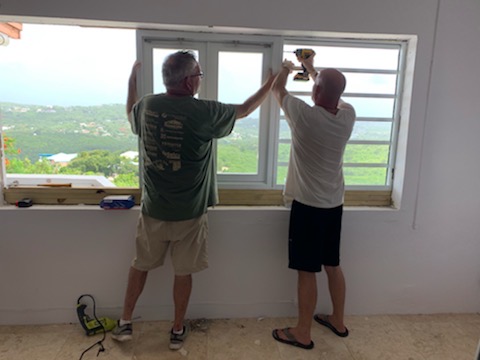
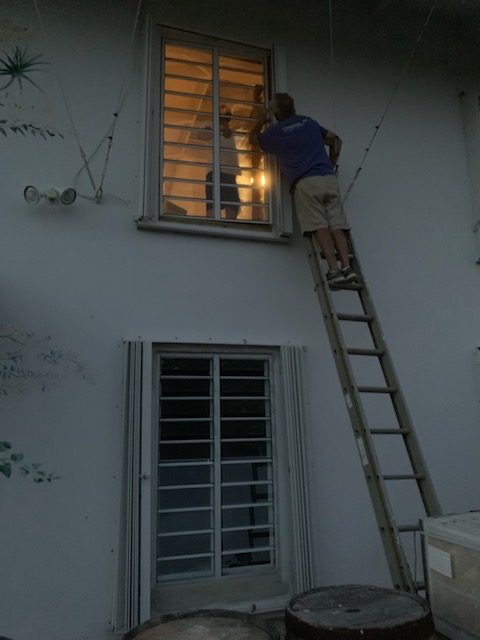
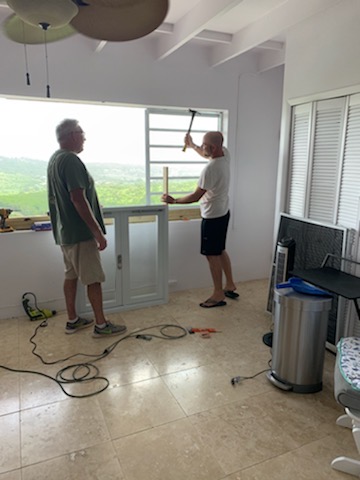
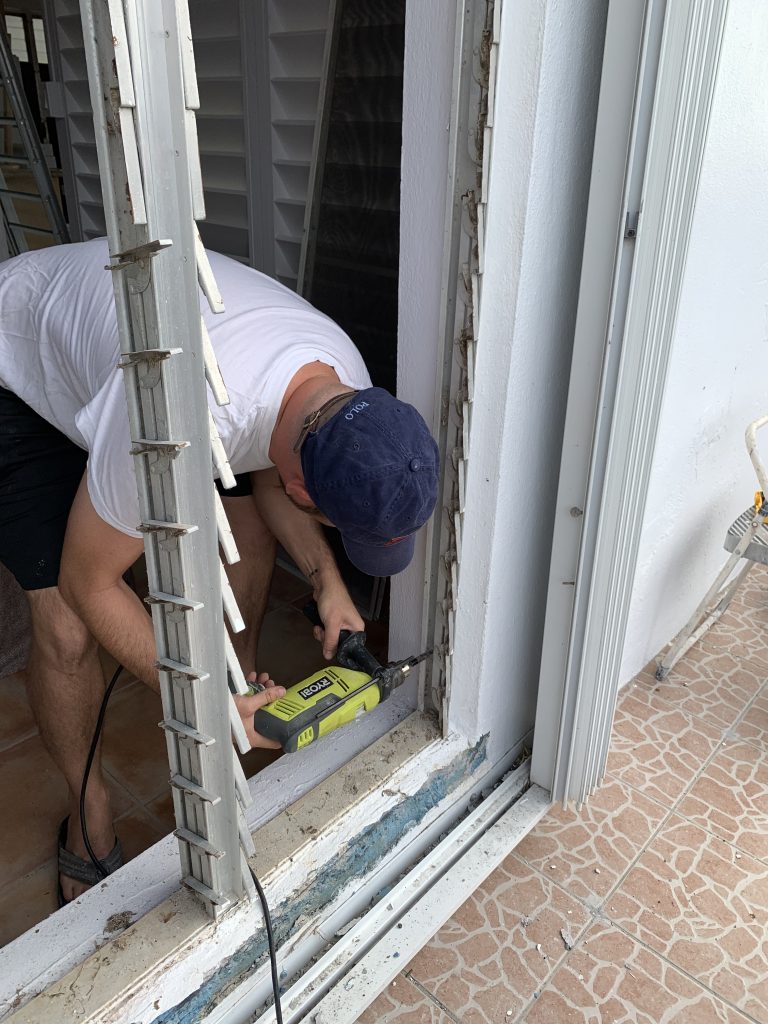
The windows were a huge job! And of course, Dave came down to save the day again. He may have earned himself a second lifetime timeshare week without on-going expenses at The View this last trip. I will say I’m not sure how I would have done this part of the remodel without him. It’s literally impossible to put some of these windows in by yourself. You have to have someone hold it while the other person screws it into the wall.
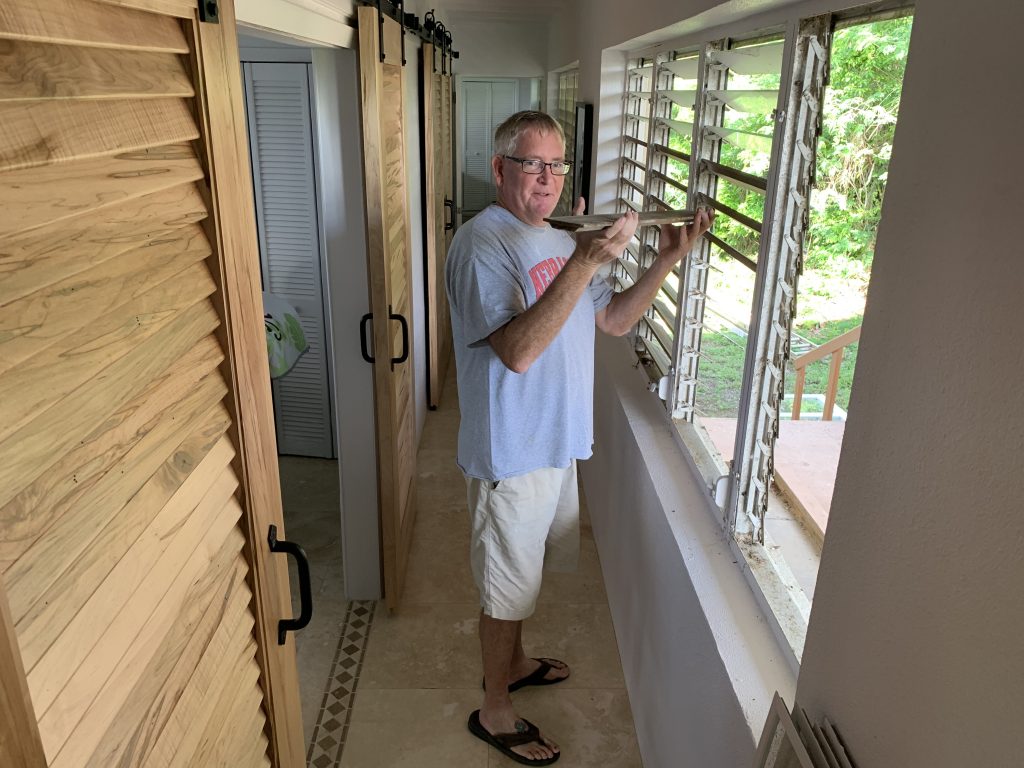
We used 4-5″ tap cons throughout the installations to ensure these were solid and secured deep into the surrounding concrete walls. We put 3-4 up each side (depending upon the height) and at least one in the top and bottom of each window. Afterwards, we are plastering up the gaps and space around it to finish it, before painting.

One thing to note on jalousie type windows is that they only come in fixed height sizes. While you can order them to whatever rough opening width you’d like, height wise is dependent upon fixed sizes that divide evenly by your window pane height. For example, a 3″ jalousie comes in height adjustments every 3″ or so… a 4″ jalousie every 4, and so on. Ours were 6″ jalousie panes to ensure the most view – but it also gave us the largest vertical gap to fill at times.
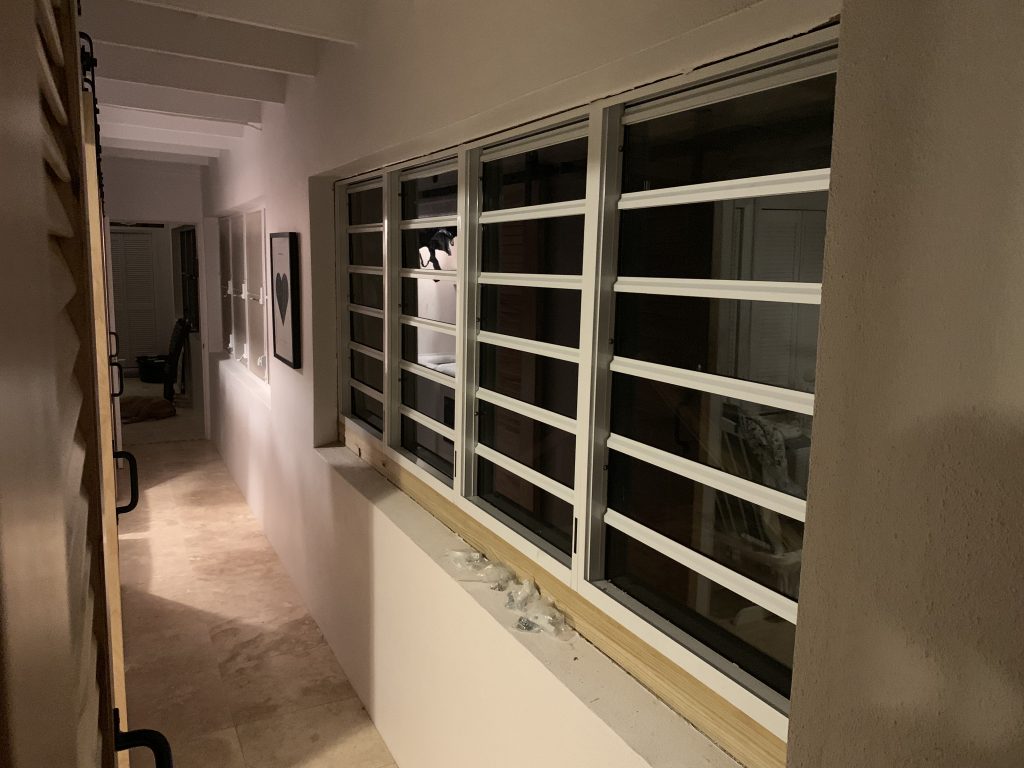
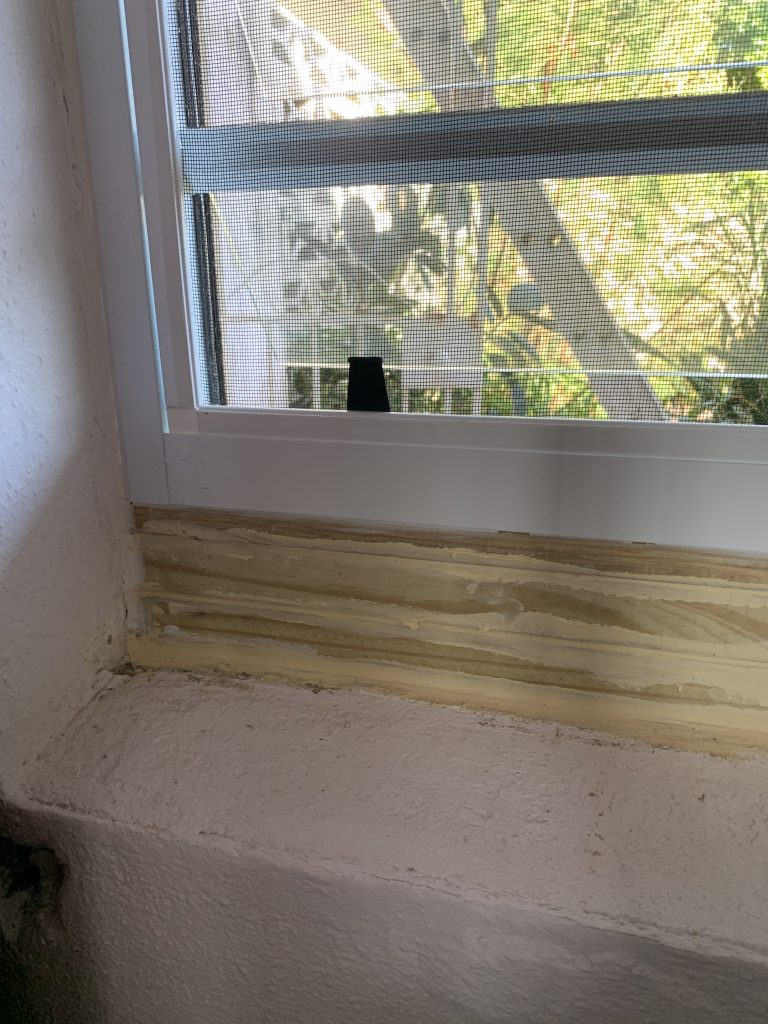
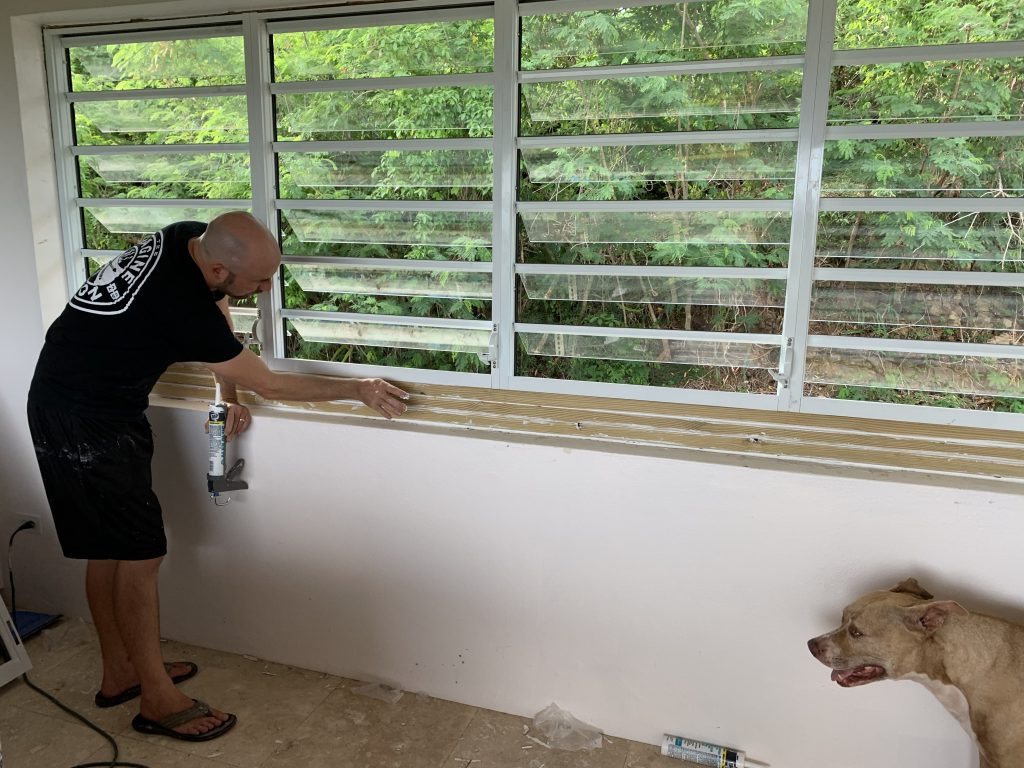
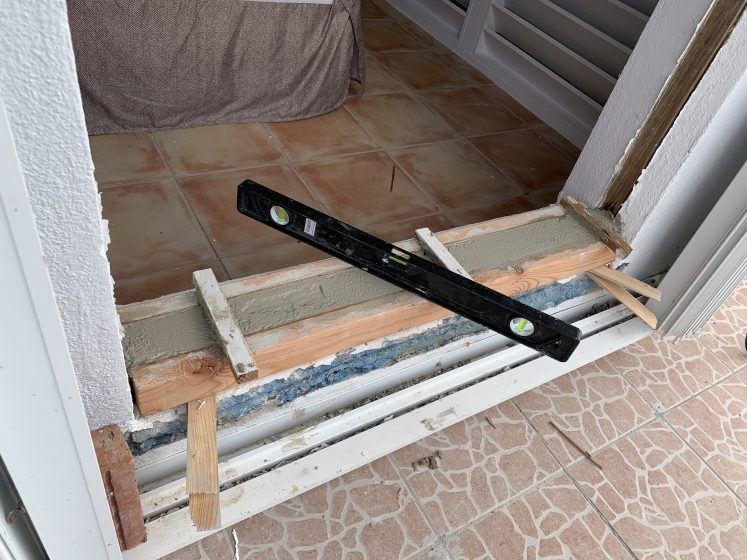
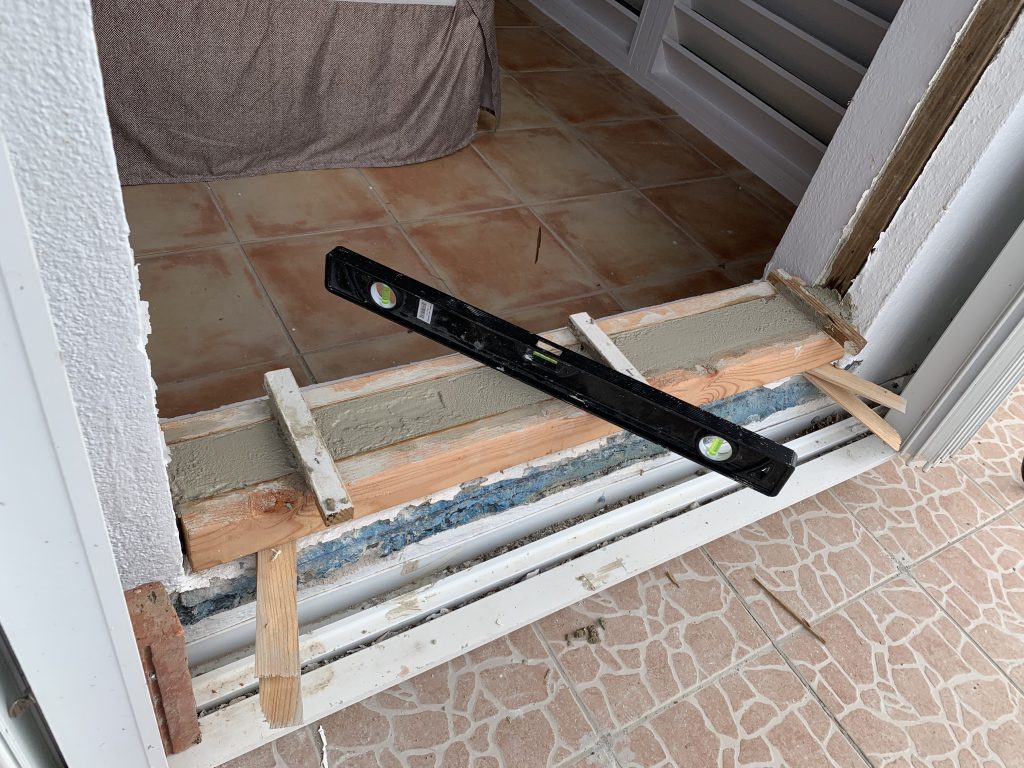
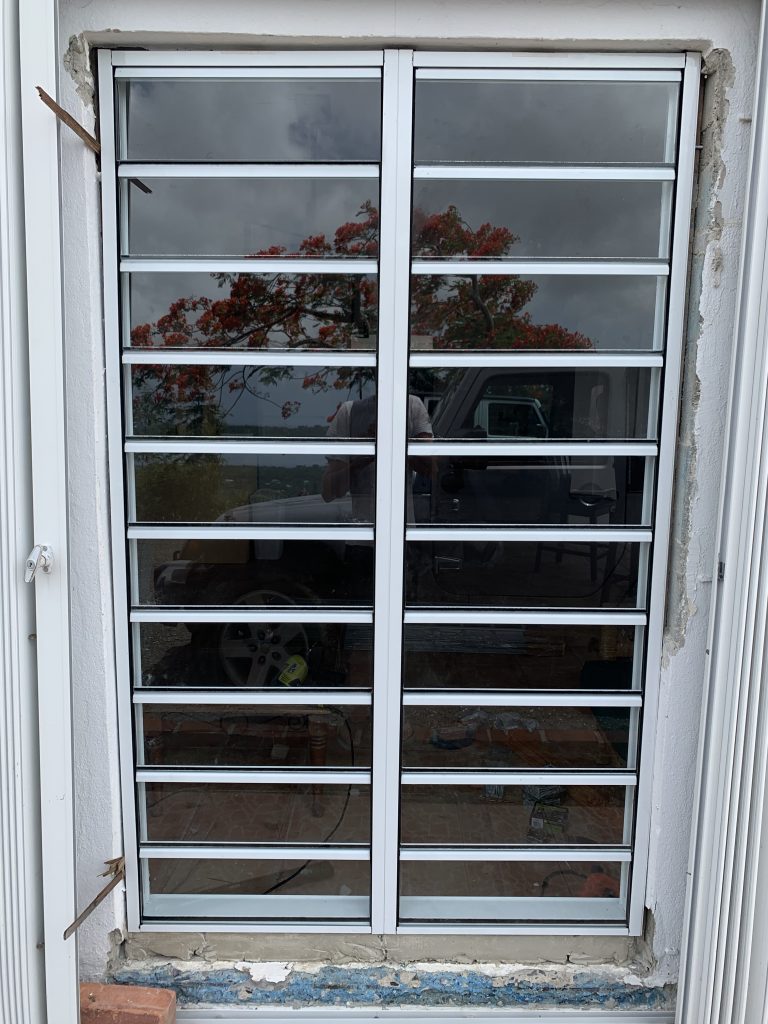
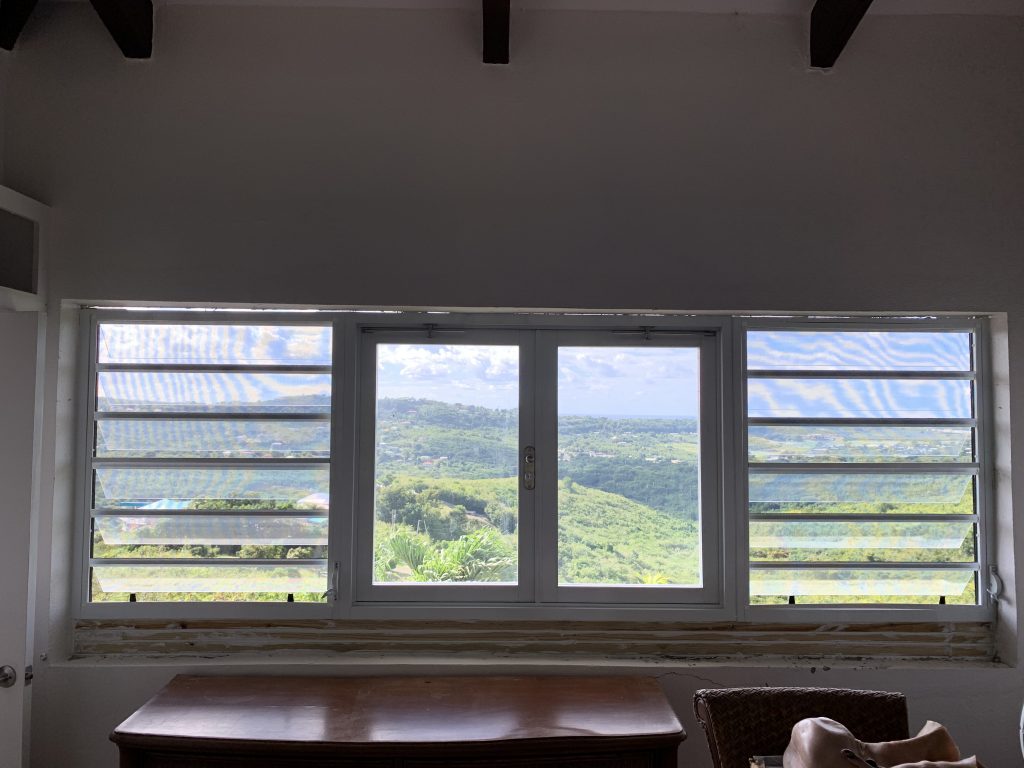
We built up the windows that were shorter than the rough openings with treated lumber, all tap-conned into the concrete. We then sealed any gaps with caulking for water intrusion, and then covered over with plaster and paint. After painting, the finished product looks great.
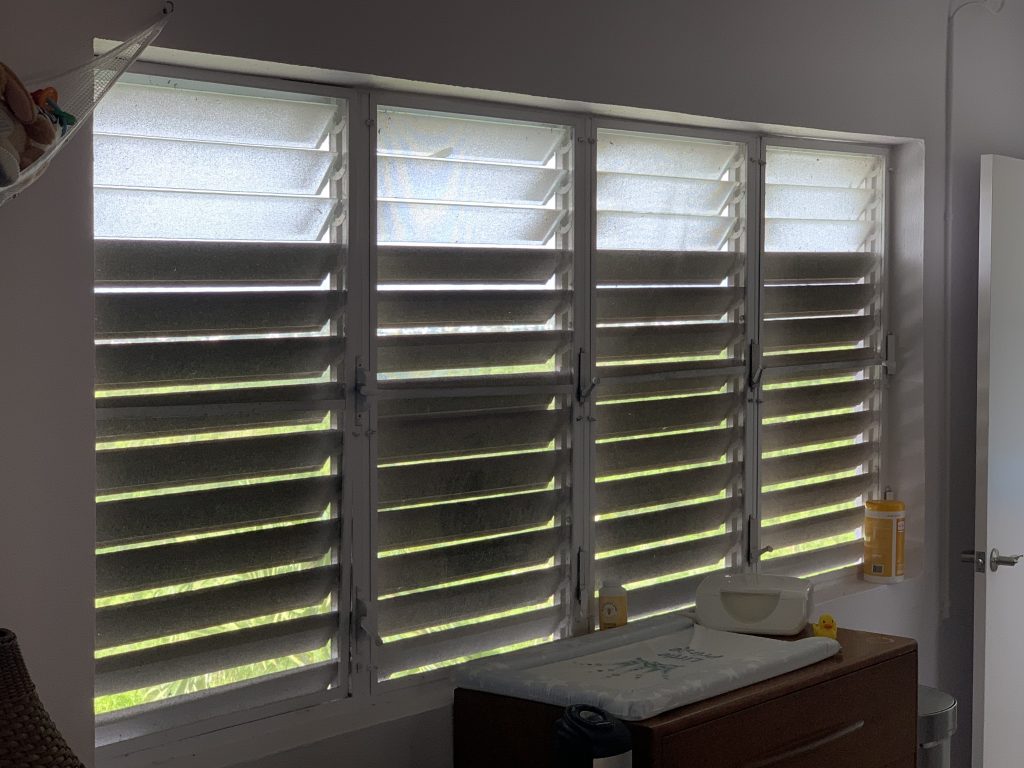
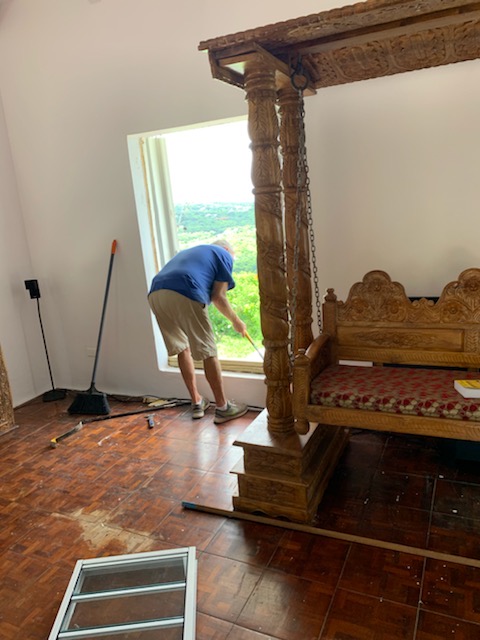
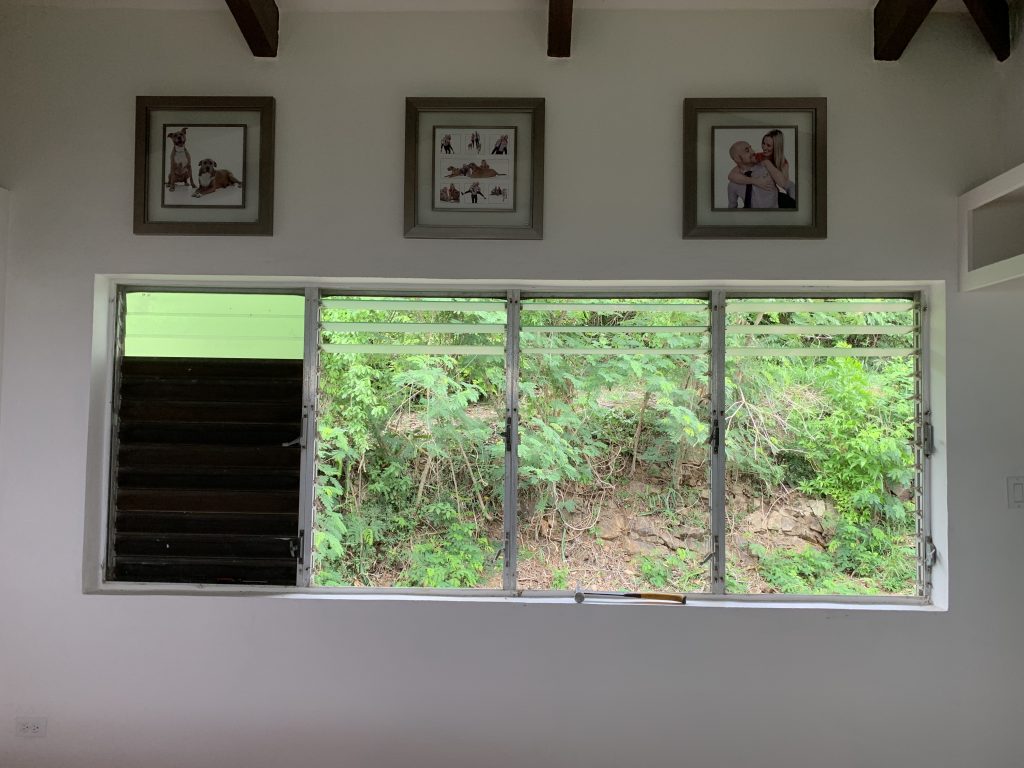
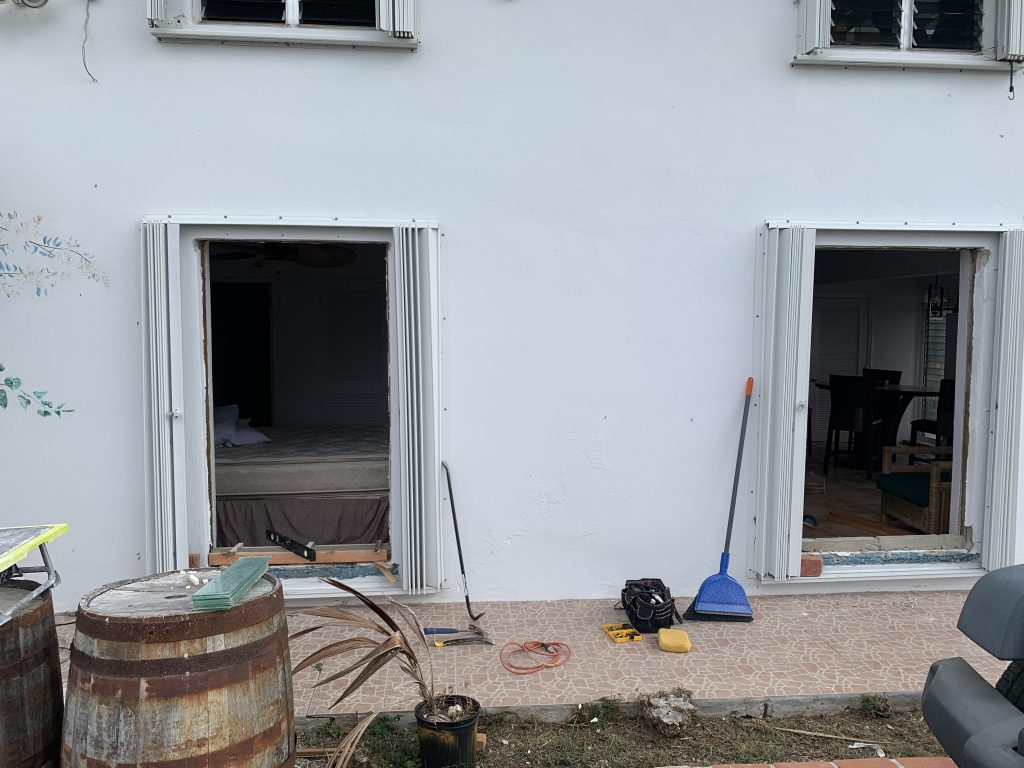
Liam’s Room Before
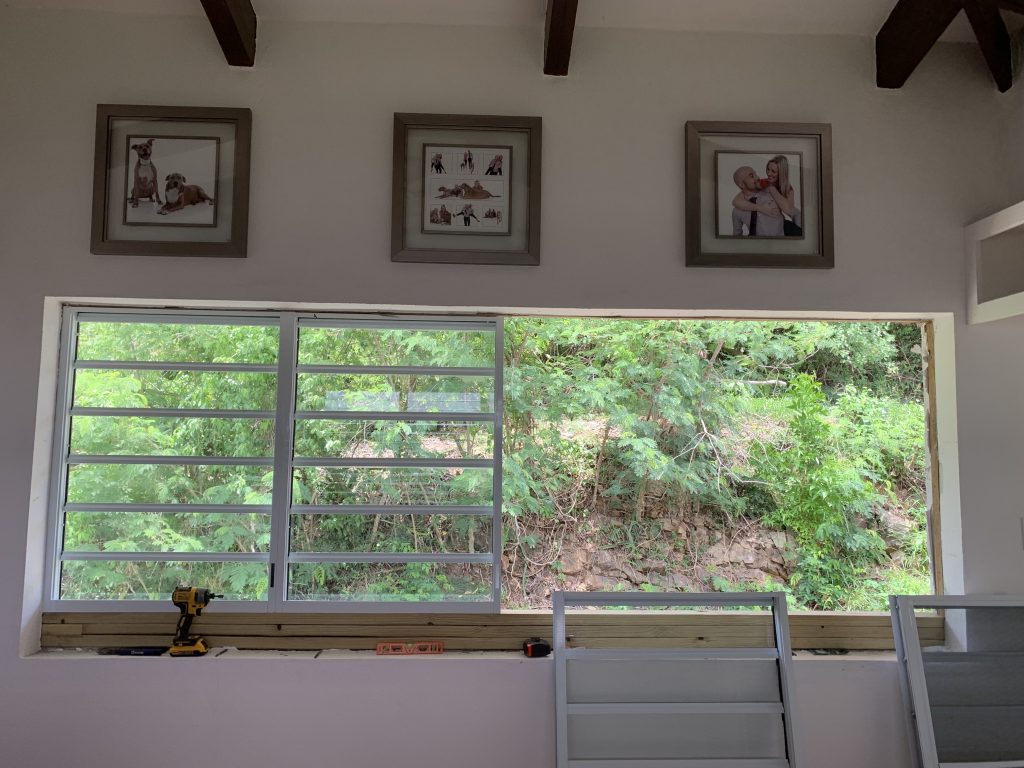
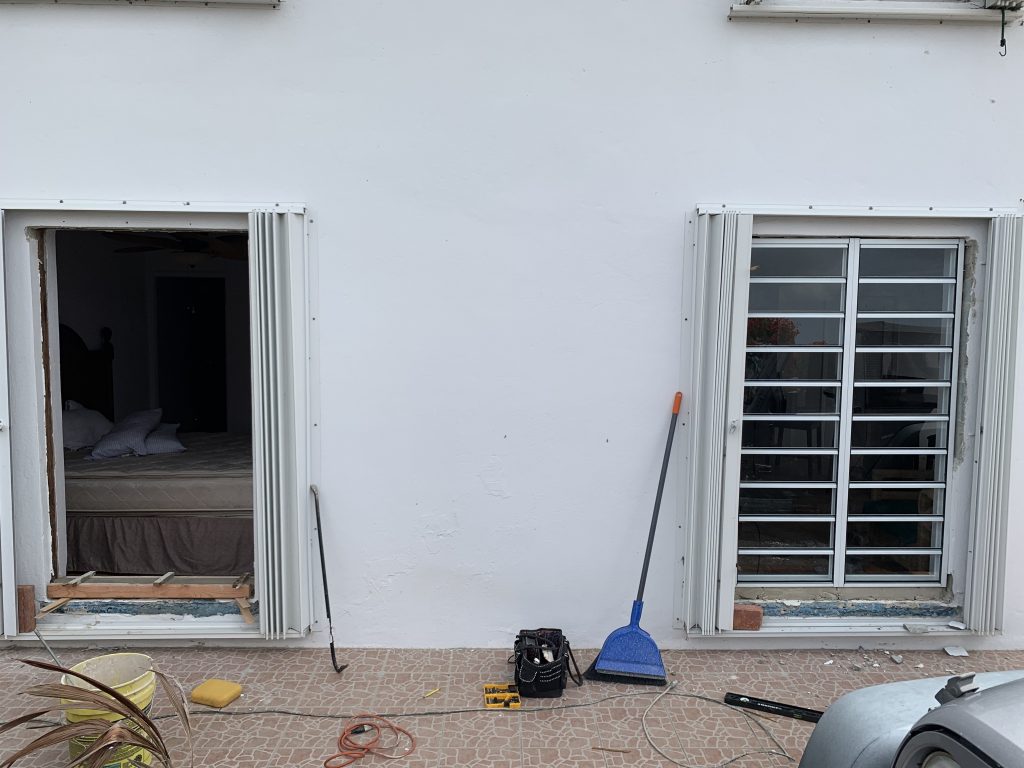
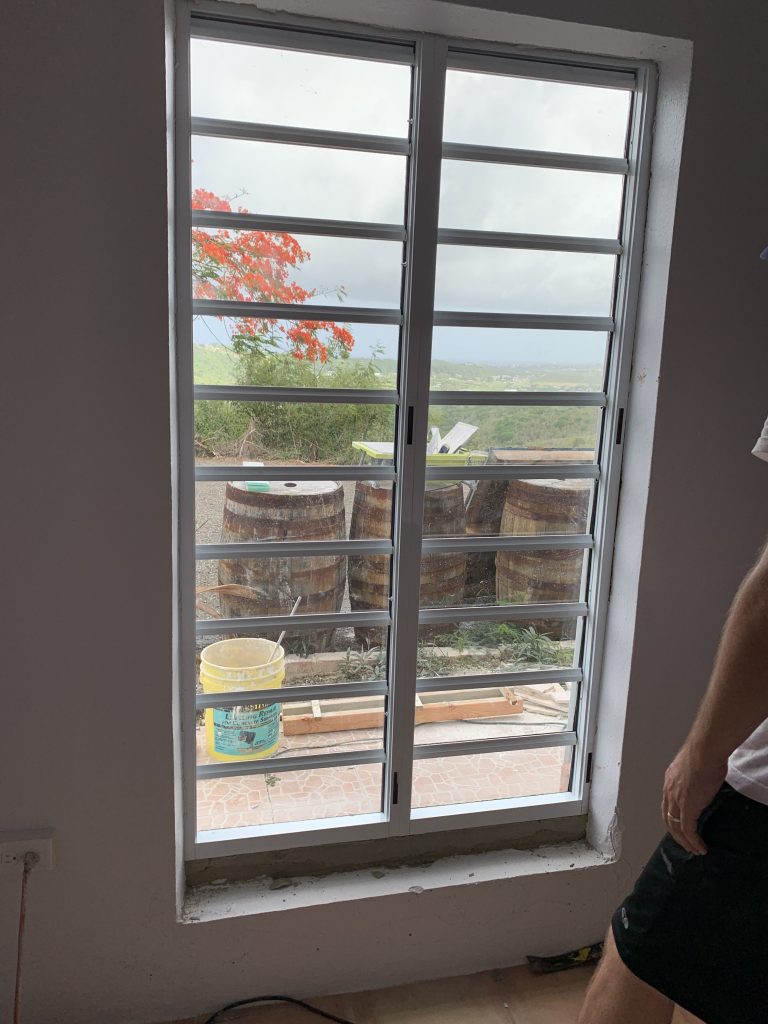
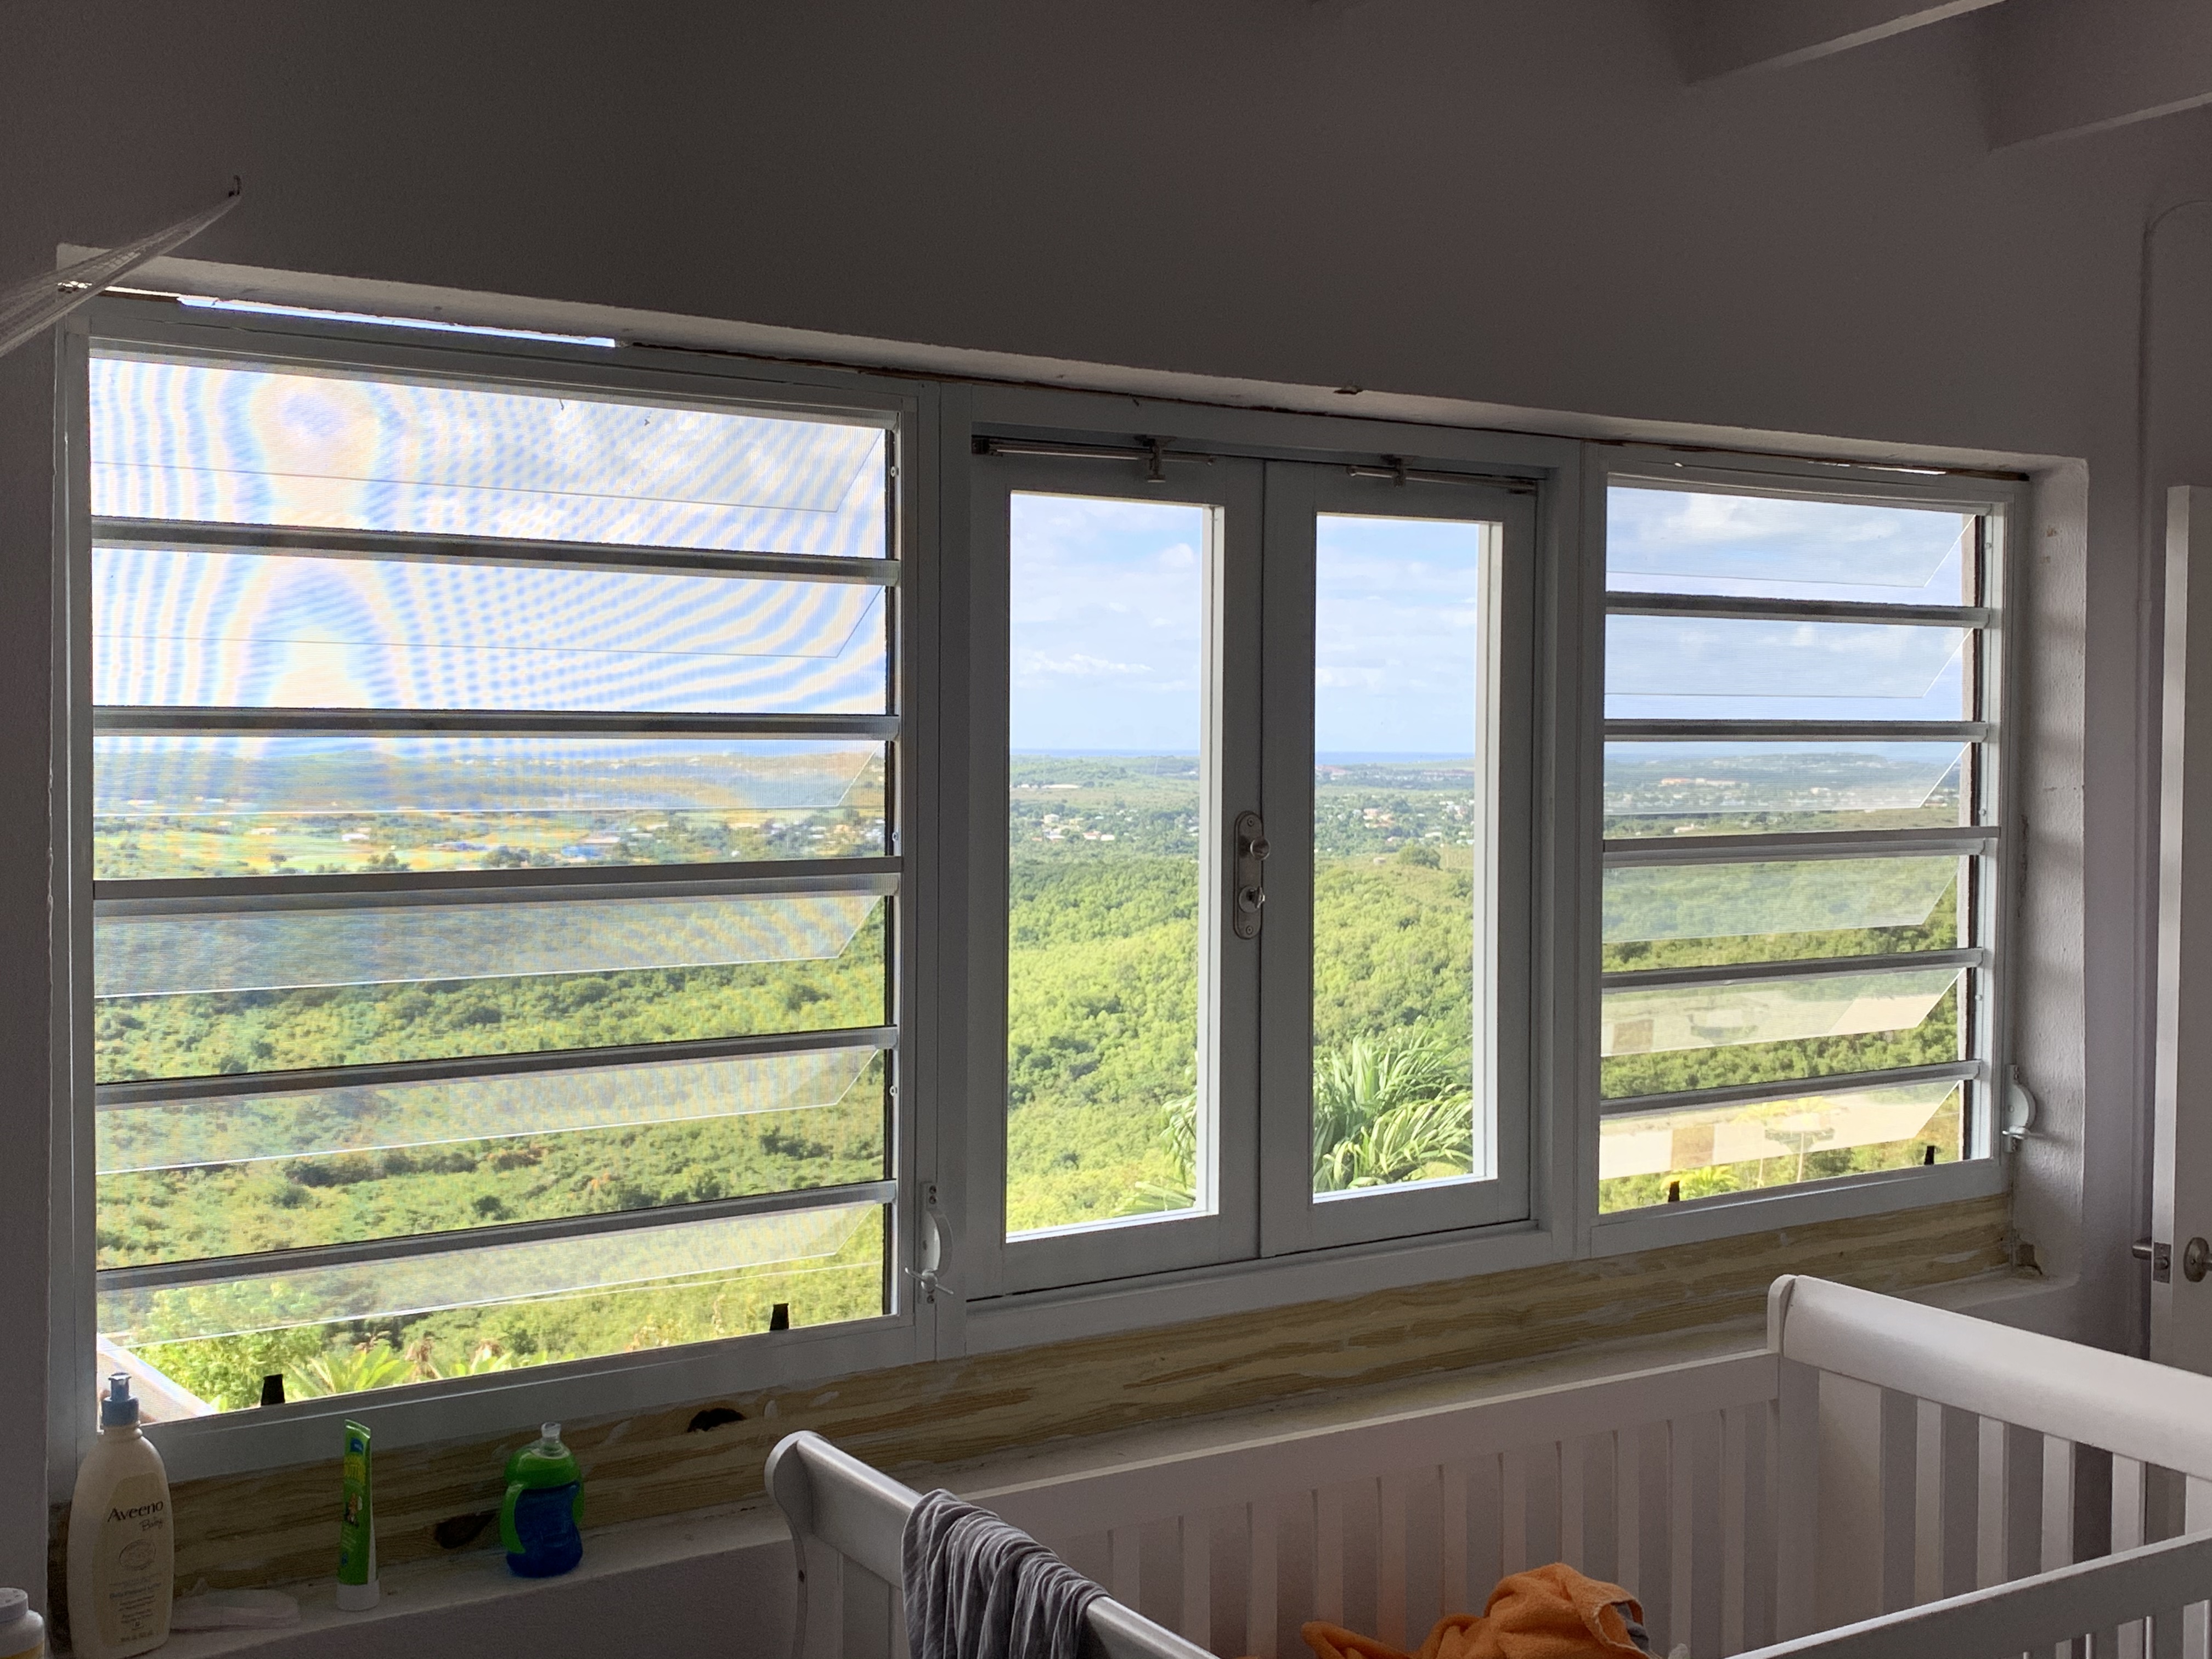
Liam’s Room After (Well, before caulk, plaster and paint) – BUT LOOK AT THAT VIEW!

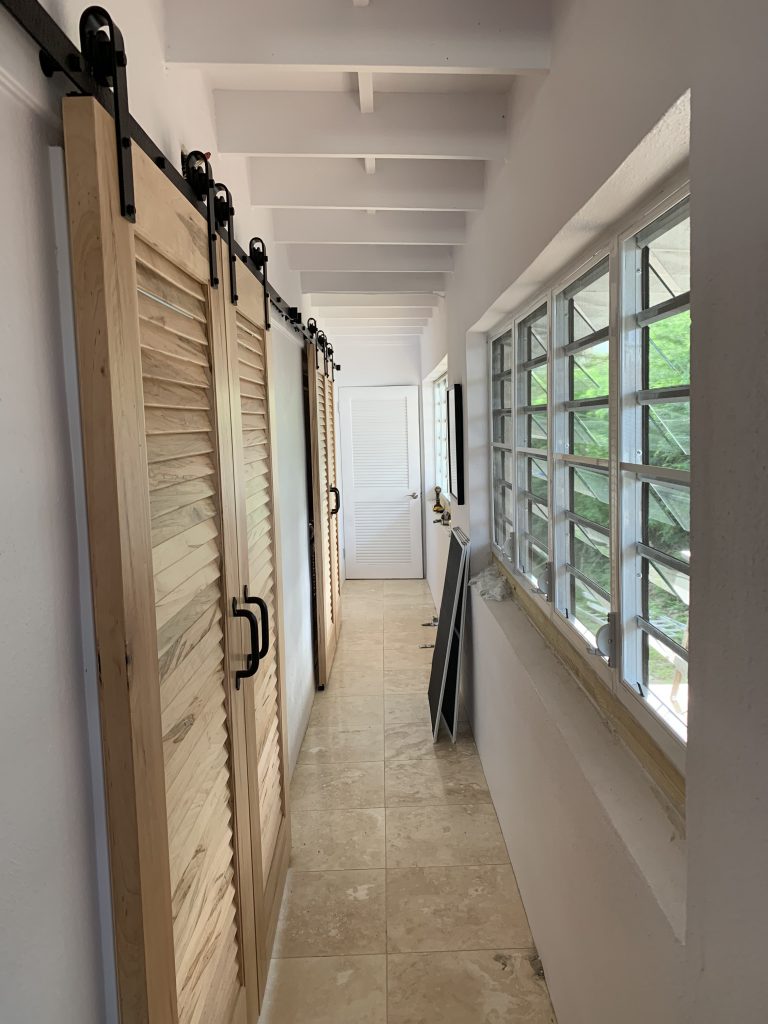
These windows and screens are very easy to clean. It changed the view from the bedrooms and hallways in a major way. Before – we literally had wood window slats, you couldn’t even see through… A cheap way to allow ventilation in, and protect against hurricanes, all while completely blocking the view. Who does that!?!? lol.
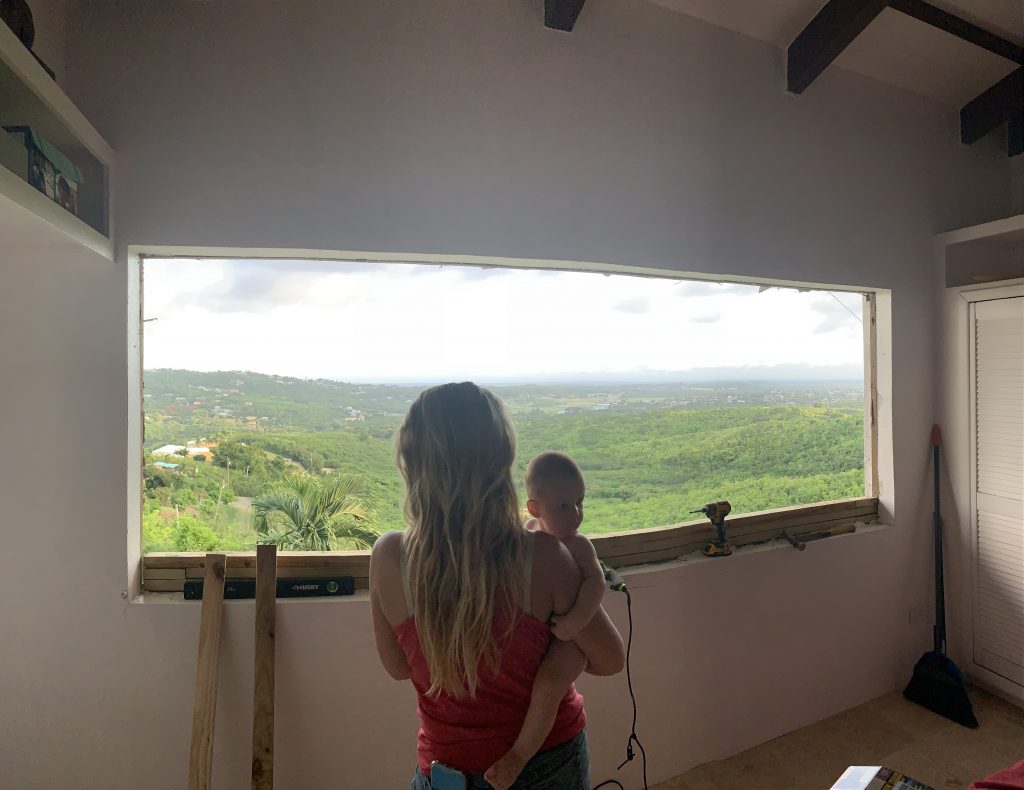
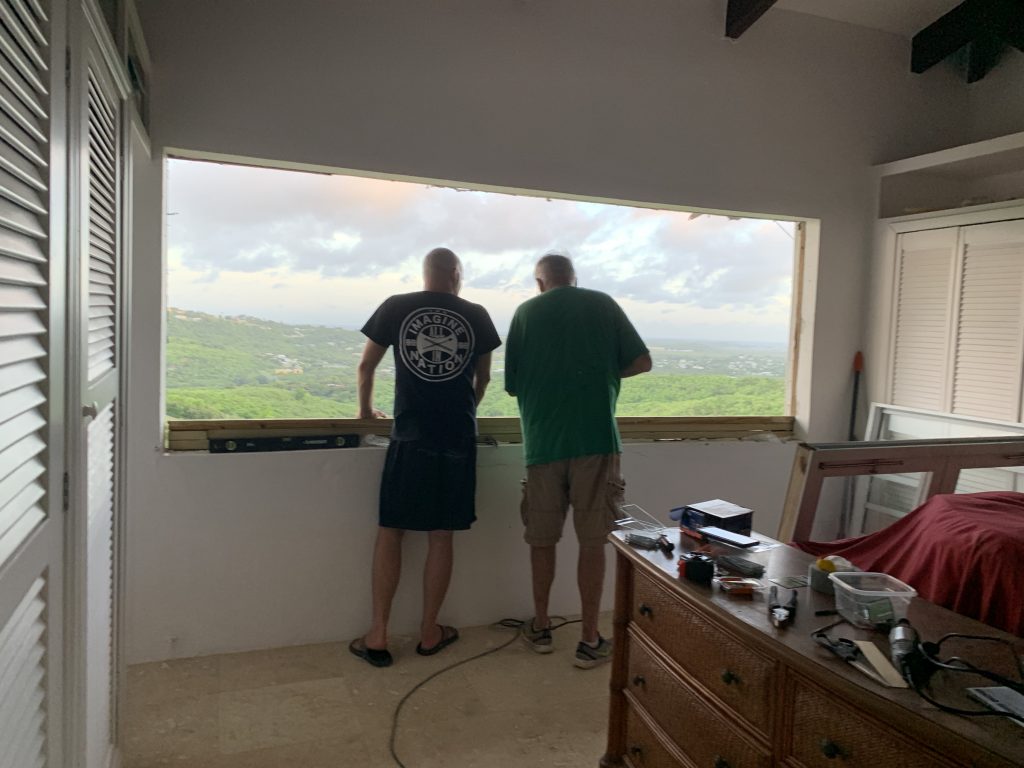
Checking Out The Never-Before-Seen Master Bedroom View

I commented previously, but the quality control process at AirMaster windows completely sucks out of Puerto Rico. While the finished product is of quality it seems, the manufacturing process is shabby. For example, the glass has fallen out of a few windows because they didn’t put enough silicone inside the metal bars that hold them in. We’ve been waiting for a couple months now for replacements. They forgot the connecting screw hardware in our windows, a $180 credit Home Depot had to give me to buy more, and they were even missing some of the window cranks and such. All fixable things I guess, but annoying none the less. They need someone checking the quality when the product comes off the line, so not to inconvenience the home owner or installer. I wouldn’t recommend these windows after our hassle ordering, waiting, installing and fixing, although I have to say I’m happy with the final product once it’s installed and has all the missing pieces replaced.
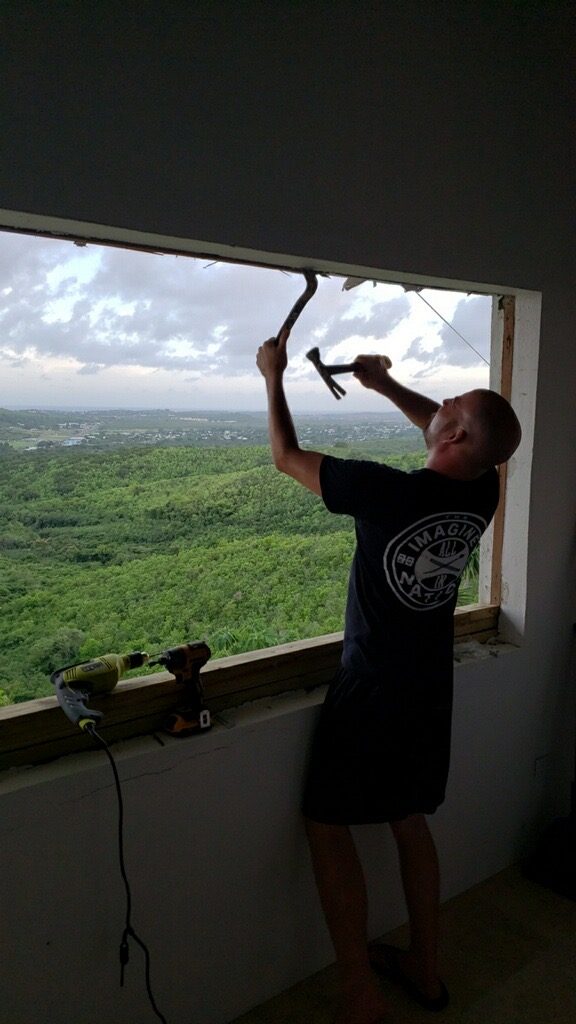
This process took us about 20 days of work in total, about 15 with two people working, and we installed 42 windows and doors. It would be much faster if this wasn’t a concrete house. I’ve got another 5 windows to do, which will probably add another 5 days worth of work once it’s all plastered and painted.
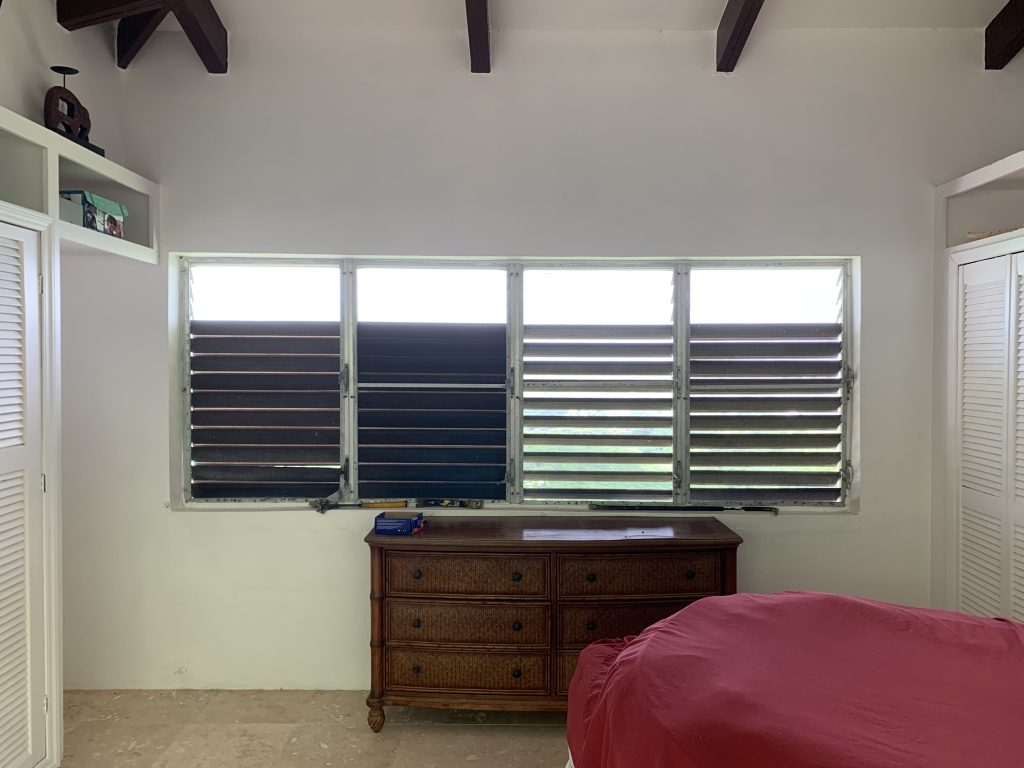
Before Master Bedroom View
New Master View (Before Caulking, Plaster and Paint)
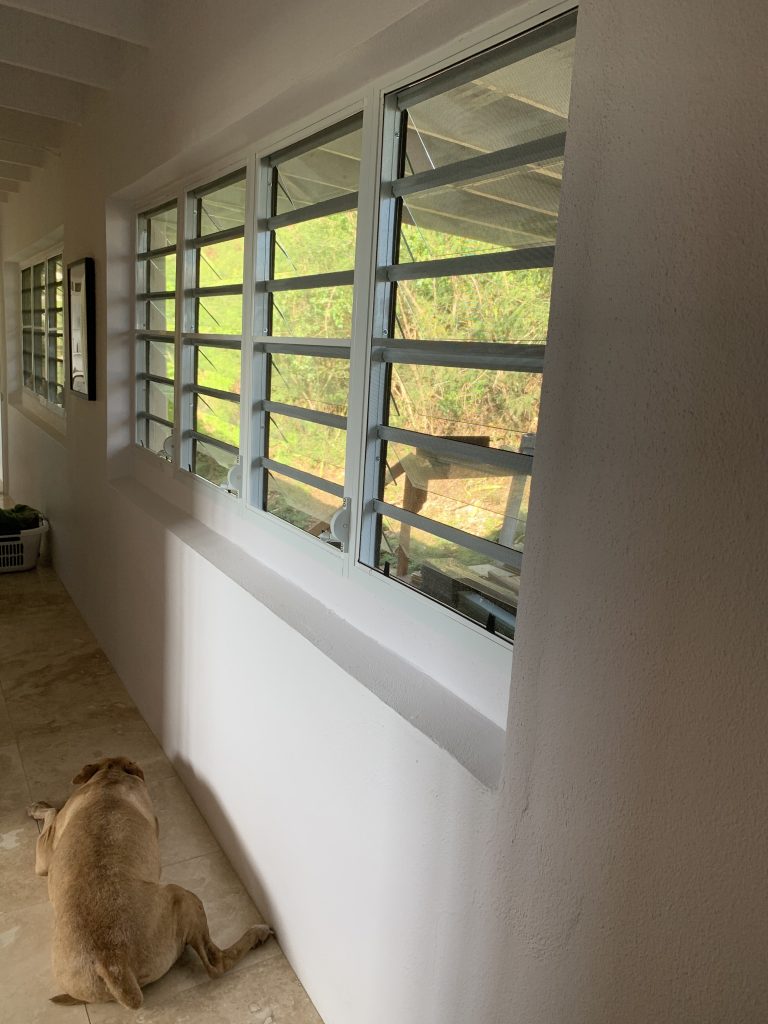
Hallway starting to look pretty nice!

Finally, I’ll end with Liam – who is growing up incredibly fast. So far, he enjoys driving, and sailing as his main hobbies, other than eating, sleeping, and pooping.

Stay tuned! Flooring and kitchen is almost done!

Liam is a Sailor
Liam Loves Driving.

Replacing New Windows in a Concrete House

The below took place from January 2019 to July of 2019

The below activities took place over the last 7 months, but I’ve coupled it into one article from “receiving” to “replacing” a couple of our windows, the majority of which we have not done yet. I’ve got a long way to go in regards to replacing the windows in the house. The biggest pain in the rear will be doing those on the second floor. My neighbor said he has some scaffolding, so I will most likely borrow that when I get upstairs. This will not be the last article on windows I’m sure…

Window Delivery!
Window Delivery!

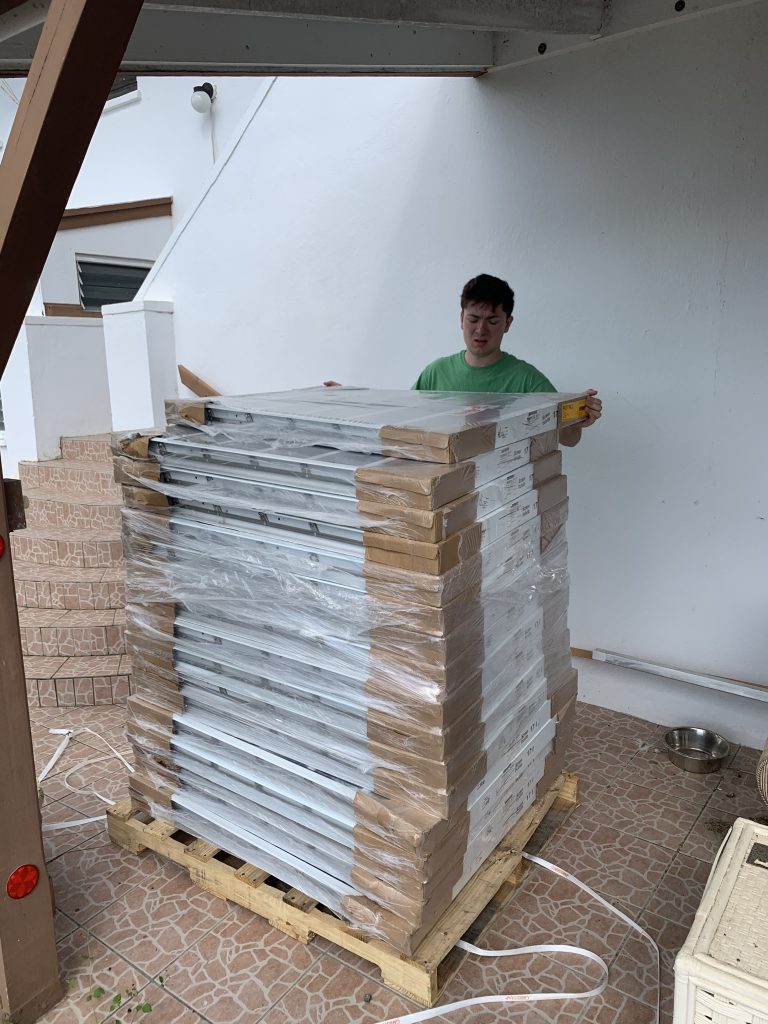
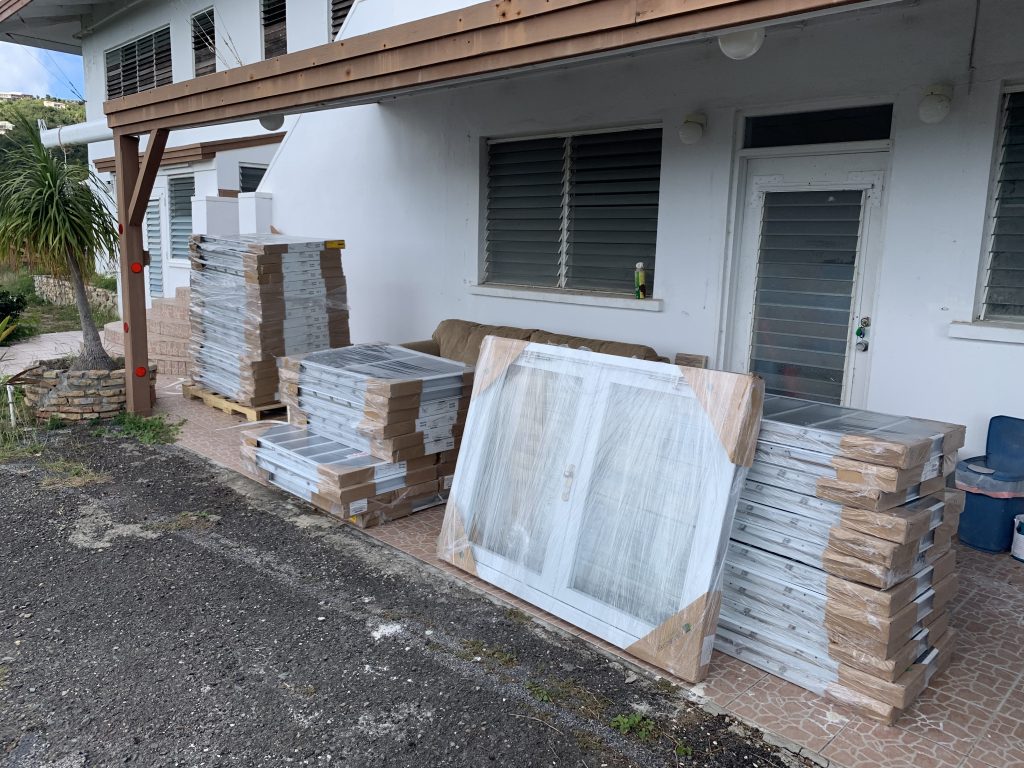
When they arrived, Sebastian helped me pull them off the truck. I forgot just how many there were. 47 windows and doors all together. 47! That’s a crap ton of work to be done. So far it’s been 7 months since they first arrived and we haven’t replaced them all. They have been just sitting on the back porch, covered from the elements. We have installed some doors – which I’ll mention in the next update.

Sebastian and I Moved all the Windows and Doors to the Back of the House One by One
So Many Windows and Doors
So Many Heavy Windows… the Doors Not Showing Here Either

The last few months I’ve been so busy, and before that my friend Dave ran into a medical issue (and I was sort of waiting on his help again to start on the windows.) I’ve decided to move forward though as I need to get this done now. I’ve done two so far downstairs in The View.

The windows we purchased are from Airmaster out of Puerto Rico. We didn’t have many options when it came to jalousie type windows for homes without AC. Since Florida changed their energy codes, not many companies are making them anymore. (They used to be popular in Florida.)

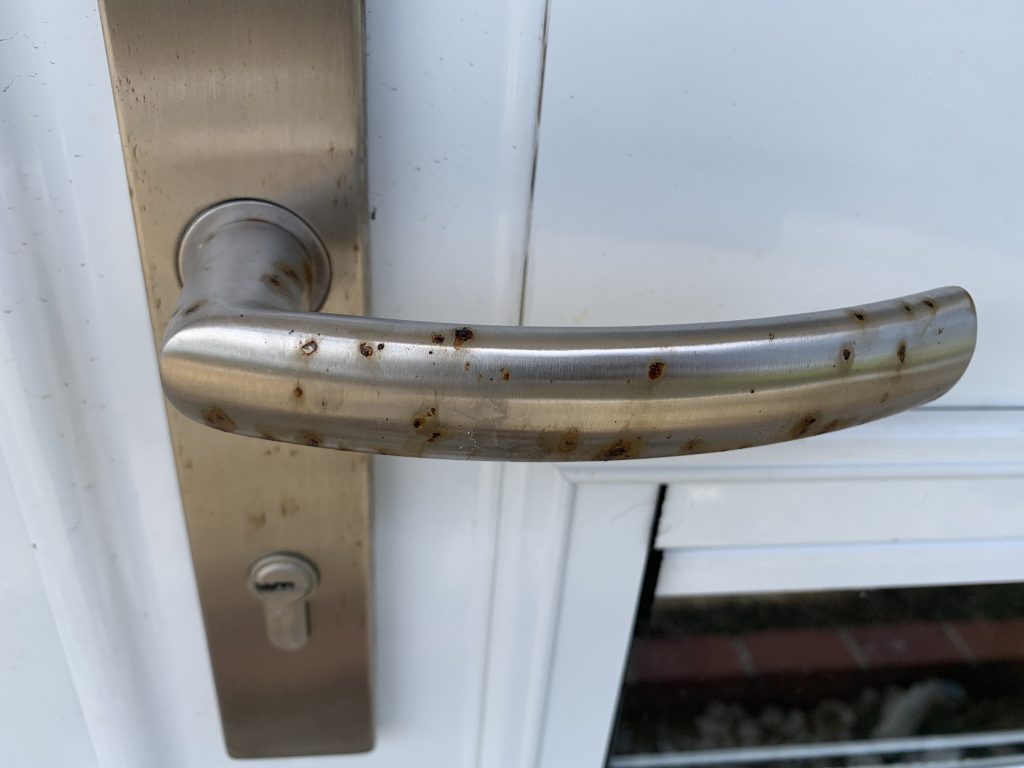
Rust on Stainless Steel Hardware

I have to admit I’m a little disappointed with Airmaster’s quality control. While the windows themselves seem to be made out of quality materials (heavy, durable aluminum with thick glass and hurricane glass on the door panes) I have had a few issues already… A couple pieces of the glass have not been properly inserted into their window rail/holder which I’ve had to re-glue with clear caulking, the “stainless” handles on the doors are already showing rust to which they told me I need to regularly polish with rubbing compound to keep looking nice, one of the handles was missing and not even cutout into the door itself, none of the adjoining screws for the windows were included so Home Depot gave me $120 in free hardware when I complained, and they’ve shorted me a window crank already and I’m only on window #4. I know Airmaster is busy as hell from the hurricanes still, but they really need to get it together and make sure they’re sending out a quality product. I spent 10’s of thousands of dollars on these and to have this many issues, well – you understand, I’m sure, how I feel at times. Luckily though in the end, all of these things are fixable, and they don’t affect the end quality of the product after its installed properly, so life goes on.

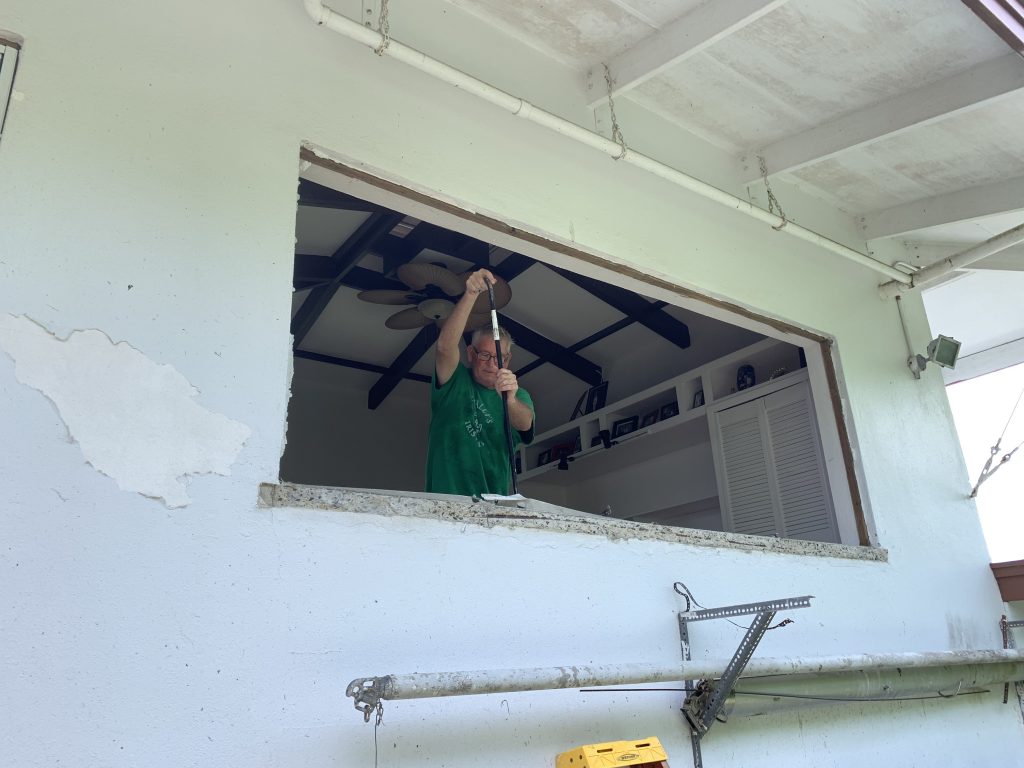
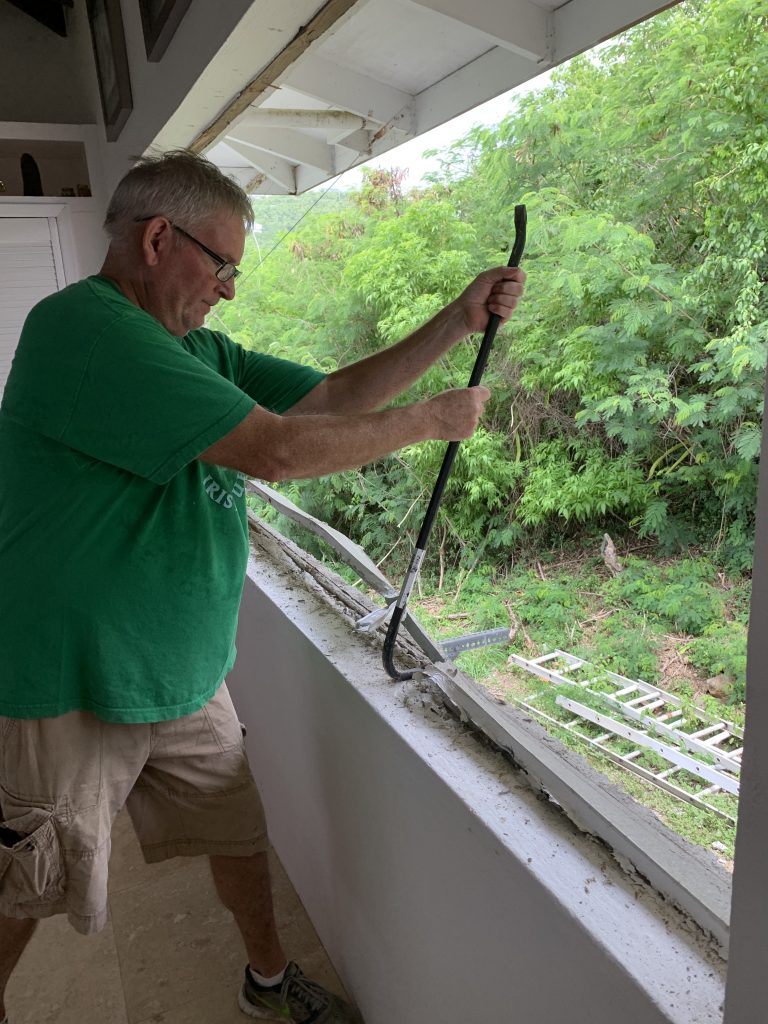
Removing Old Window Frame

Tearing out the old windows I noticed they were only in with four 1″ screws… and some plaster of course. I could not believe they’ve held in this house so long with the storms that have come through. My plan is to use 4.5″ concrete Tapcons. On the first two sets of windows I installed, I used 8 of them in each. Six on the sides, one top and one bottom. These aren’t going anywhere in a storm, even if the glass breaks.

We do need to work on getting hurricane shutters for the house. I want the roll down electric kind, which of course are the most expensive. It’s going to be a while before we get them. Half the house already has the accordion shutters and we have some metal shutter panels for other windows on the house. There will be some that are completely exposed that I have to worry about first (and those will be the ones who get the first sets of roll downs.) I did a quote on a couple sections of the house and it seems that its going to cost another $35-40k or so by the time we’re done with the entire thing (materials only if I install), which is almost double the cost of the windows themselves, mind you.

One thing I learned is that jalousie windows, only come in certain heights depending upon the size of the jalousie window you buy. For example, 3″ heigh panes come in heights divisible by 3″, 4″ heights by 4, and so on. We had selected 6″ heights for the most viewable window space to show off the view, so of course my height had to be increased or decreased by a factor of 6. This means I will have to do a lot of “filling” and building up of the window sills before installing each window. Some are 1″ shorter than the space, some windows 4″ shorter than the space. This is a huge pain in the rear as it must be level and exact, although I think the end product will be worth it with more viewable window and less bars across. It’s also better than having to cut concrete everywhere. At least they can make them any width, exact, and there isn’t much to do on the sides of the rough opening. Let’s just hope my measurements were right.

Building Up the Window to Fit
Building Up the Window Opening to Fit with a Form I Made and Concrete
Just Needs Plastering!
Plaster and Paint Needed, Cranks Not Yet Installed, View from Inside

I’ll for sure have another article on installing windows in the future as we do more. The next article will show you what it took to get the doors in. (Thank God for my friend Dave.) I only have one set of doors left to do, which I plan on tackling in about a week from this writing.

You may have noticed I’ve also not put the total spend above recently… Since I’m playing “catch up” on these articles right now, I’m not sure exactly where we were in the spending, or the number of days at the time of the projects I’m writing about. I figured if I catch up completely in about a week and a half – I’ll then post exactly where we are today again with the budget. It’s not pretty… but our granite selection for the kitchen sure is. 🙂

The Sunrises have been beautiful lately. Here’s another I captured at our place.

Sunrise at Windchime Estates Facing Buck Island