Day 474
Total Spent So Far: $146,501.80
30 Yard Dumpsters Filled: 5.5
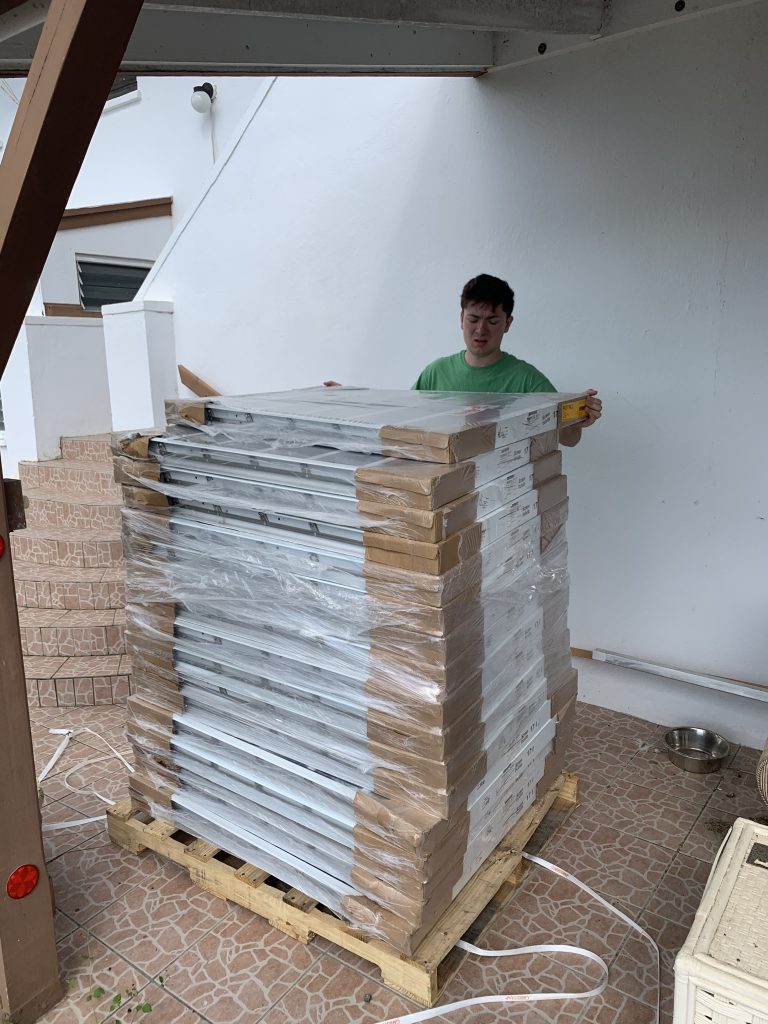
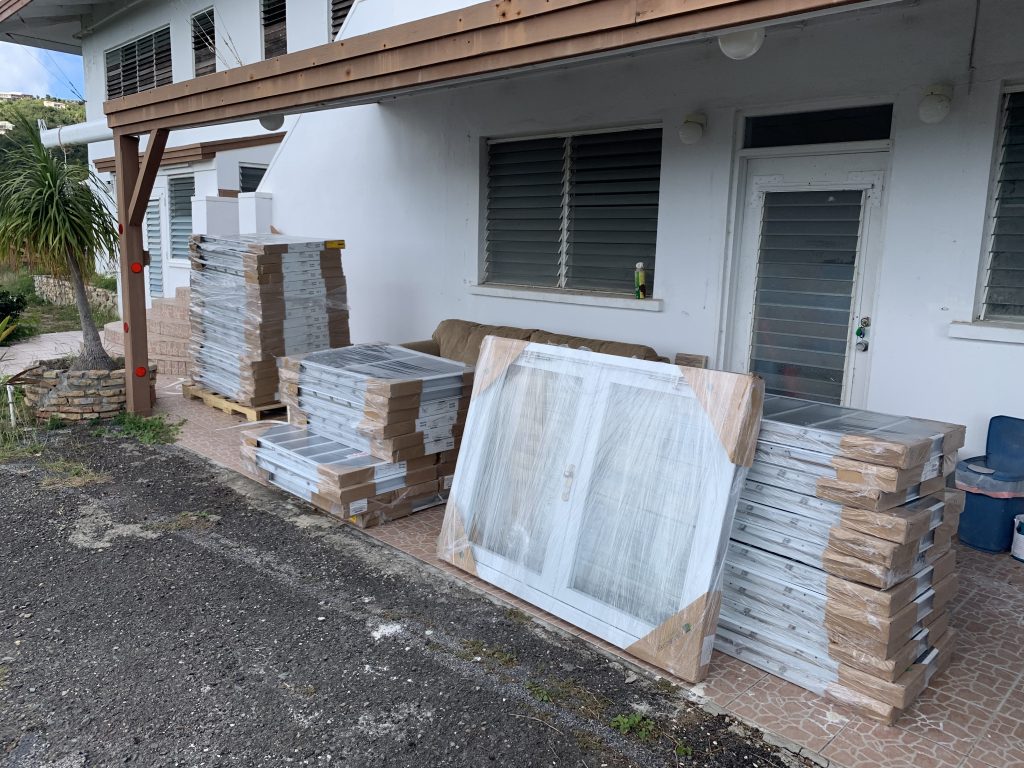
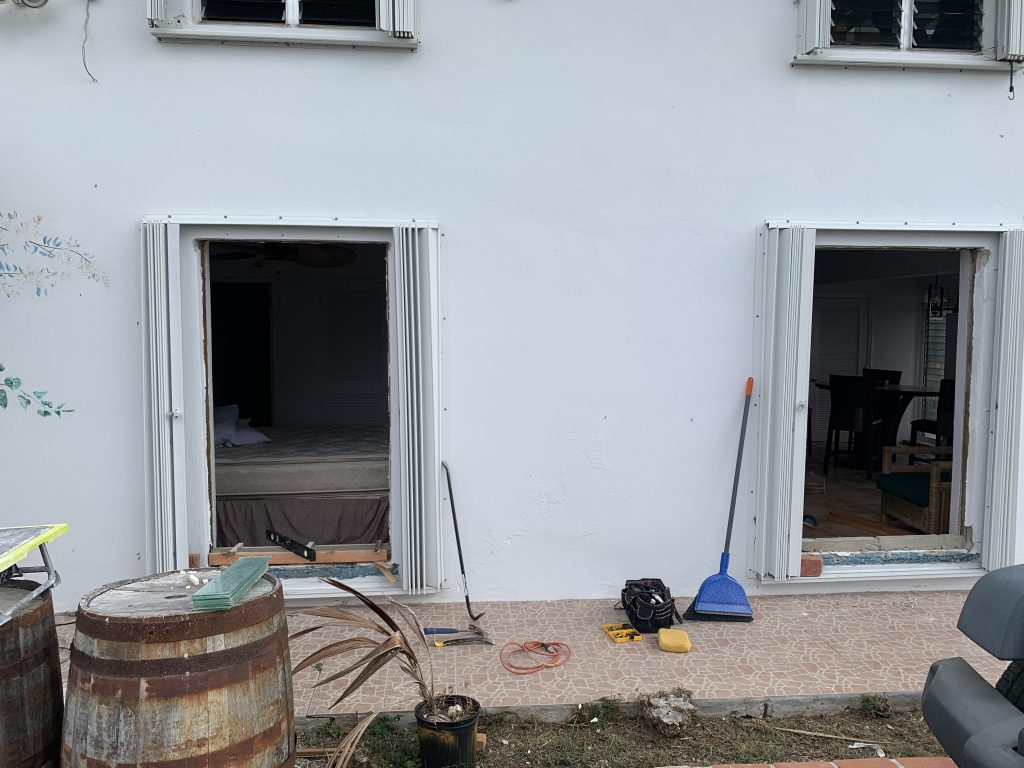
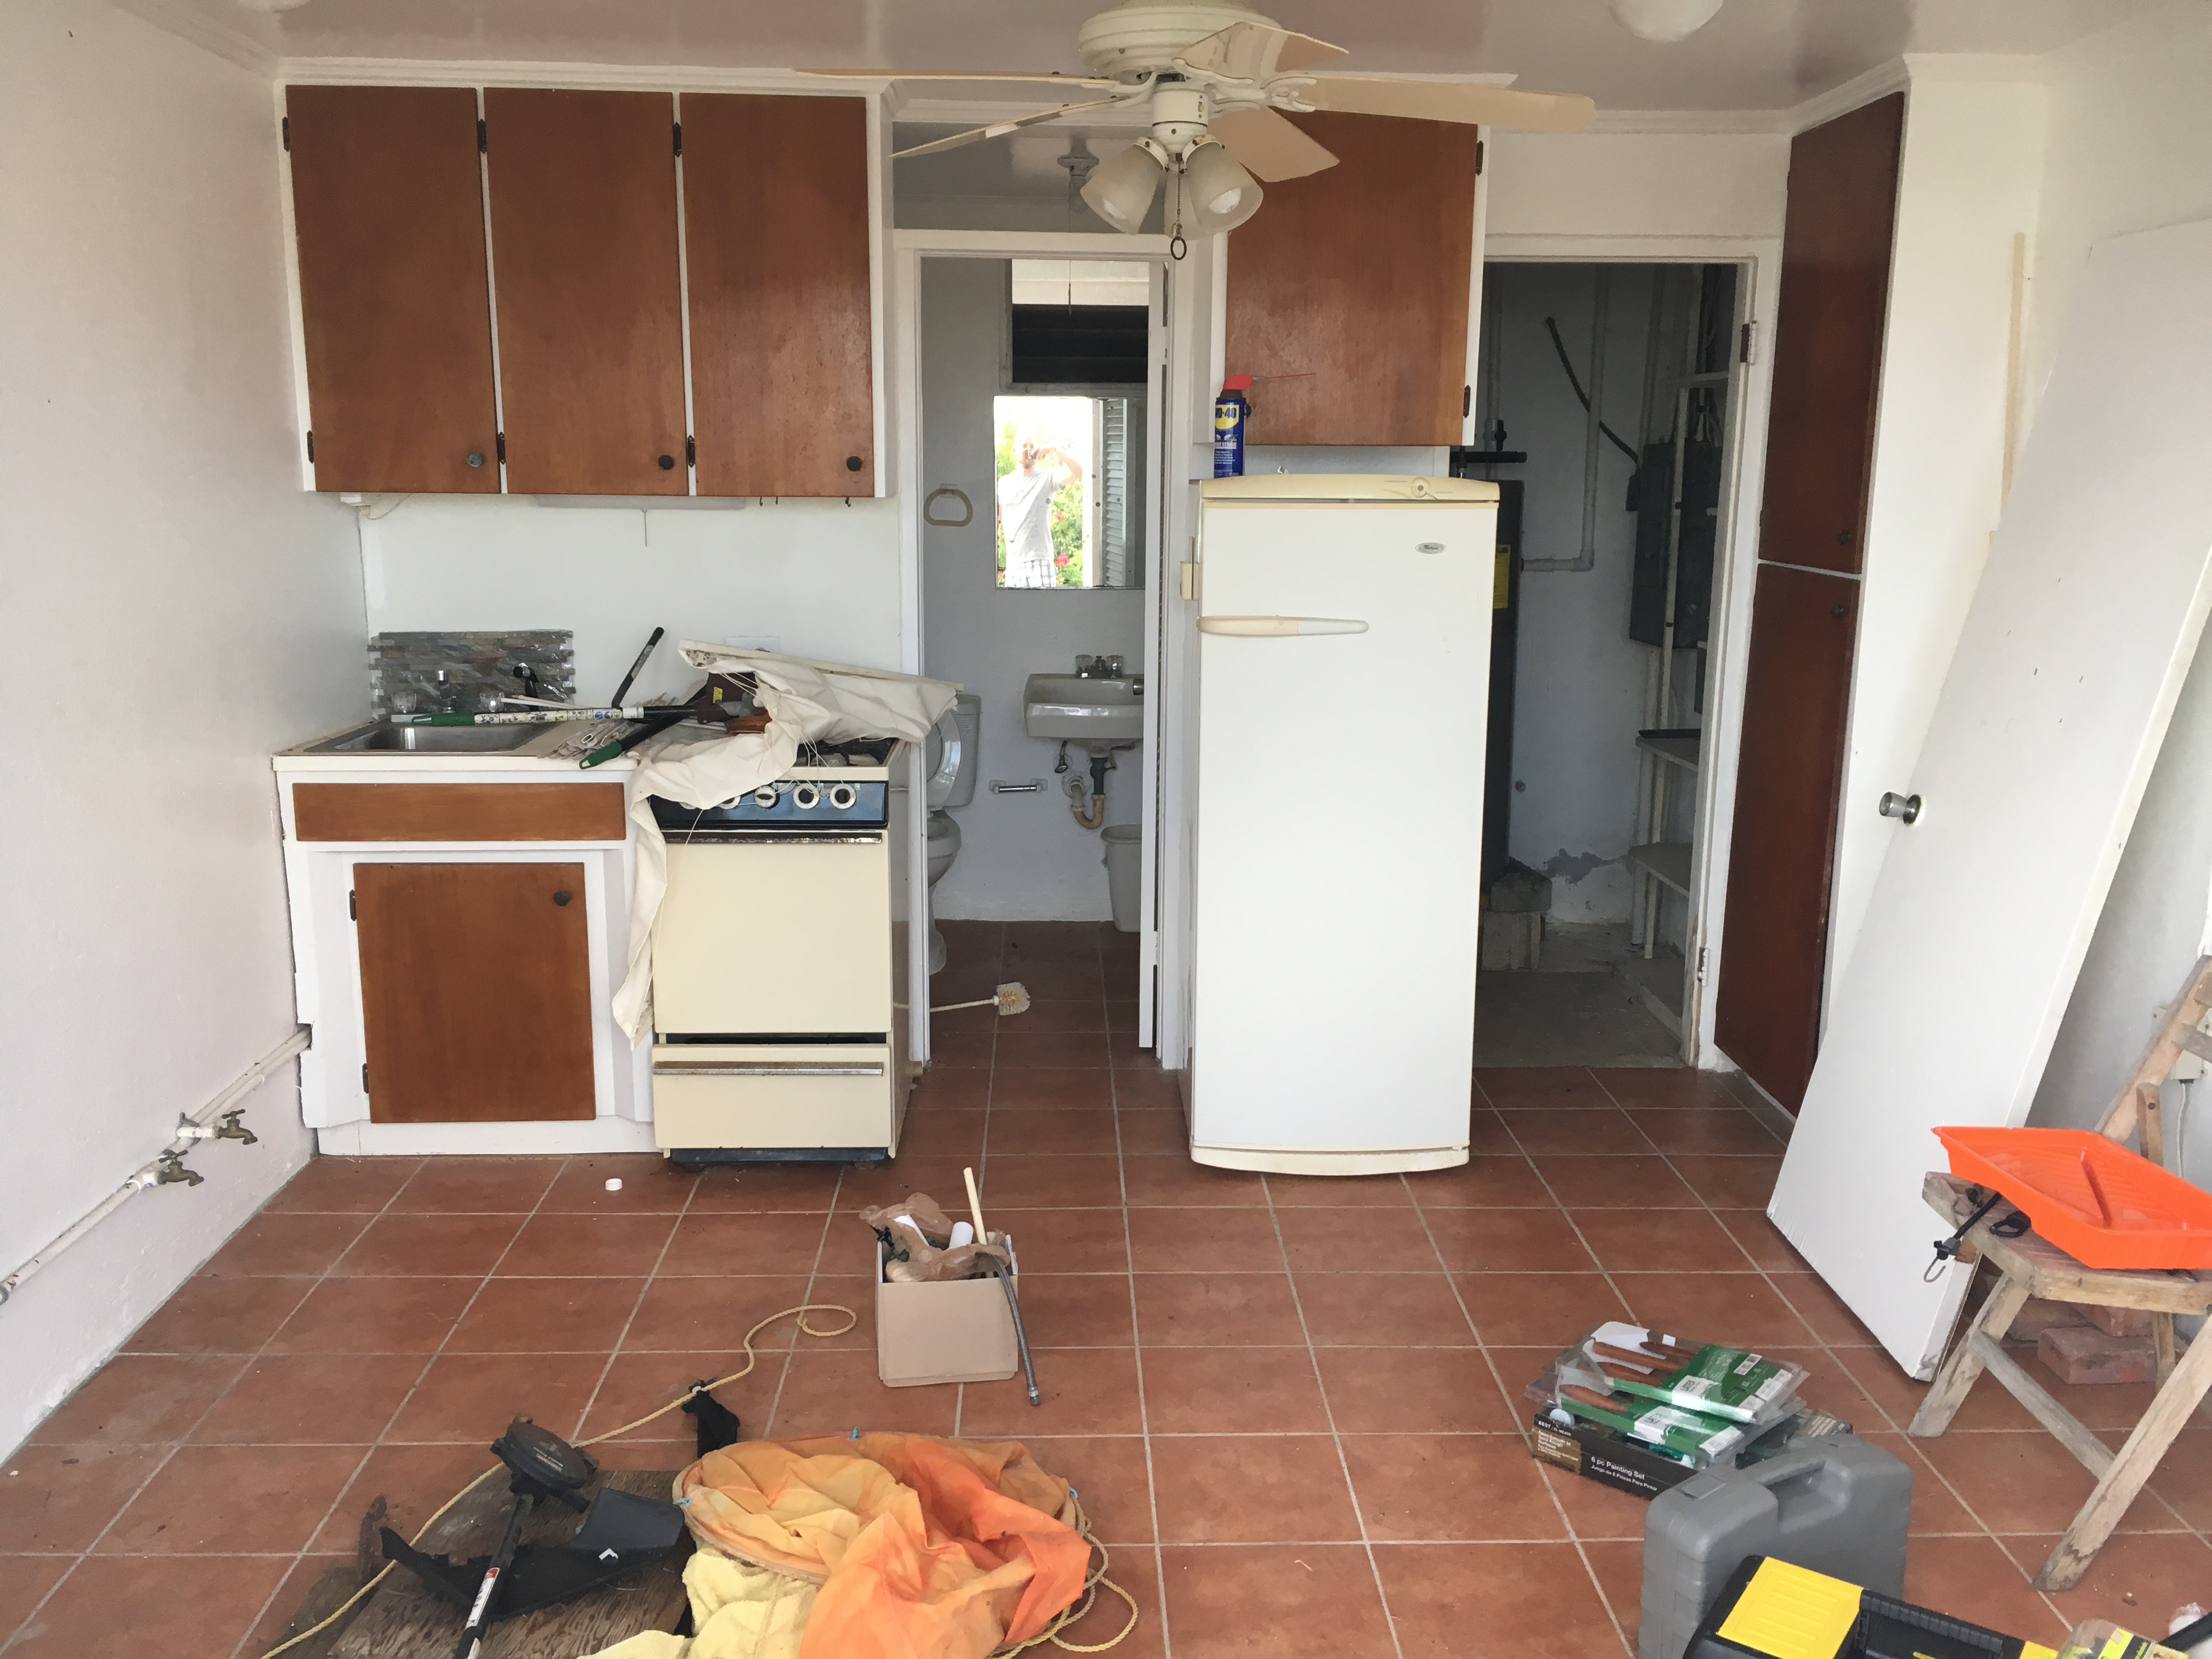
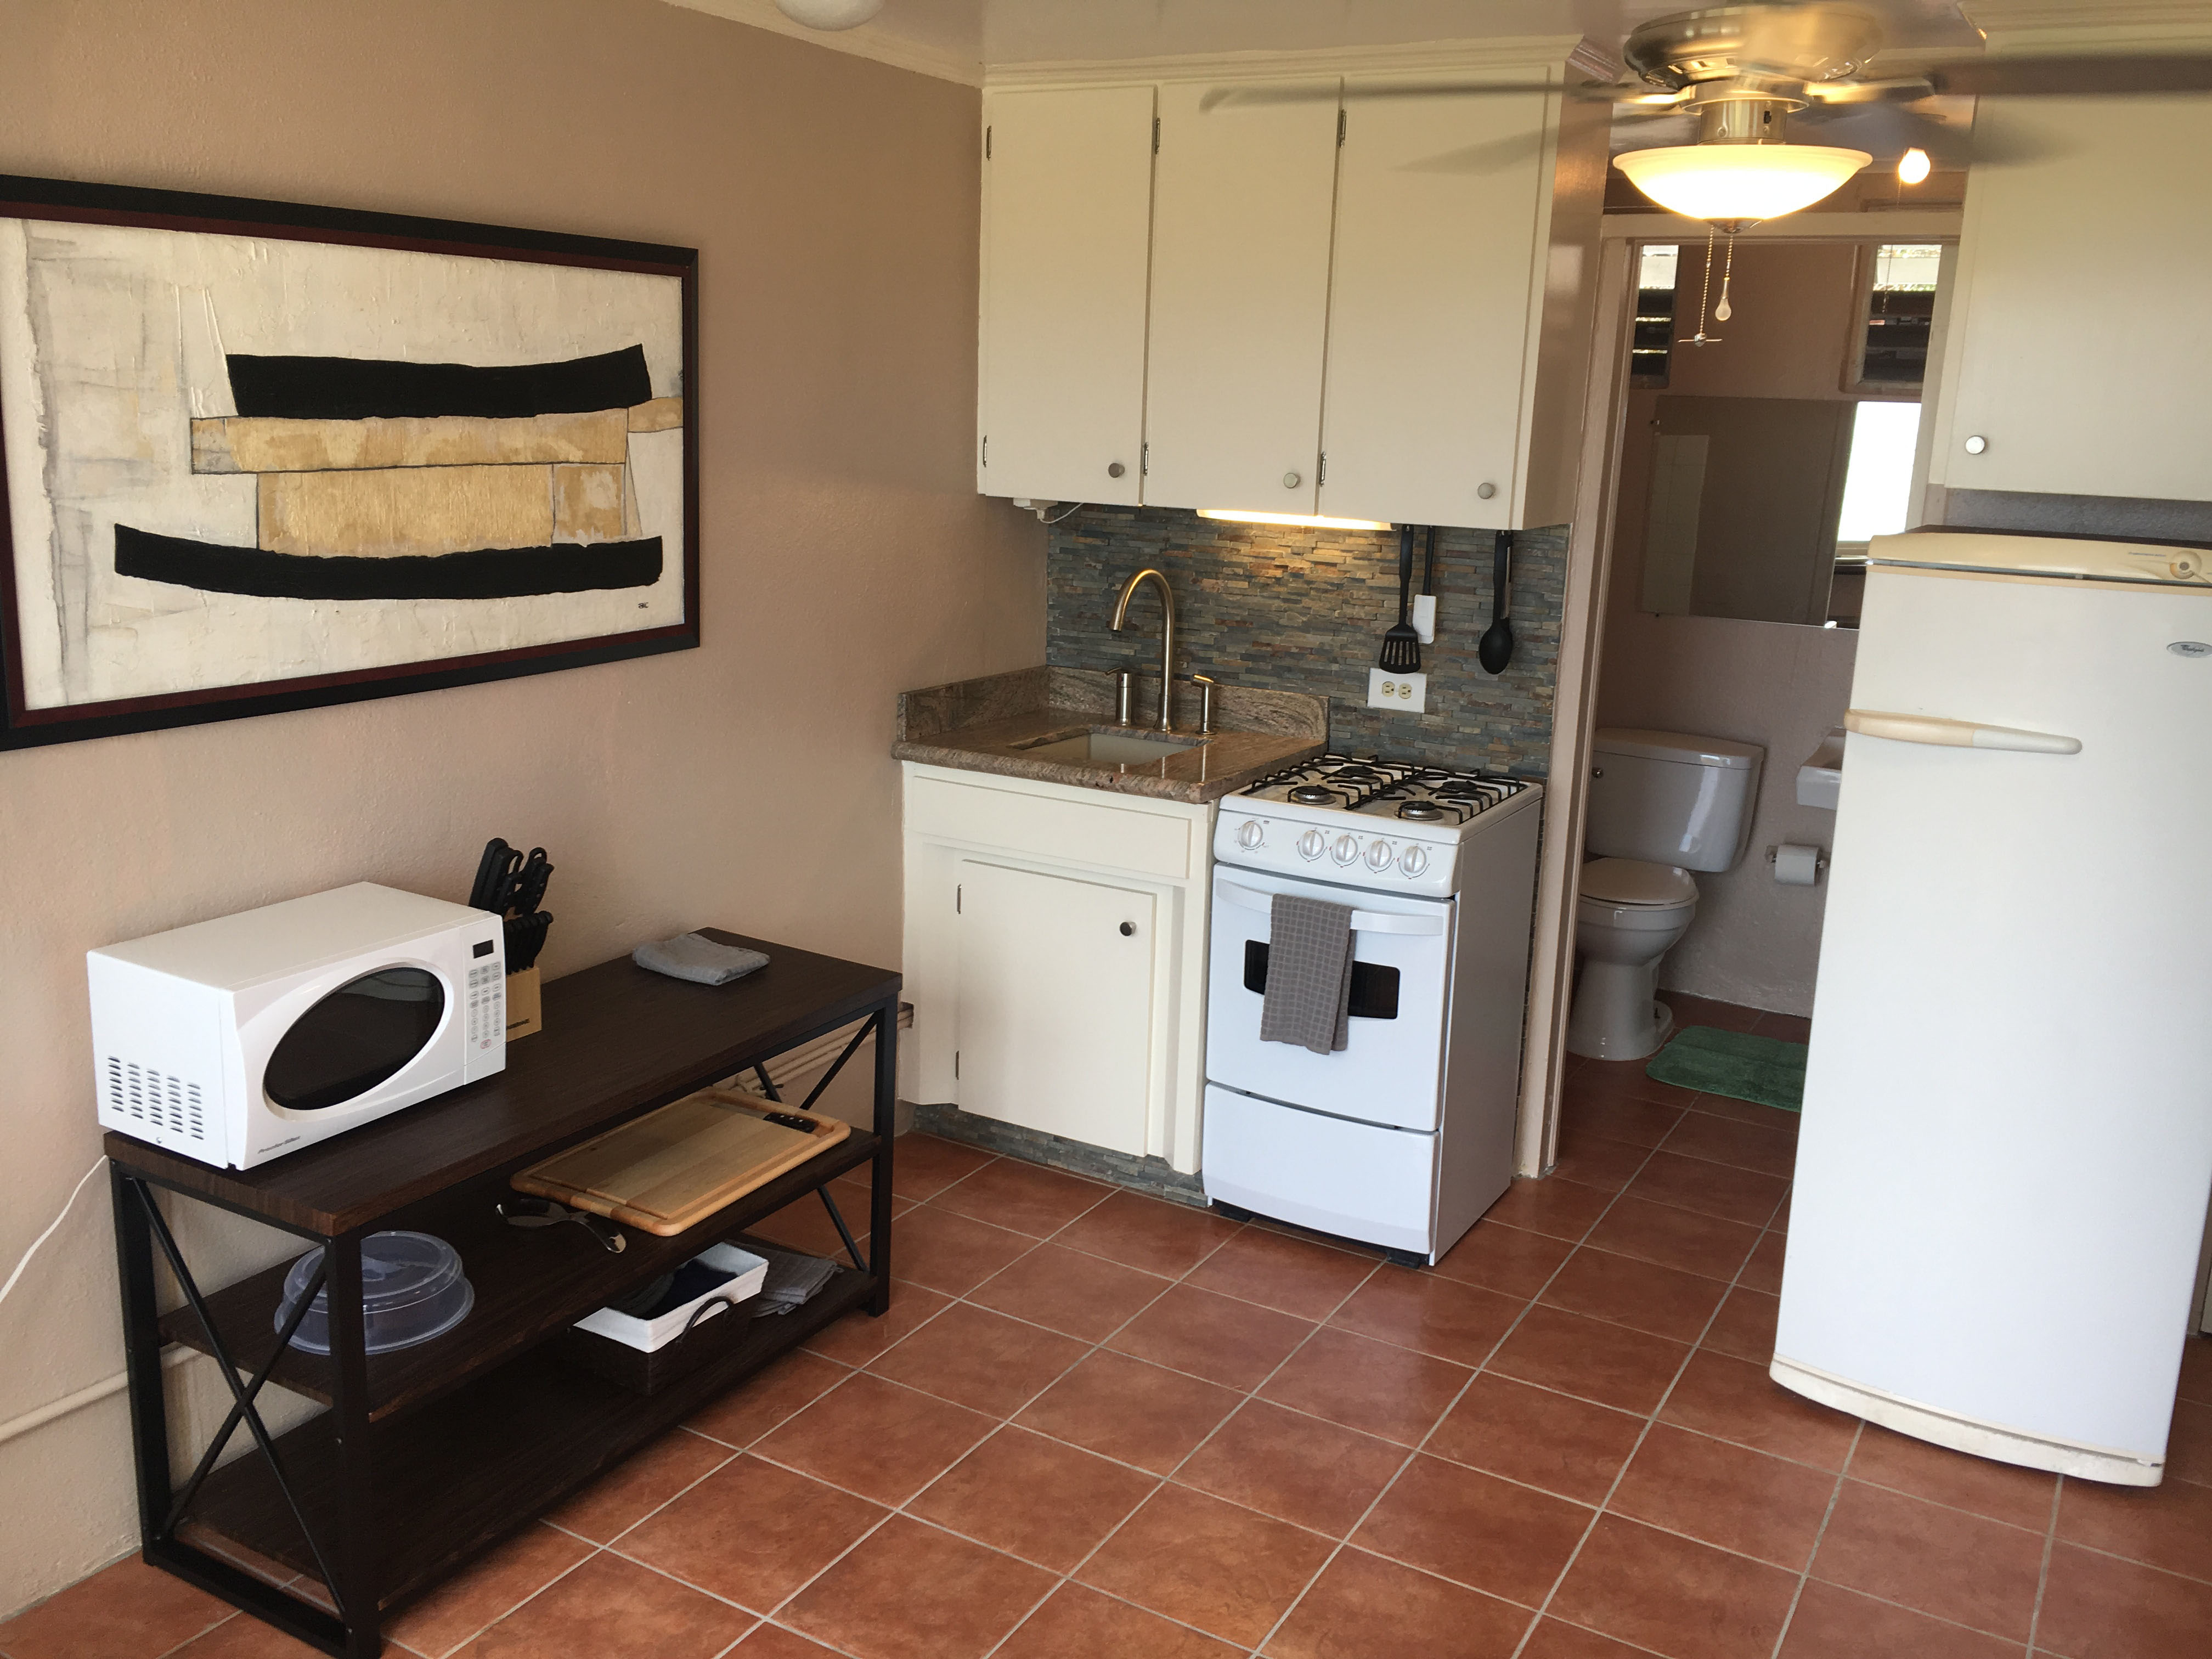
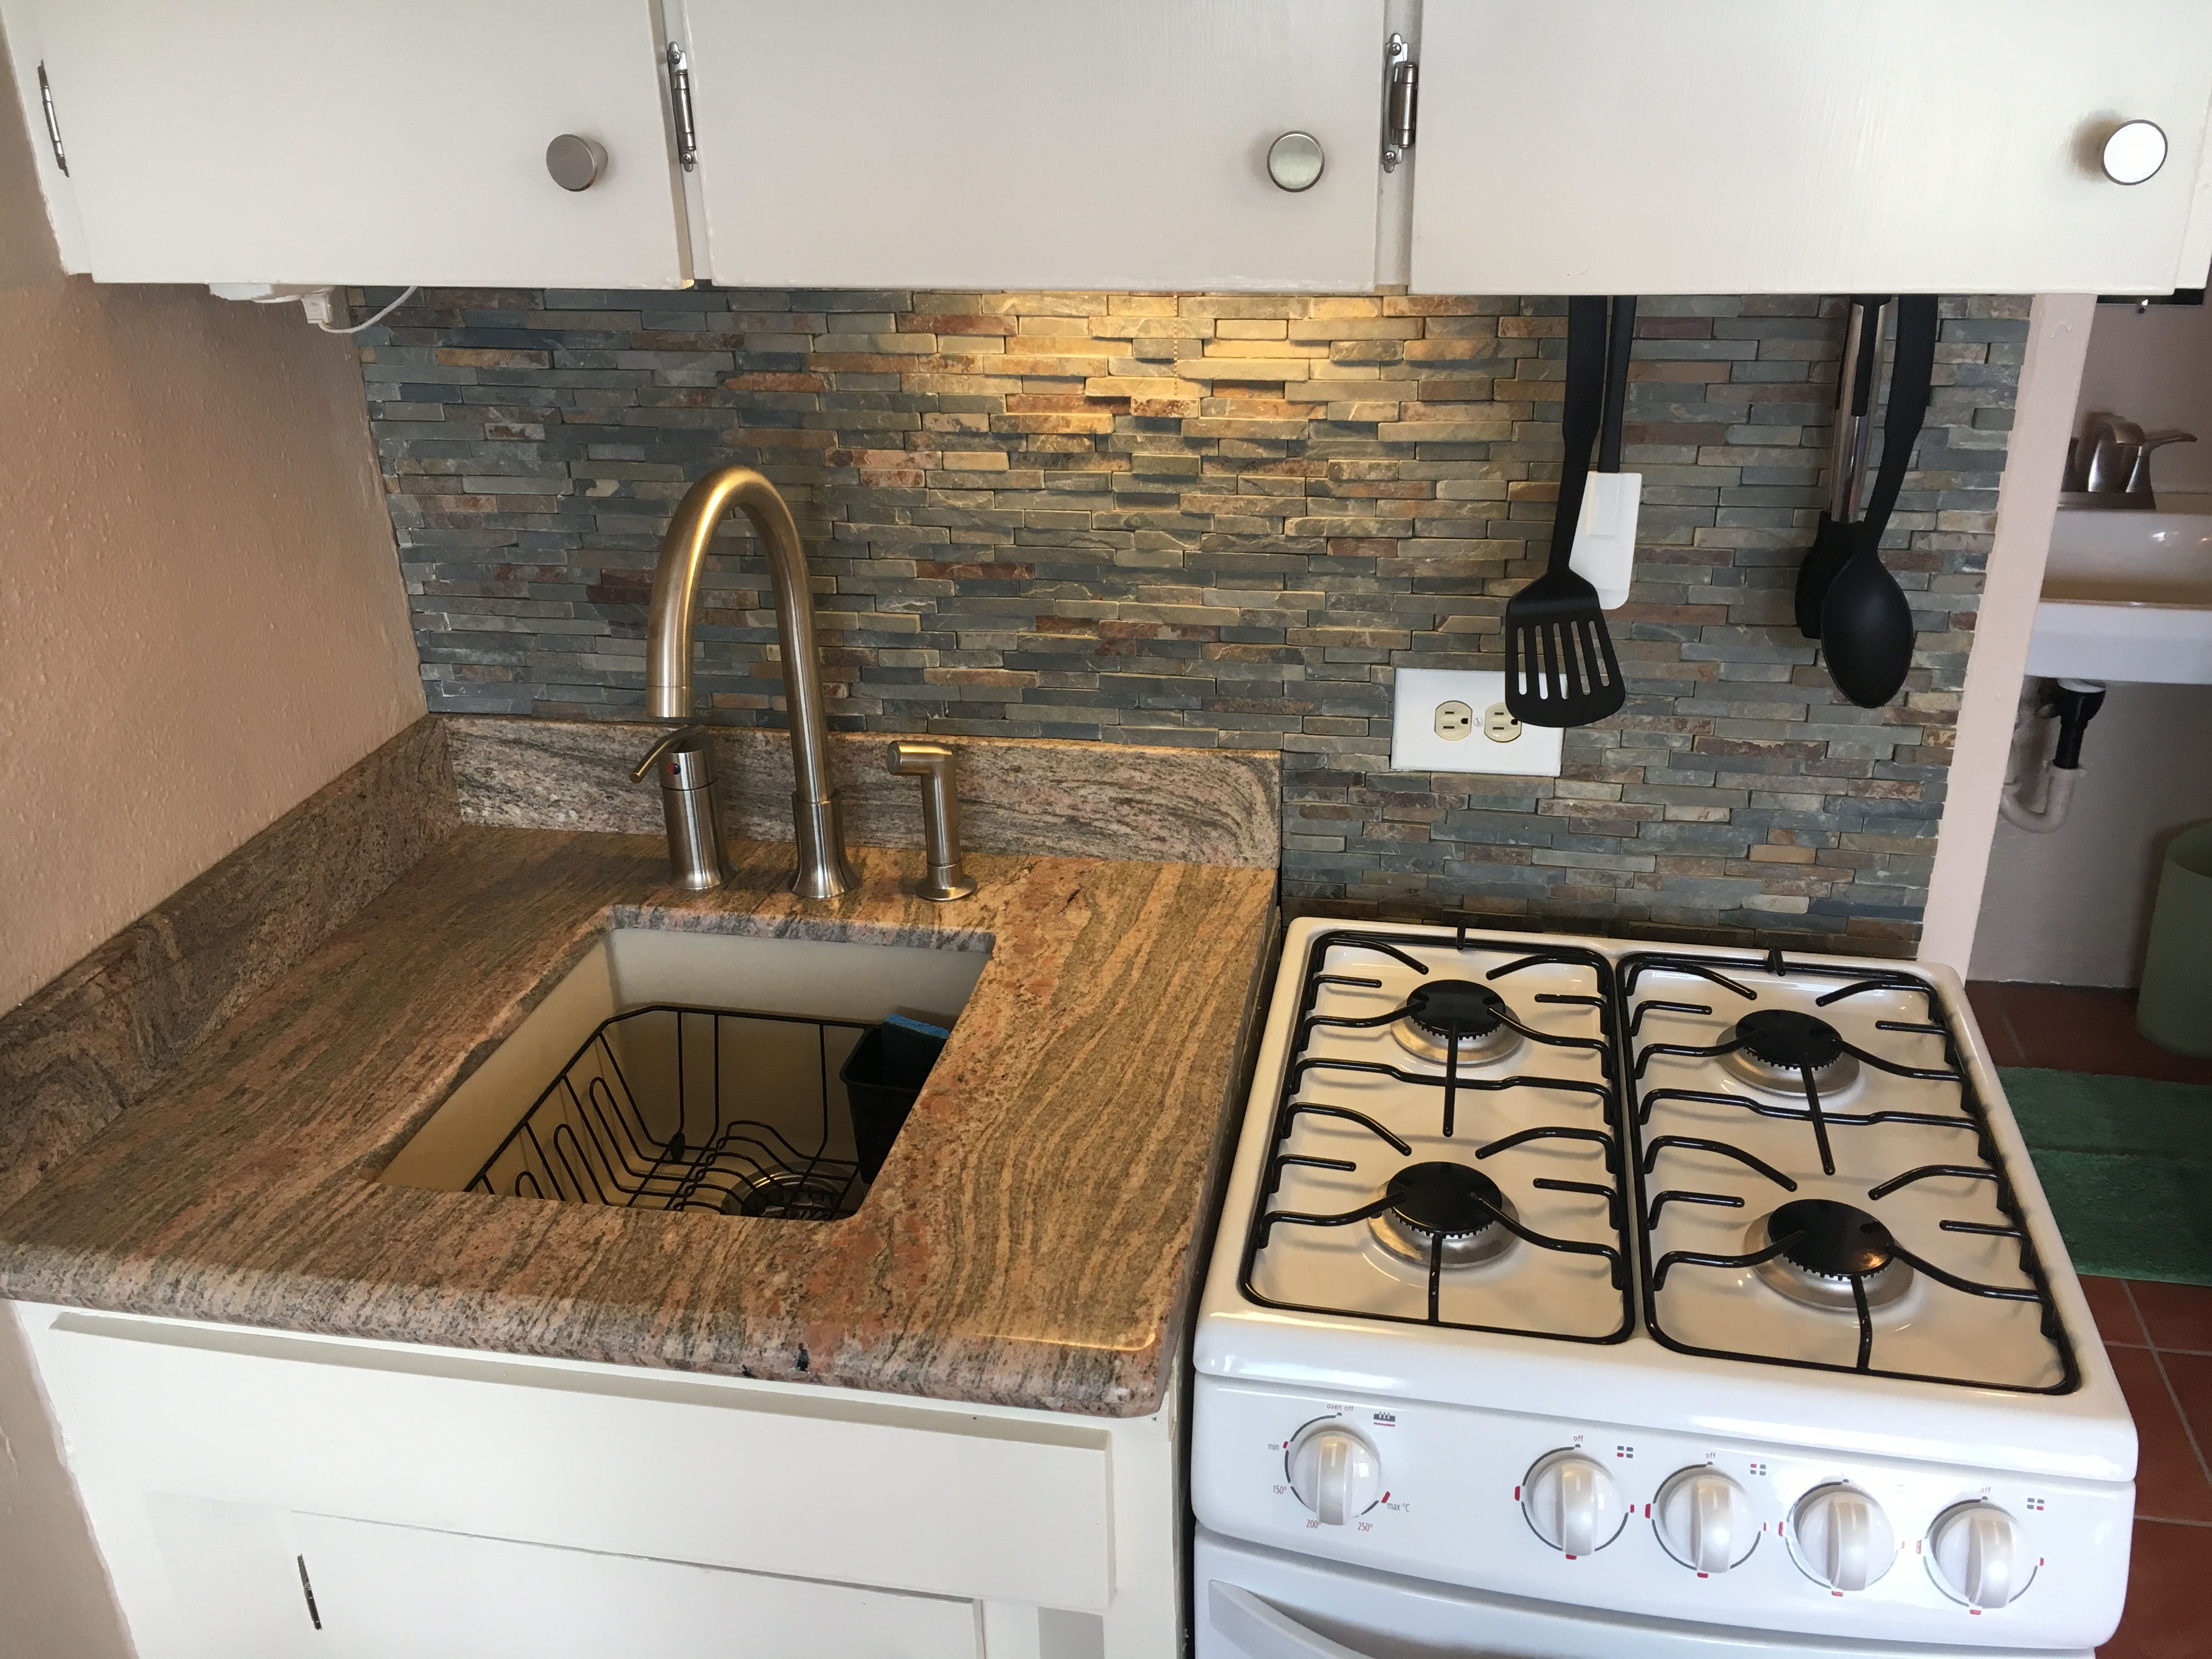
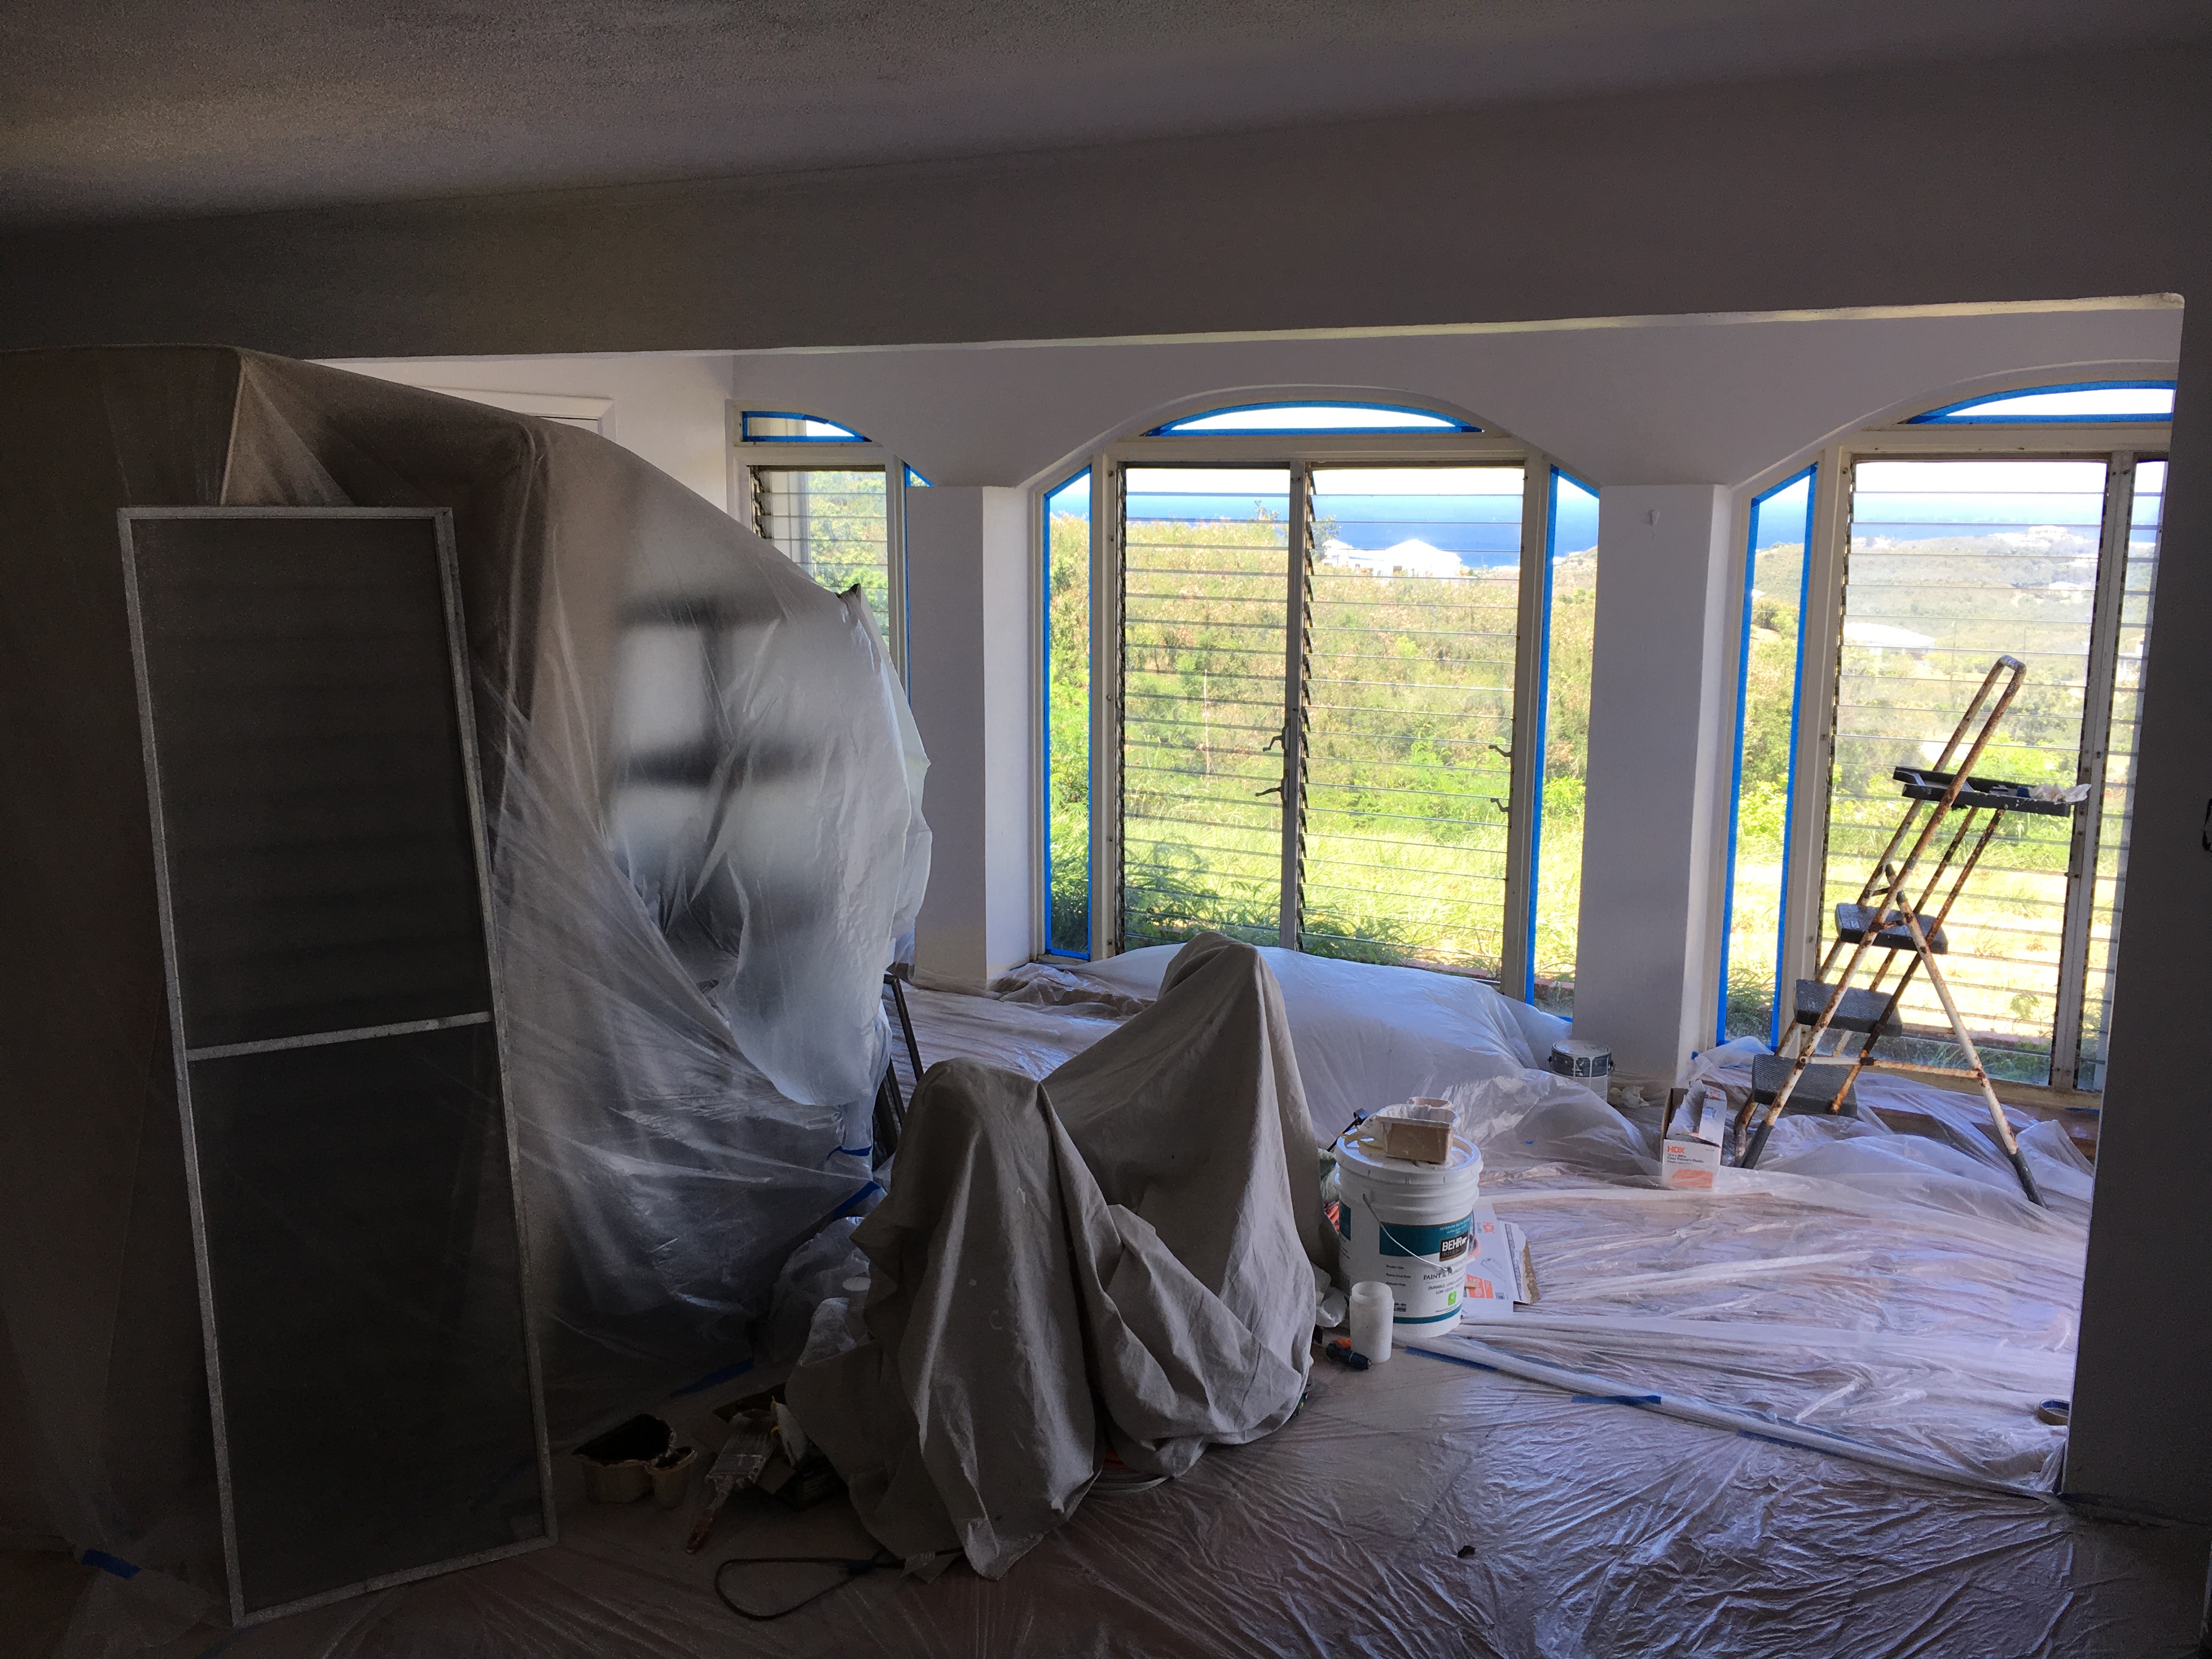
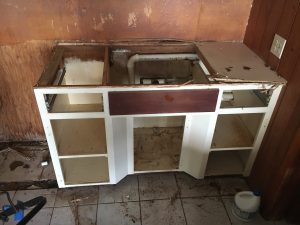
We’ve finally gotten most all of the windows replaced in the house, save a few in the small studio AirBnB Windsor’s Rest. The priority now though has switched to finishing the flooring in the kitchen area (we are half way there having already done the living room) because the kitchen is literally sitting in boxes right now. It’s taking up our entire living room waiting to be installed. What a mess half our house is – rendered completely unusable right now. Very soon, by the end of November, this place will be so much nicer as the flooring and kitchen gets done – and we can put our lives back together.
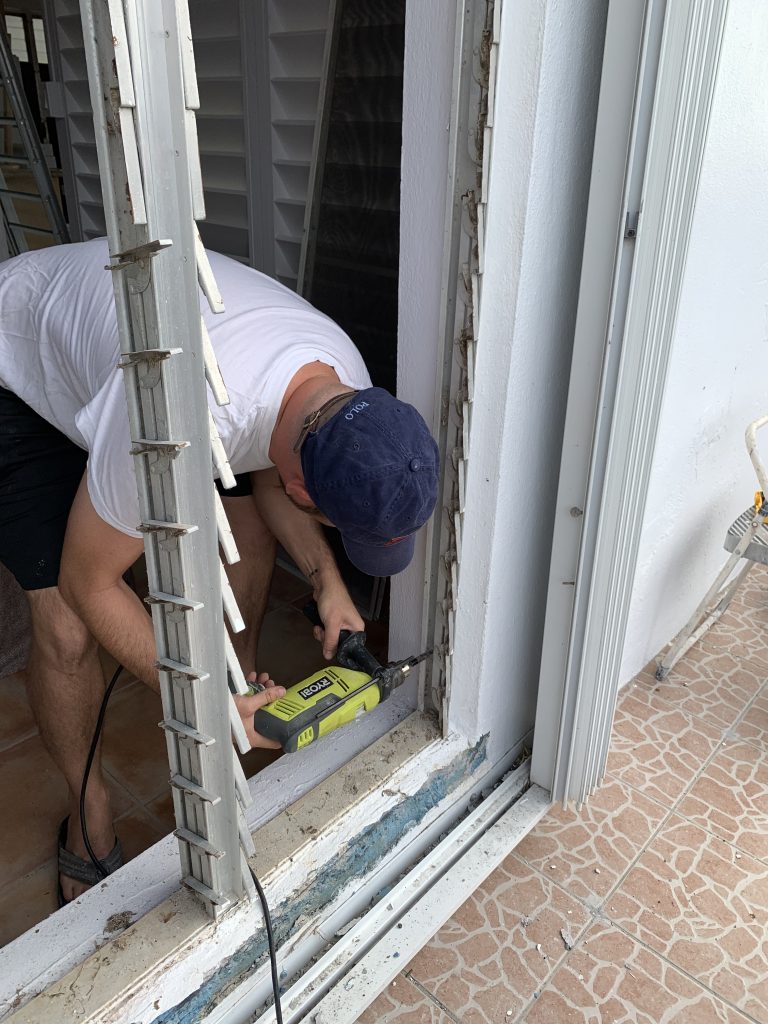
The windows were a huge job! And of course, Dave came down to save the day again. He may have earned himself a second lifetime timeshare week without on-going expenses at The View this last trip. I will say I’m not sure how I would have done this part of the remodel without him. It’s literally impossible to put some of these windows in by yourself. You have to have someone hold it while the other person screws it into the wall.

Removing Hall Window 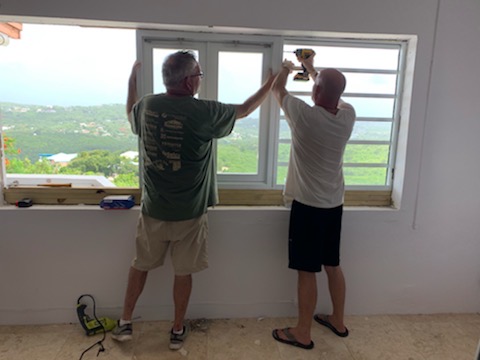
Takes Two to Tango 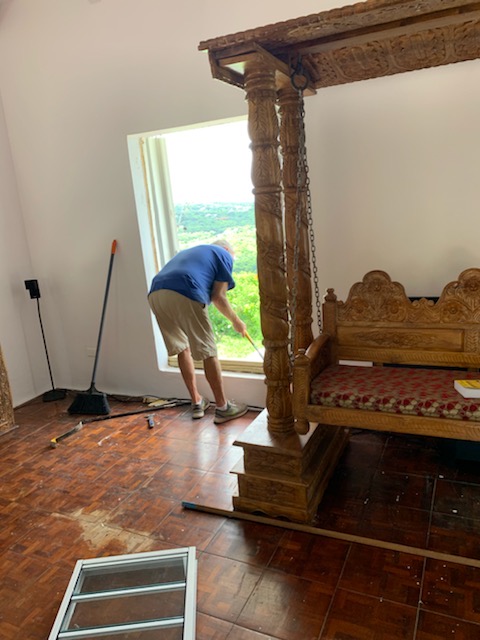
Upstairs Windows 
Working Late 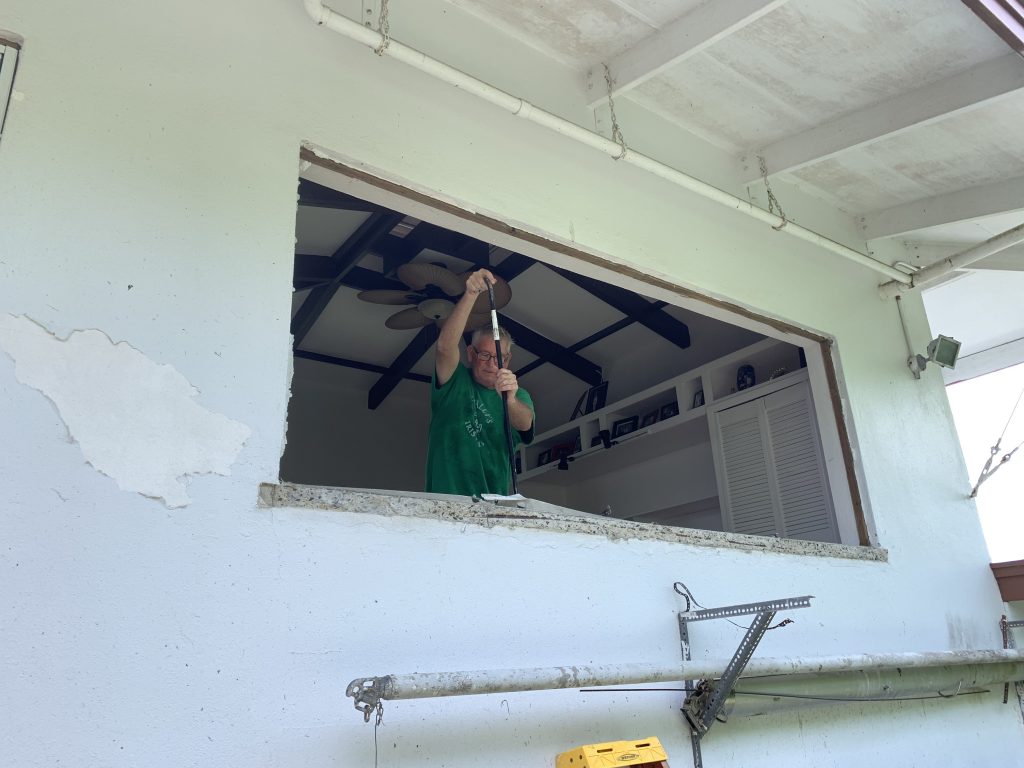
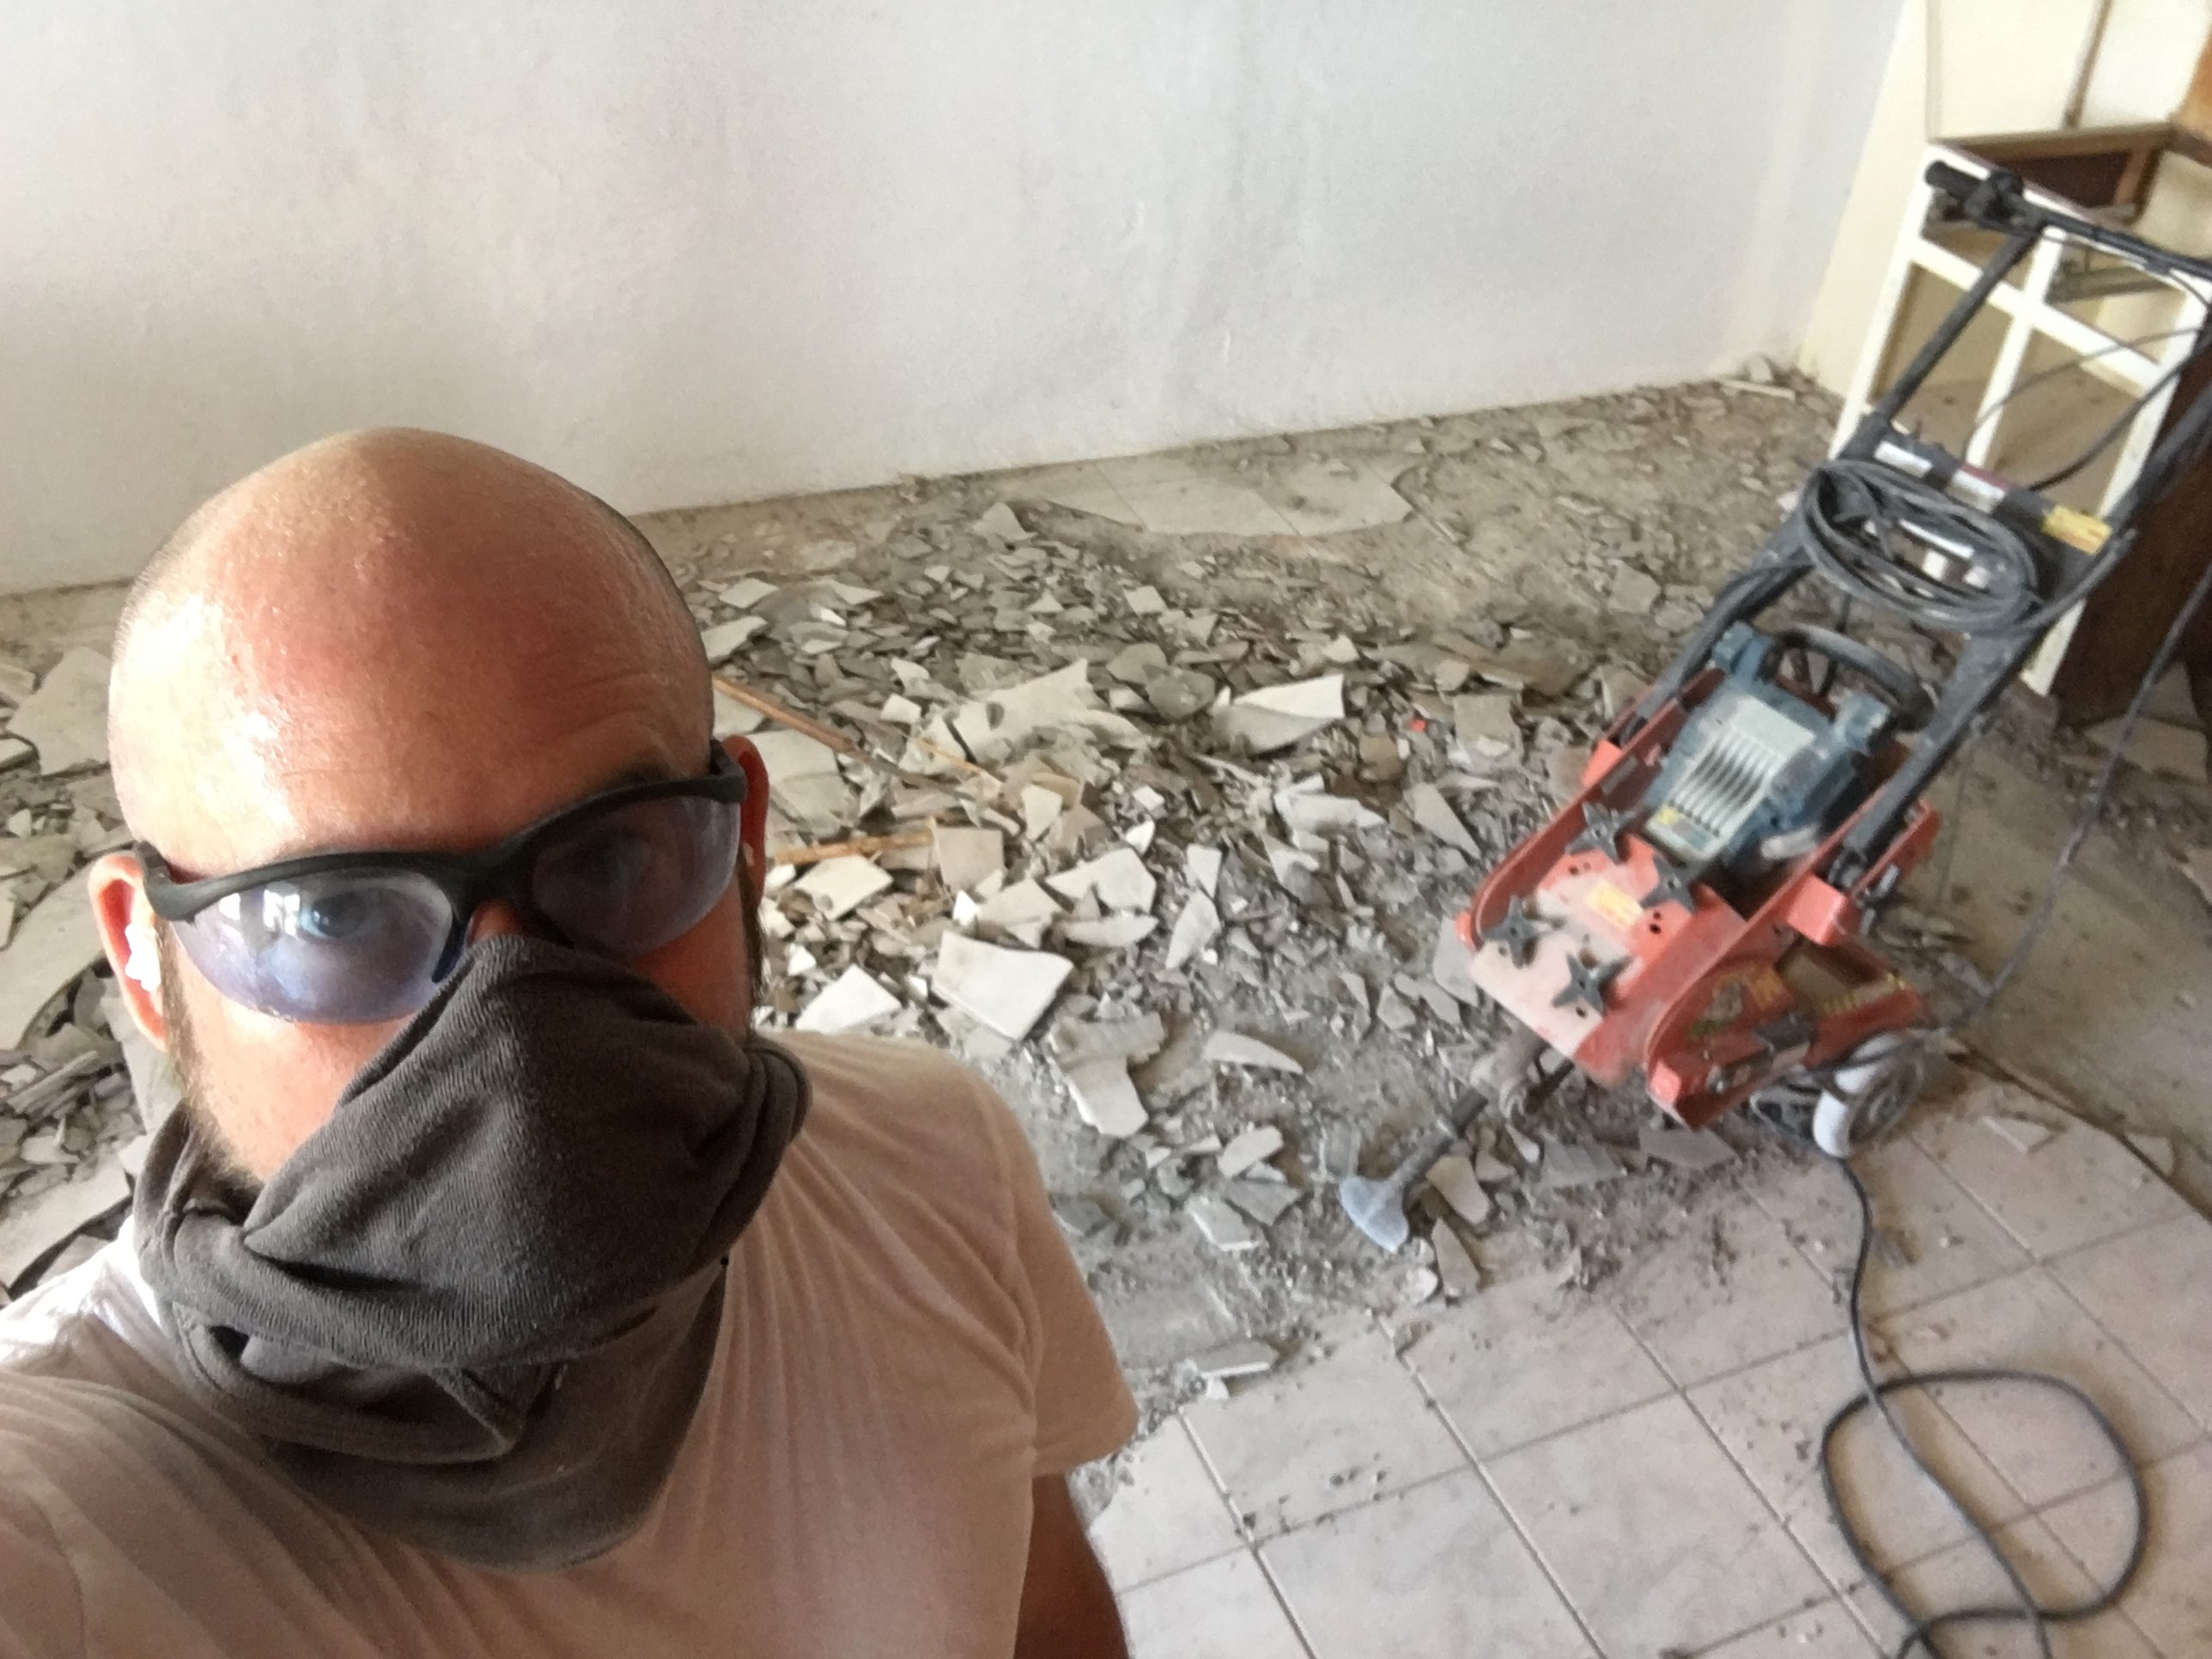
Demo Dave 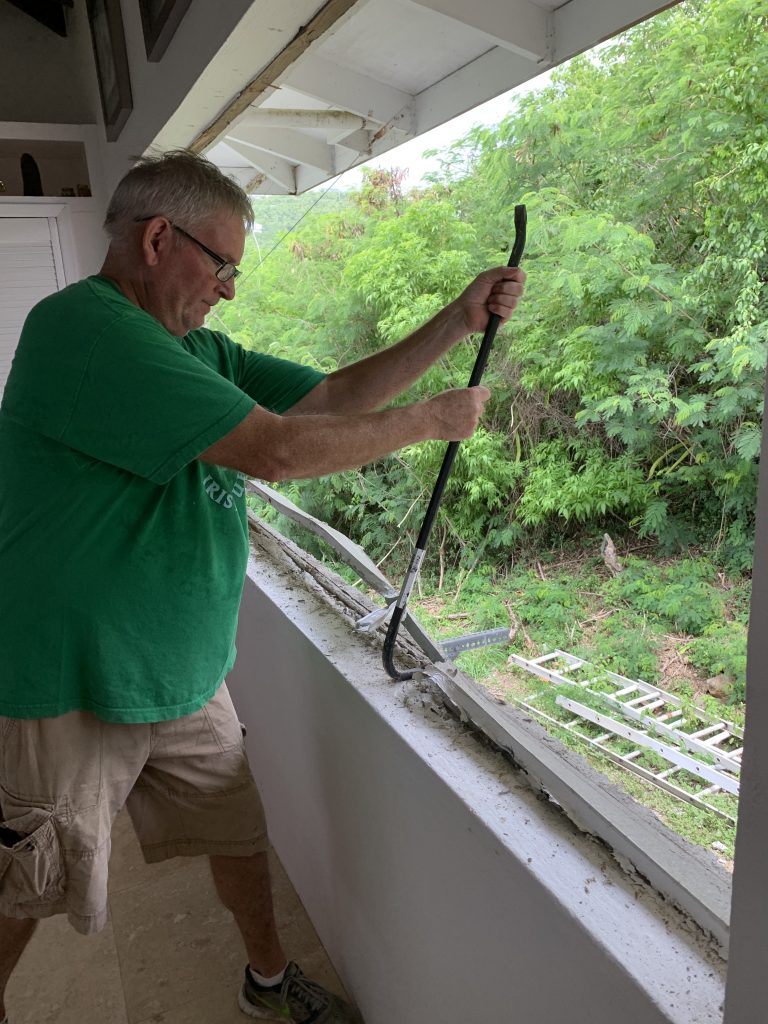
Demo Dave, Again 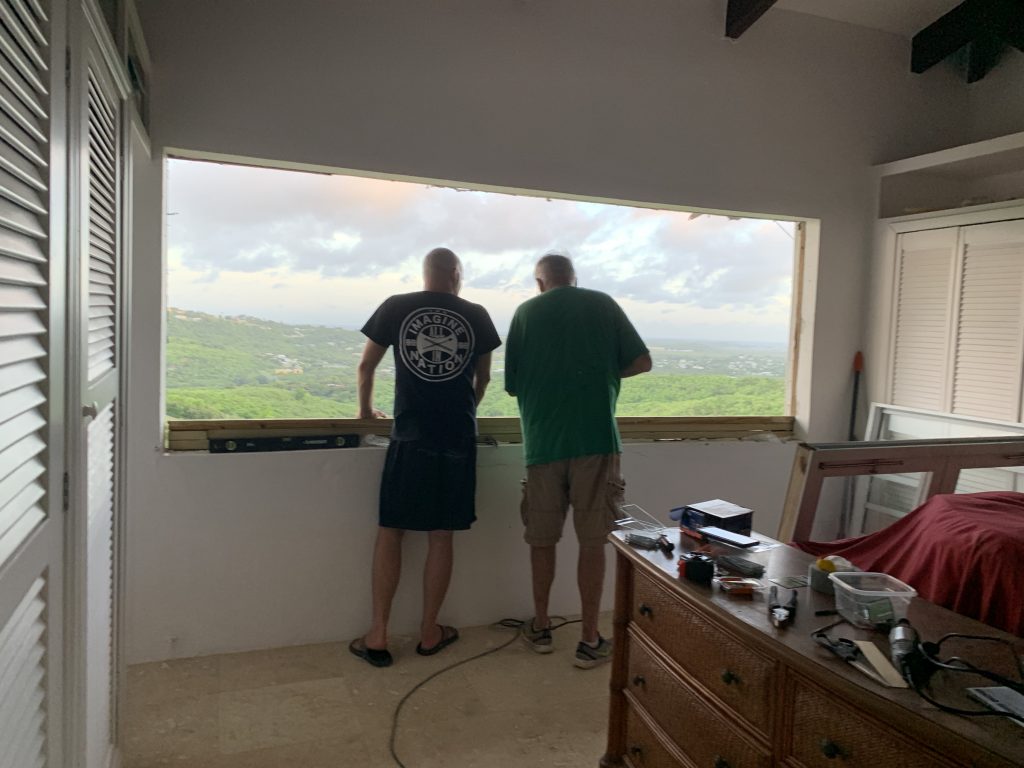
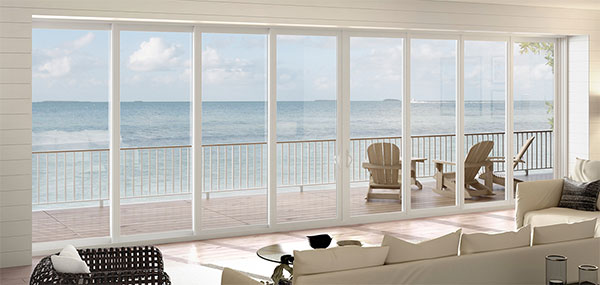
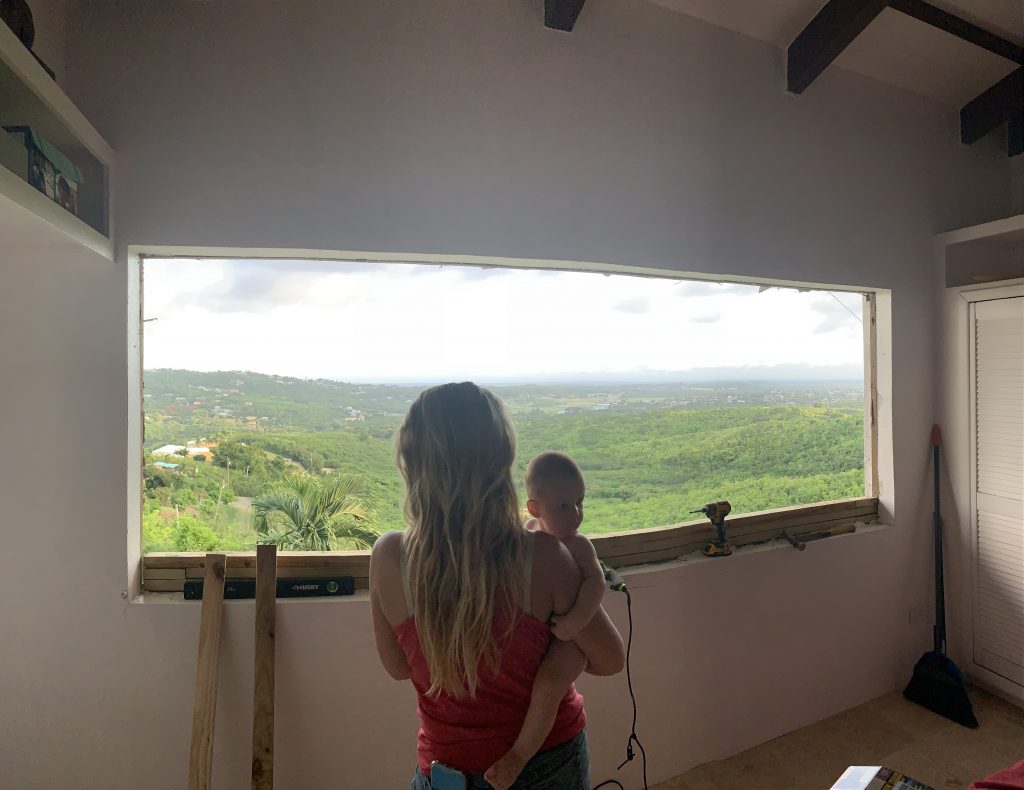
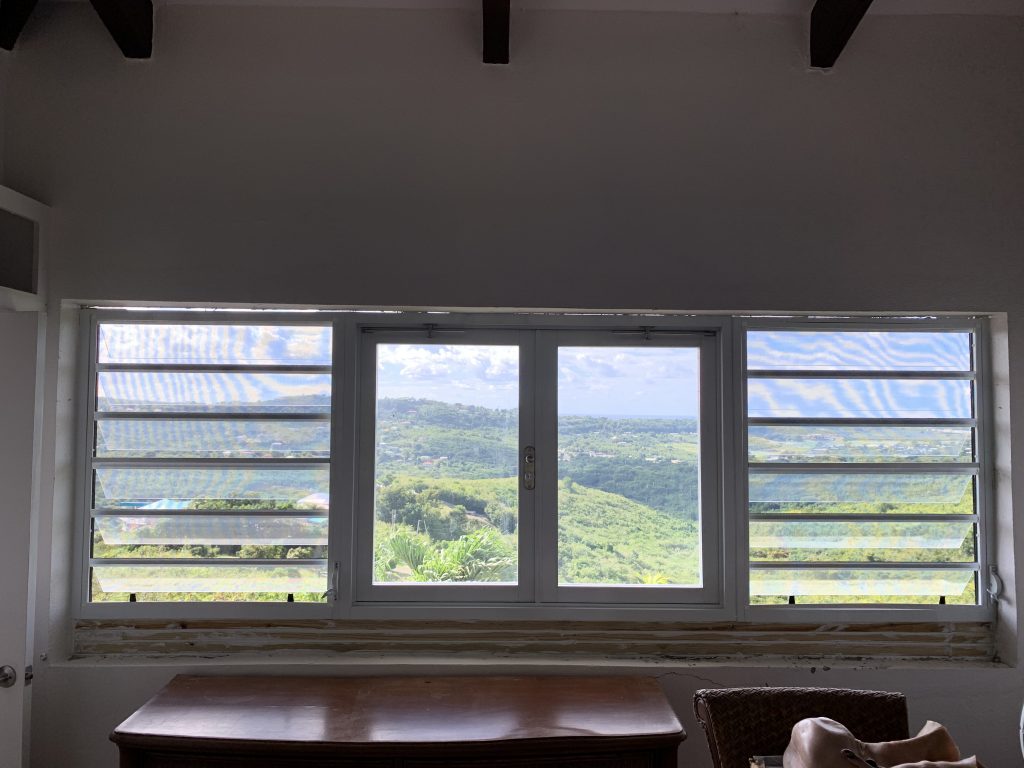
Checking Out the New View 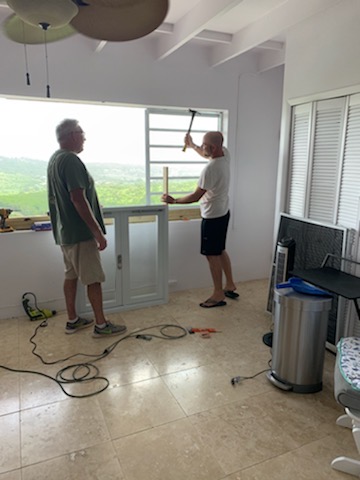
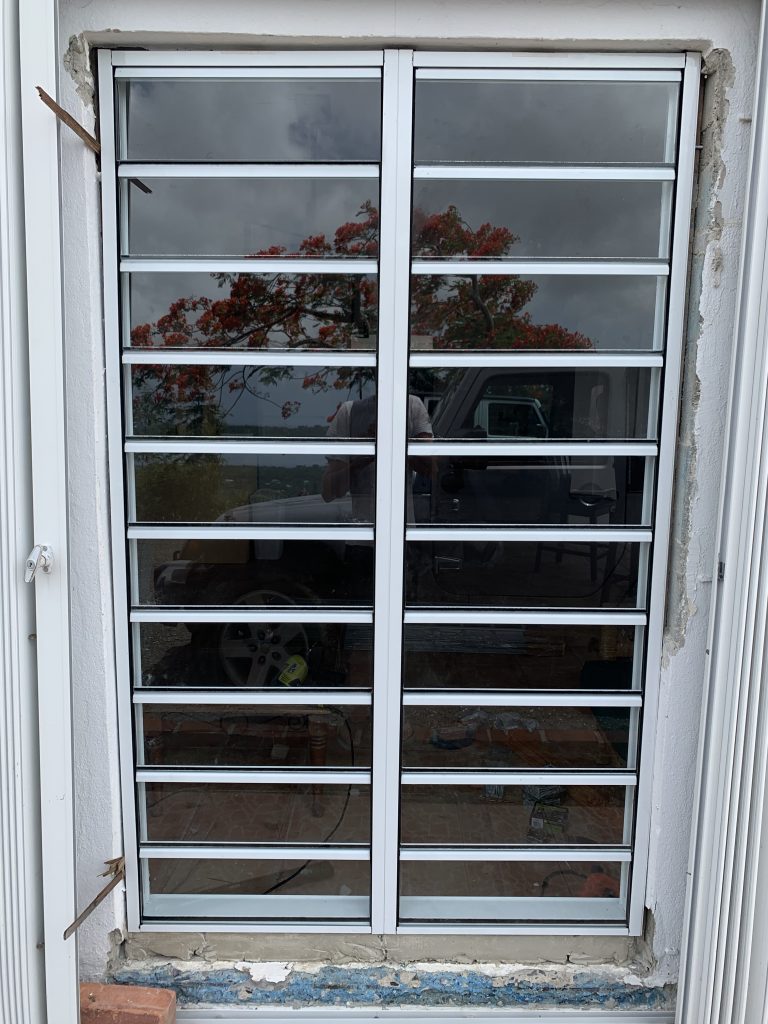
Prepping The Casement Window
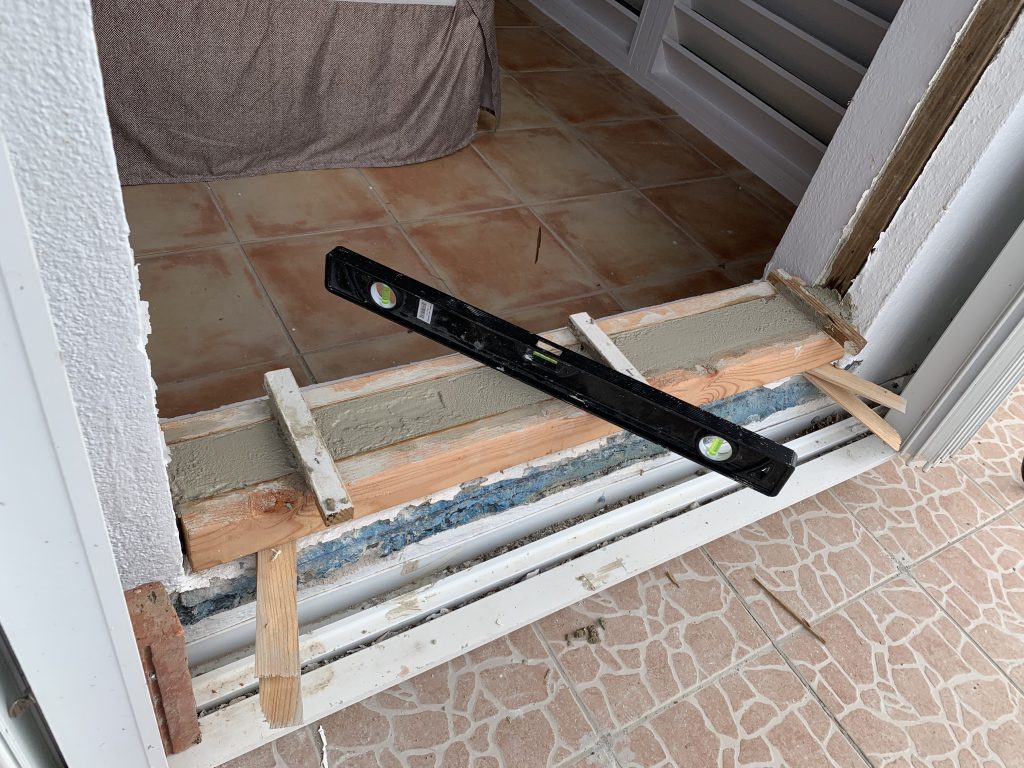
We used 4-5″ tap cons throughout the installations to ensure these were solid and secured deep into the surrounding concrete walls. We put 3-4 up each side (depending upon the height) and at least one in the top and bottom of each window. Afterwards, we are plastering up the gaps and space around it to finish it, before painting.
One thing to note on jalousie type windows is that they only come in fixed height sizes. While you can order them to whatever rough opening width you’d like, height wise is dependent upon fixed sizes that divide evenly by your window pane height. For example, a 3″ jalousie comes in height adjustments every 3″ or so… a 4″ jalousie every 4, and so on. Ours were 6″ jalousie panes to ensure the most view – but it also gave us the largest vertical gap to fill at times.
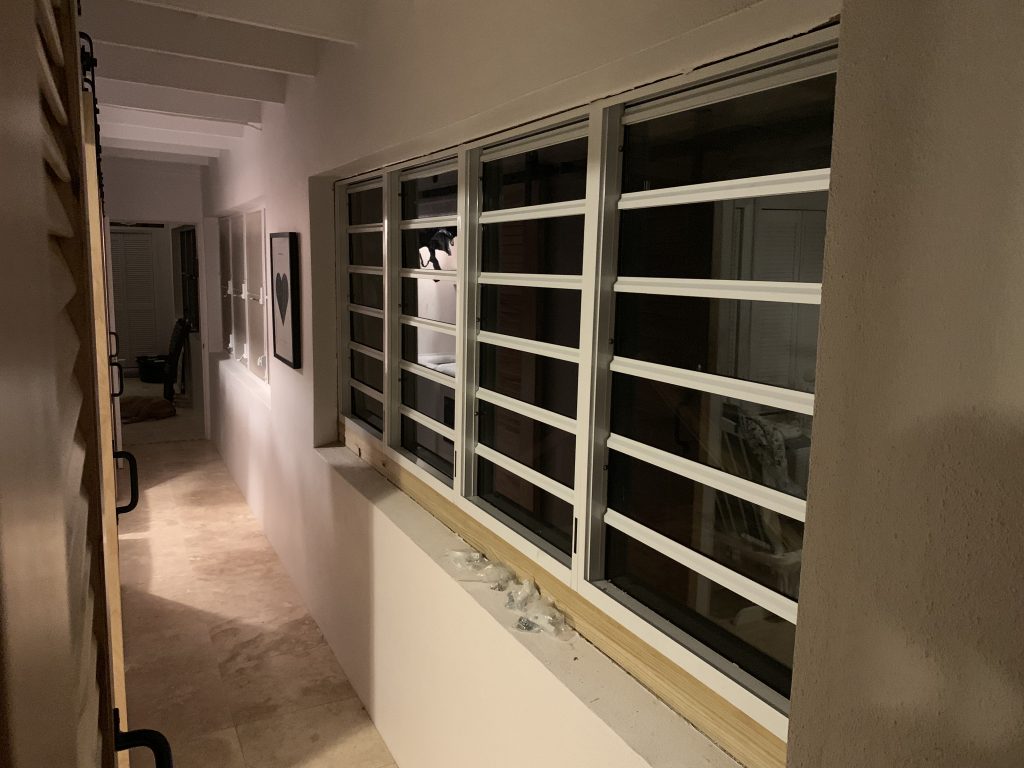
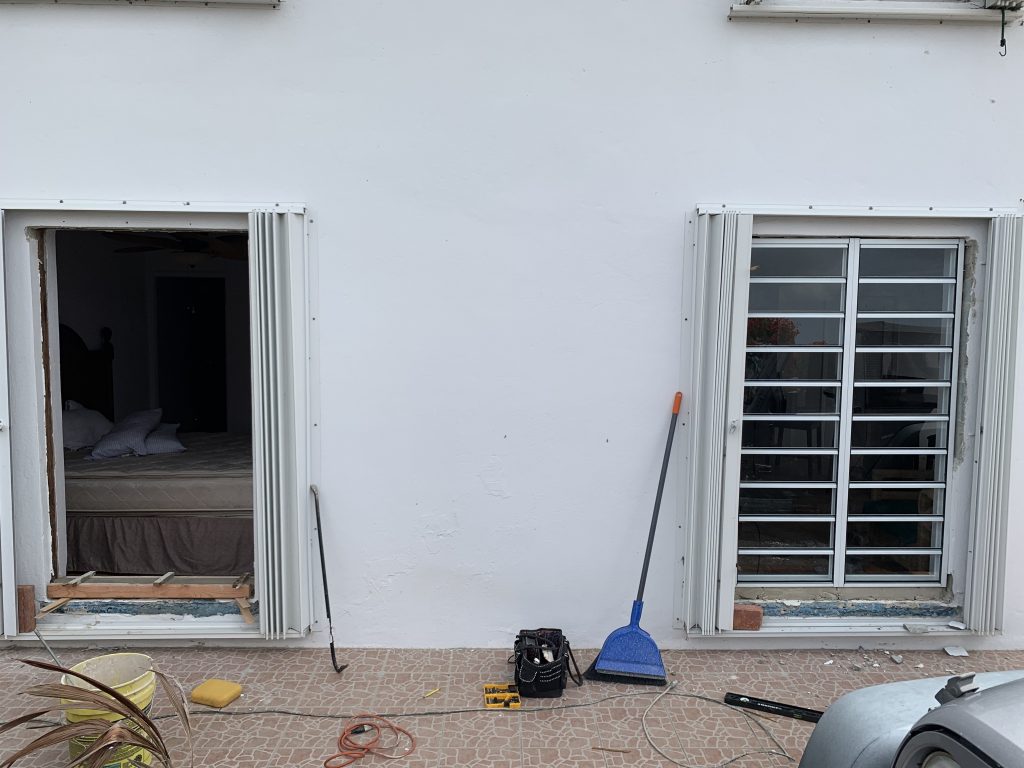
Freshly Installed 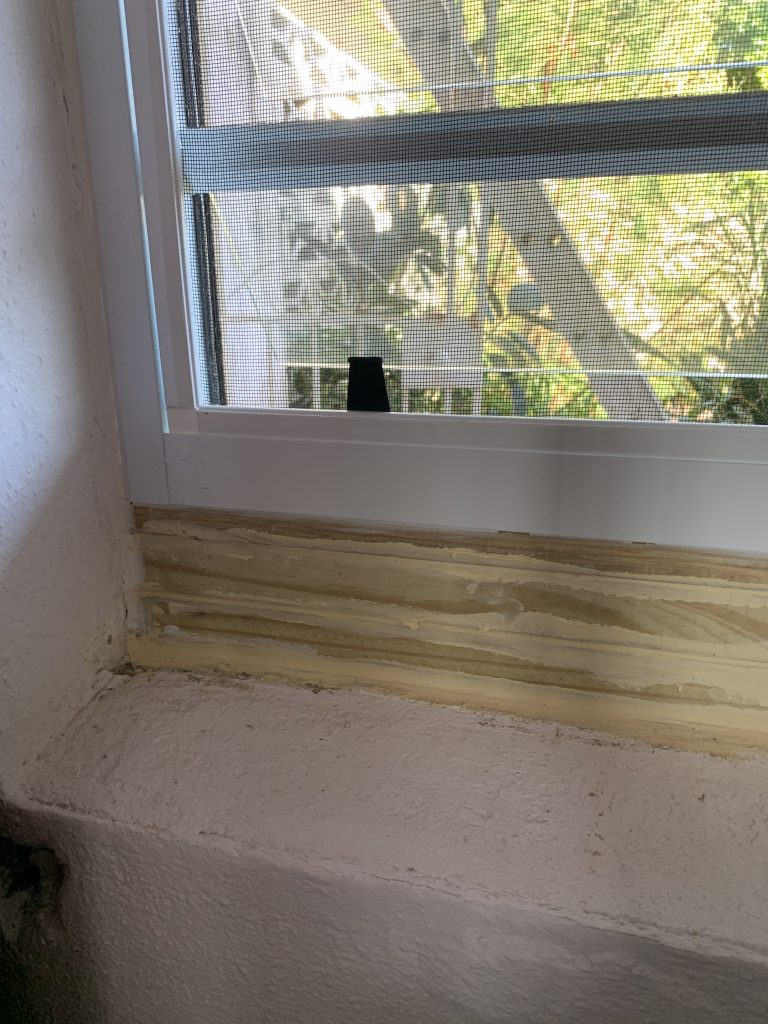
Wood & Caulk 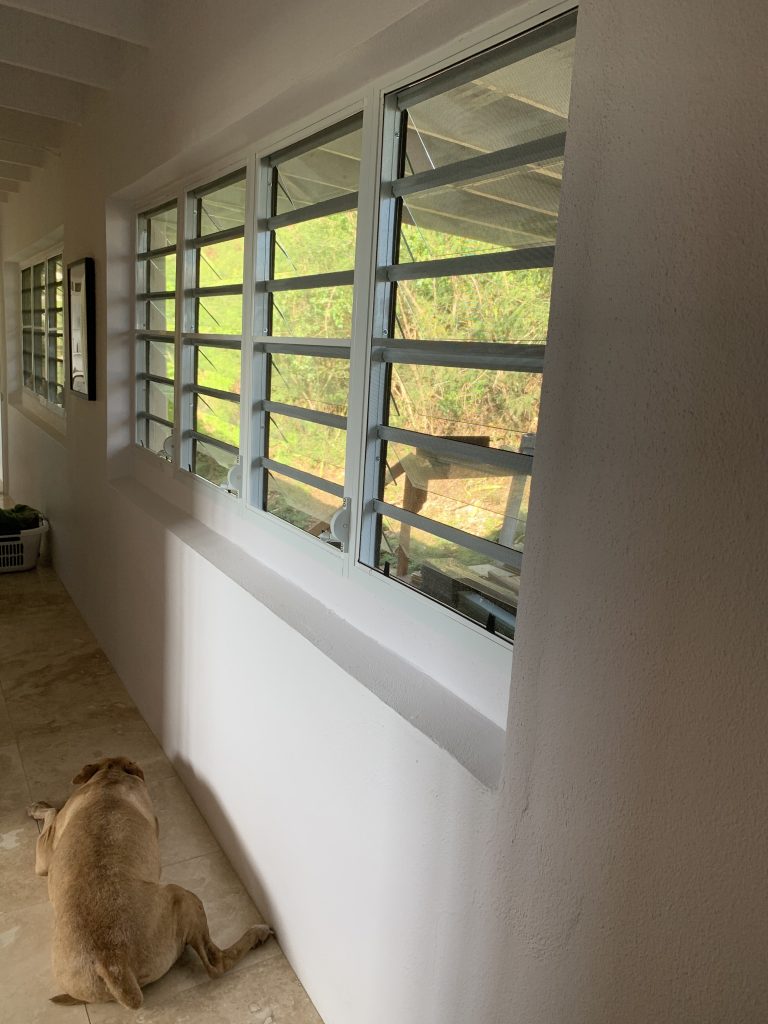
Plastered & Painted
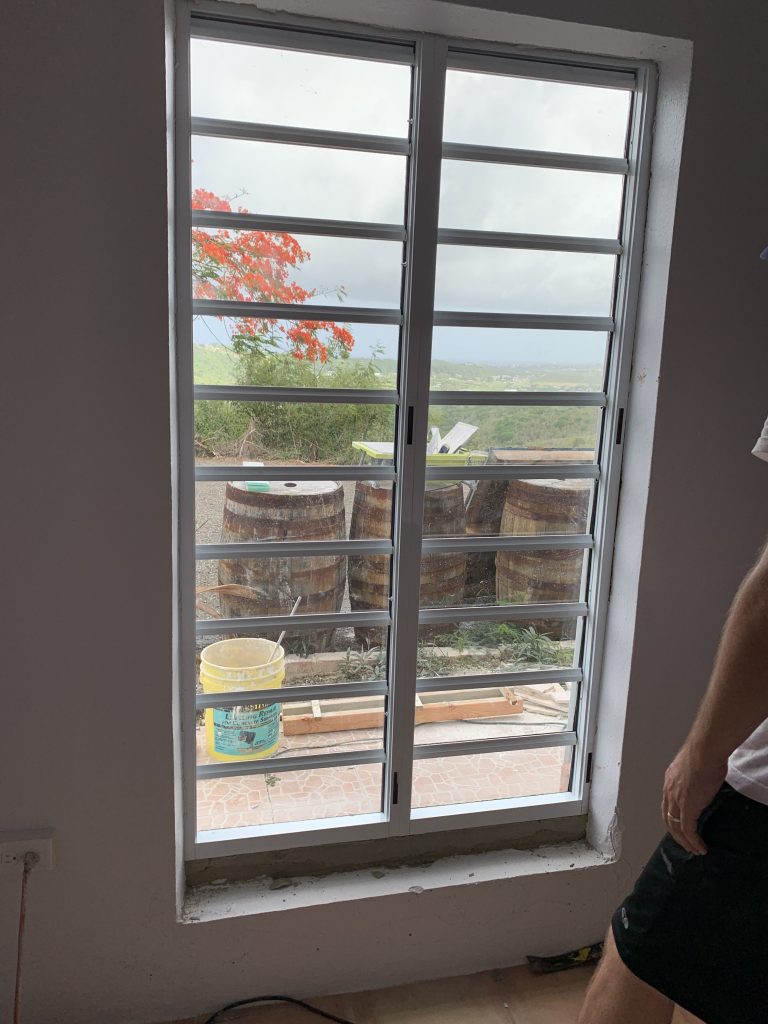
We built up the windows that were shorter than the rough openings with treated lumber, all tap-conned into the concrete. We then sealed any gaps with caulking for water intrusion, and then covered over with plaster and paint. After painting, the finished product looks great.
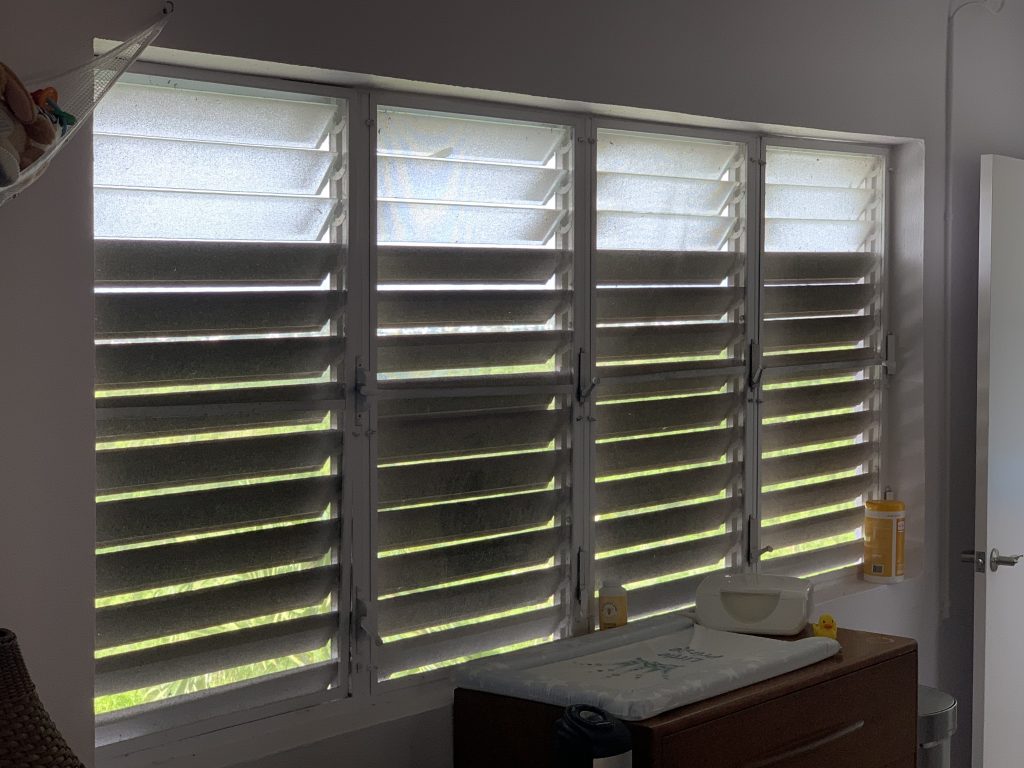
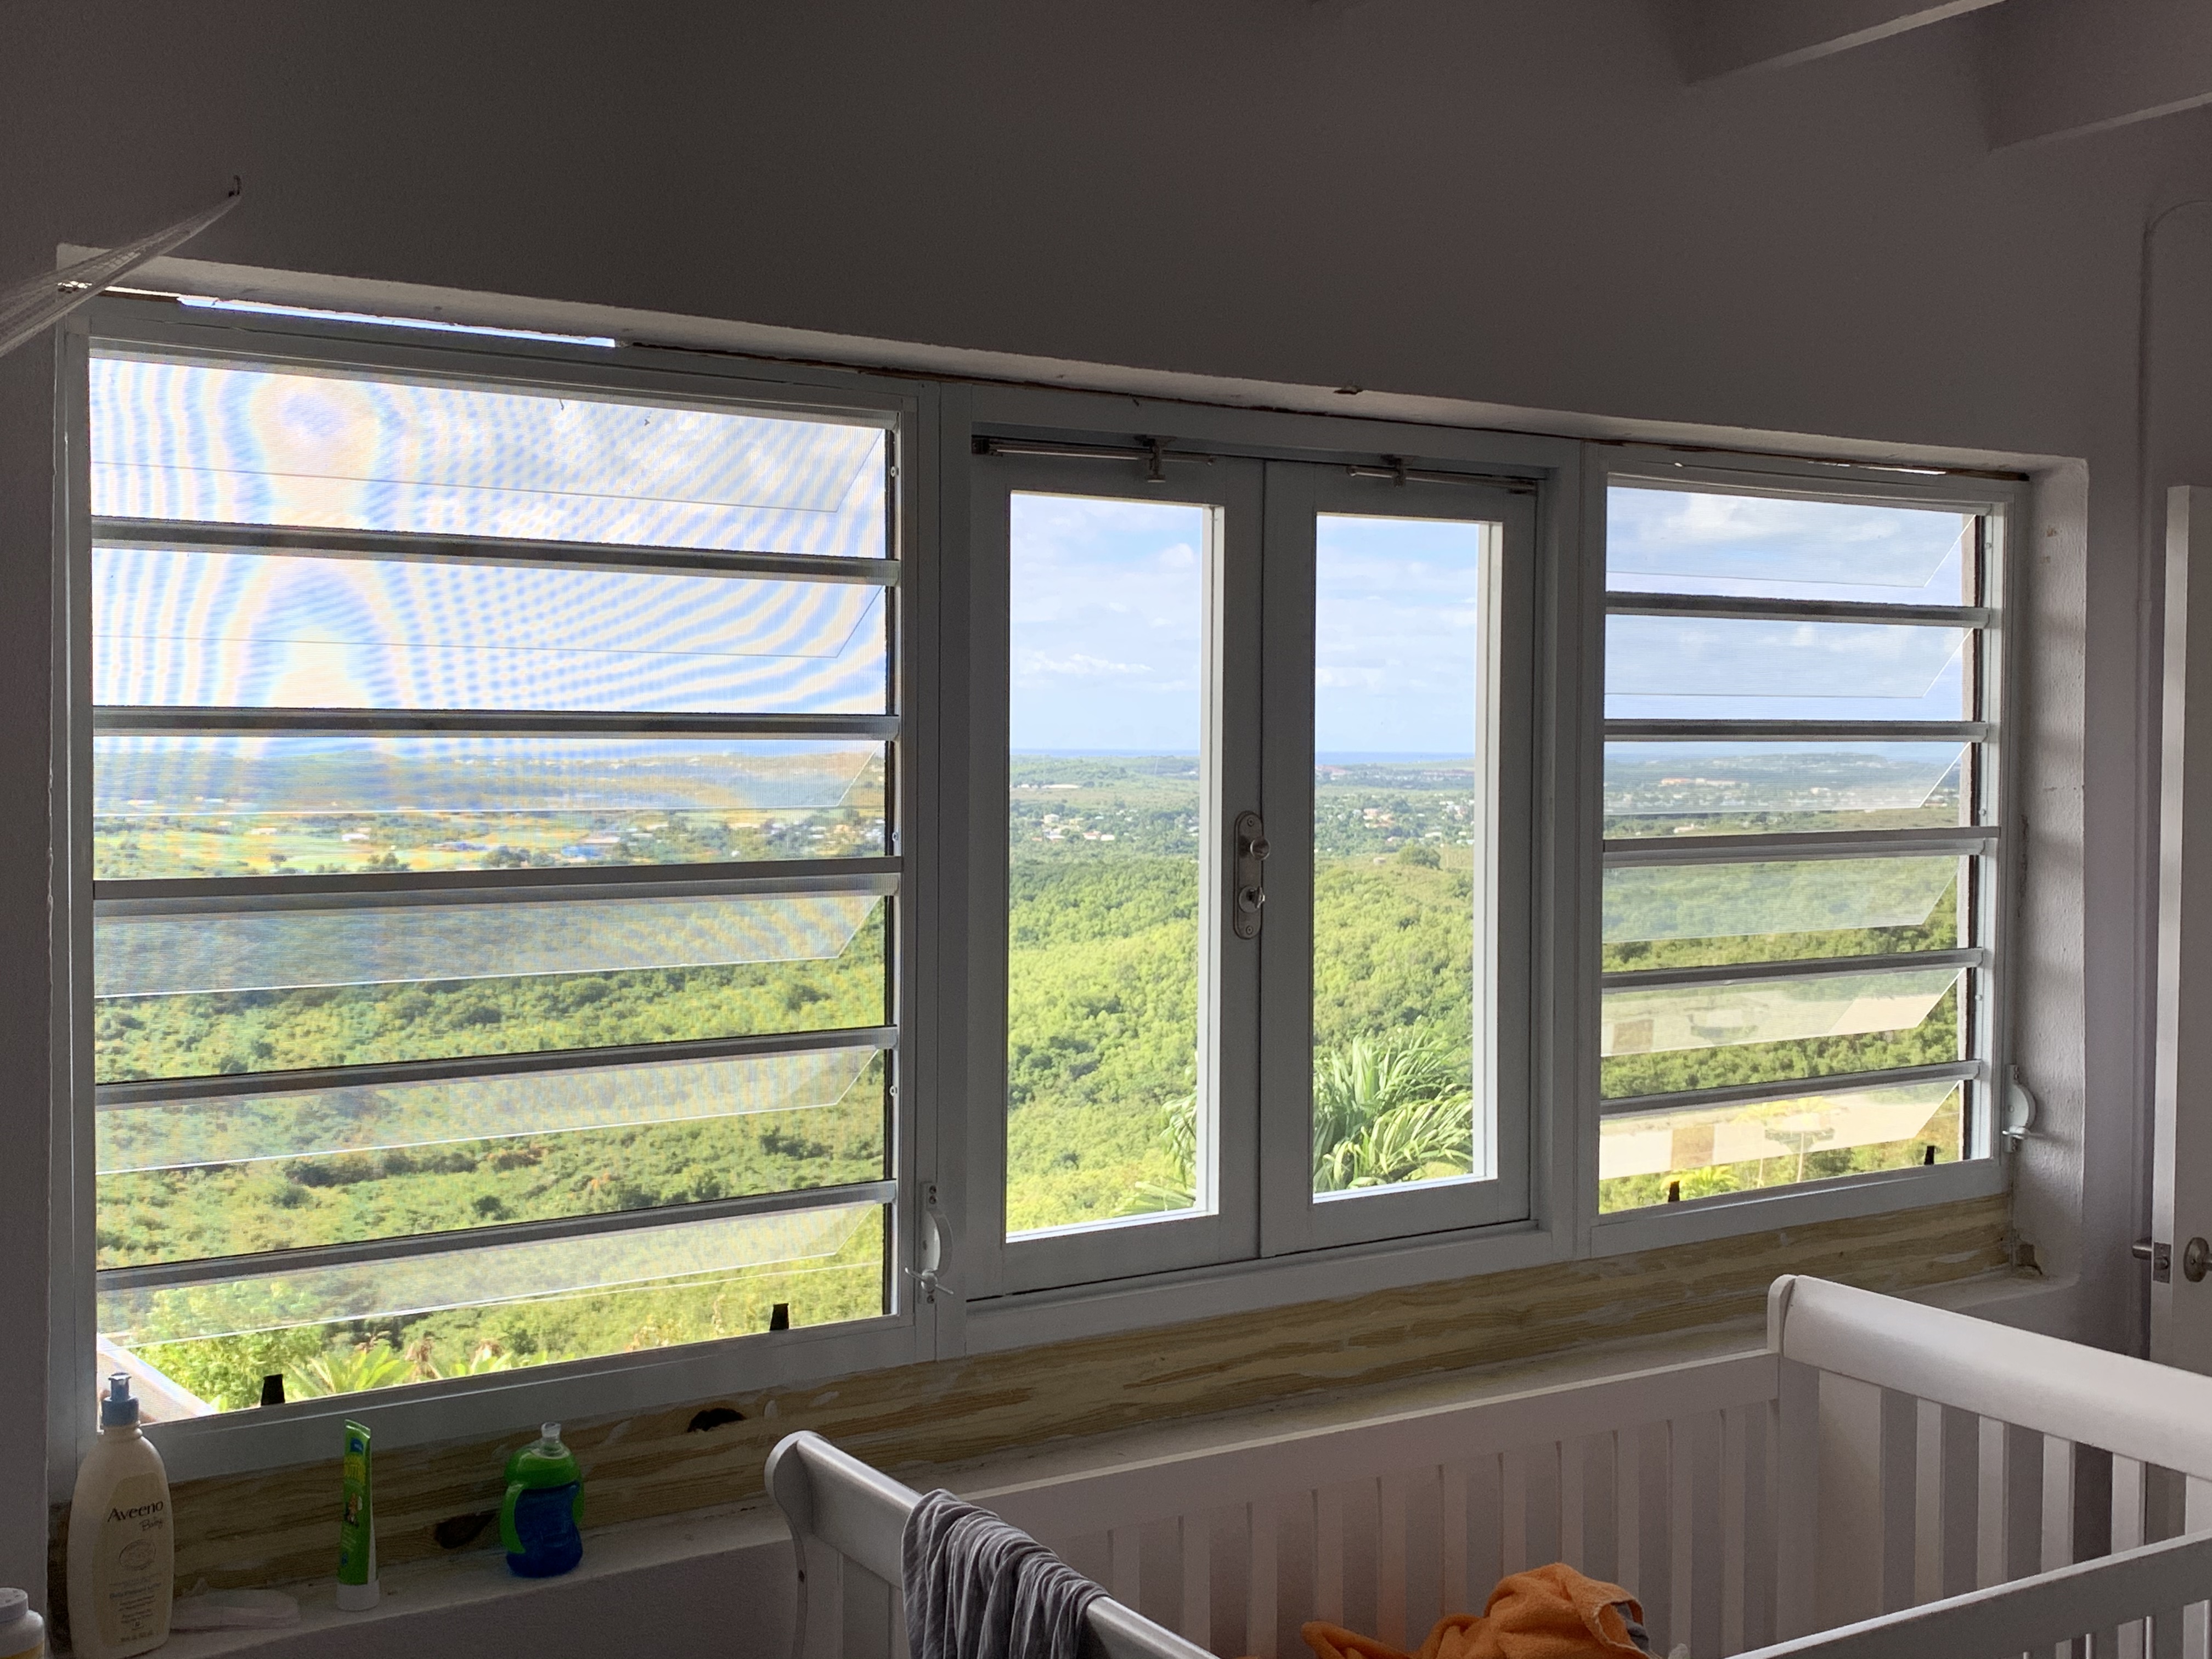
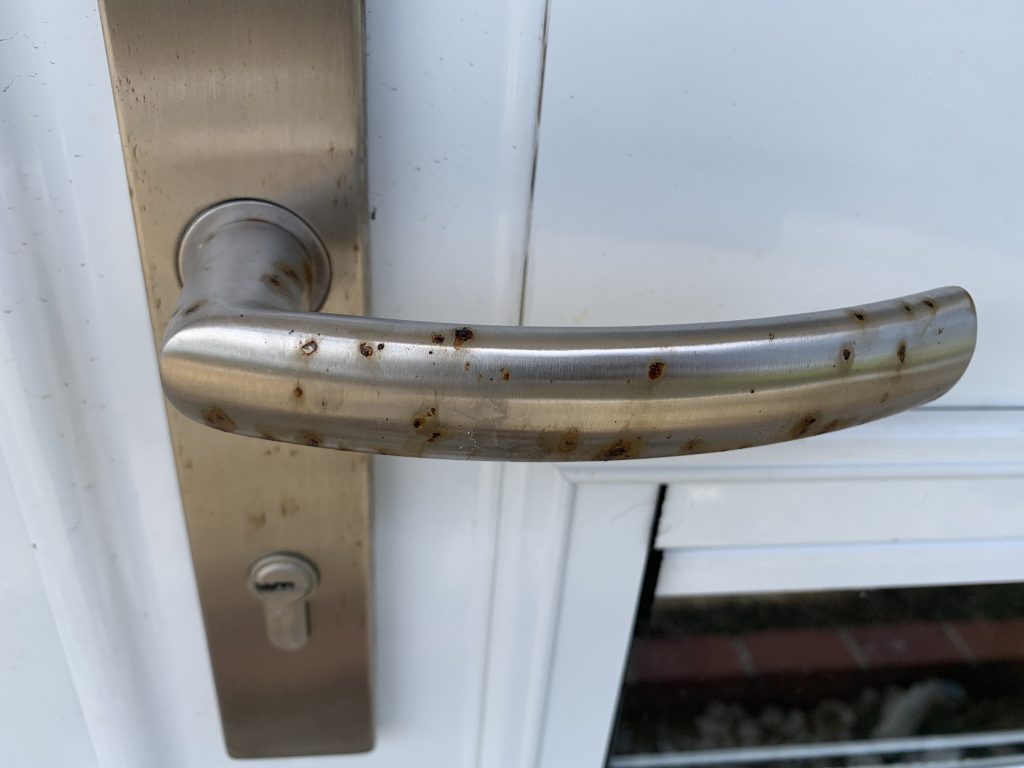
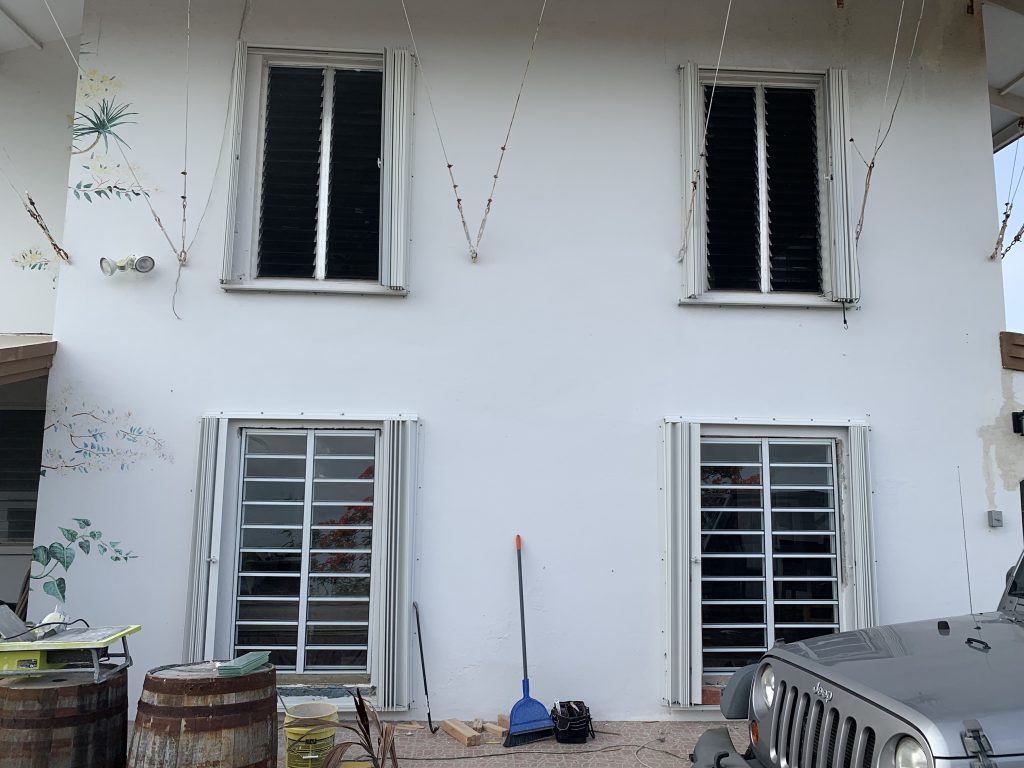
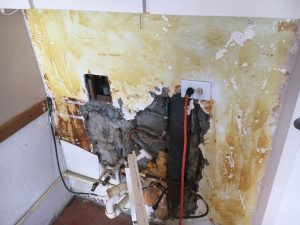
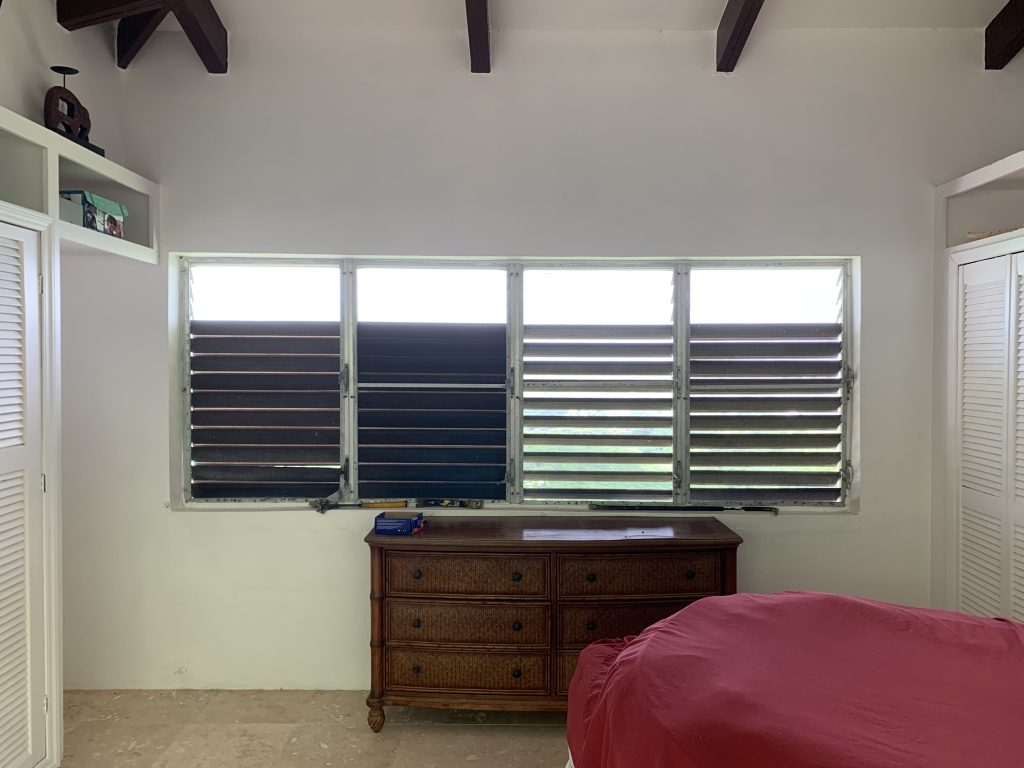
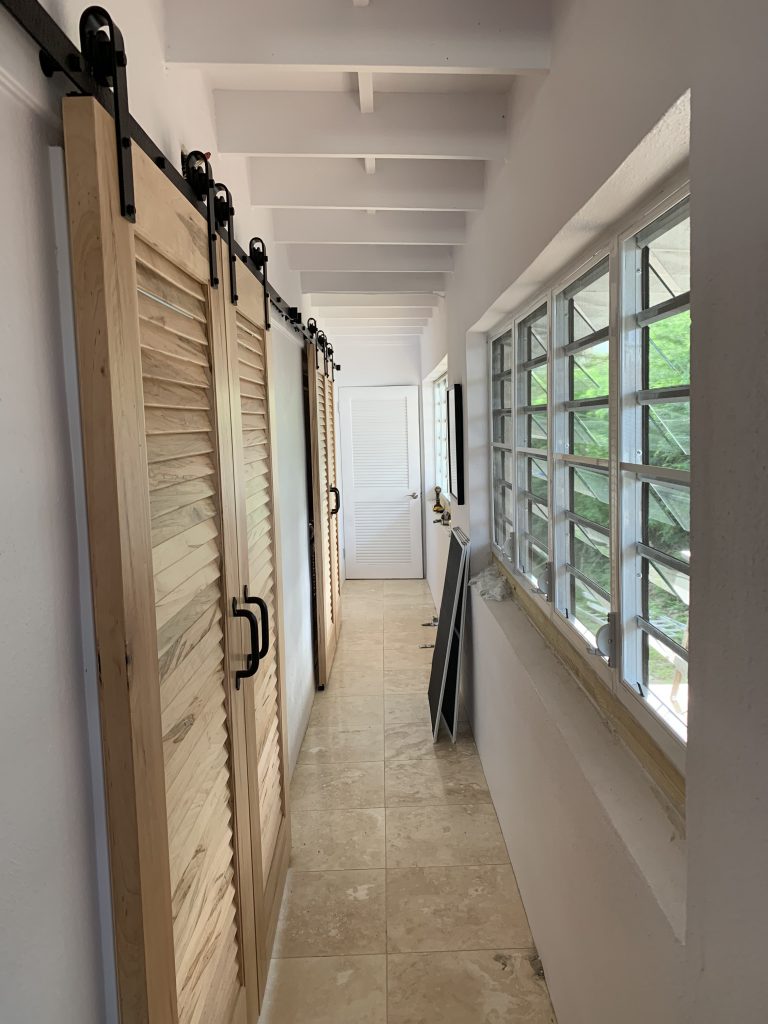
These windows and screens are very easy to clean. It changed the view from the bedrooms and hallways in a major way. Before – we literally had wood window slats, you couldn’t even see through… A cheap way to allow ventilation in, and protect against hurricanes, all while completely blocking the view. Who does that!?!? lol.
I commented previously, but the quality control process at AirMaster windows completely sucks out of Puerto Rico. While the finished product is of quality it seems, the manufacturing process is shabby. For example, the glass has fallen out of a few windows because they didn’t put enough silicone inside the metal bars that hold them in. We’ve been waiting for a couple months now for replacements. They forgot the connecting screw hardware in our windows, a $180 credit Home Depot had to give me to buy more, and they were even missing some of the window cranks and such. All fixable things I guess, but annoying none the less. They need someone checking the quality when the product comes off the line, so not to inconvenience the home owner or installer. I wouldn’t recommend these windows after our hassle ordering, waiting, installing and fixing, although I have to say I’m happy with the final product once it’s installed and has all the missing pieces replaced.

Demo Demo 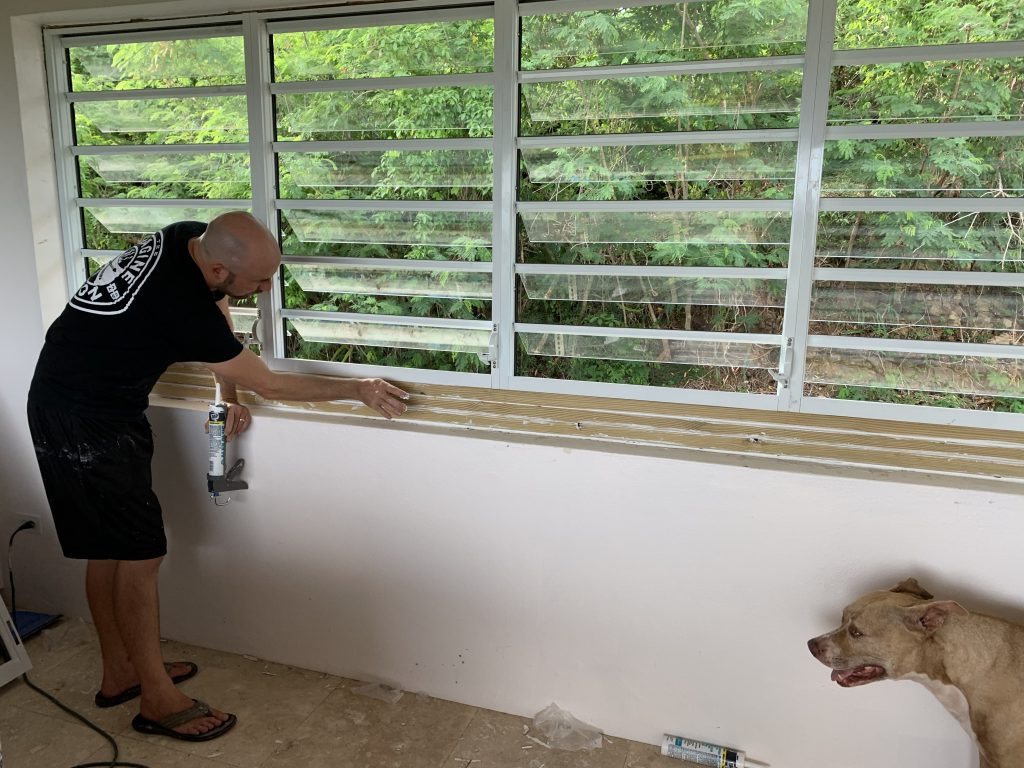
Caulking Windows 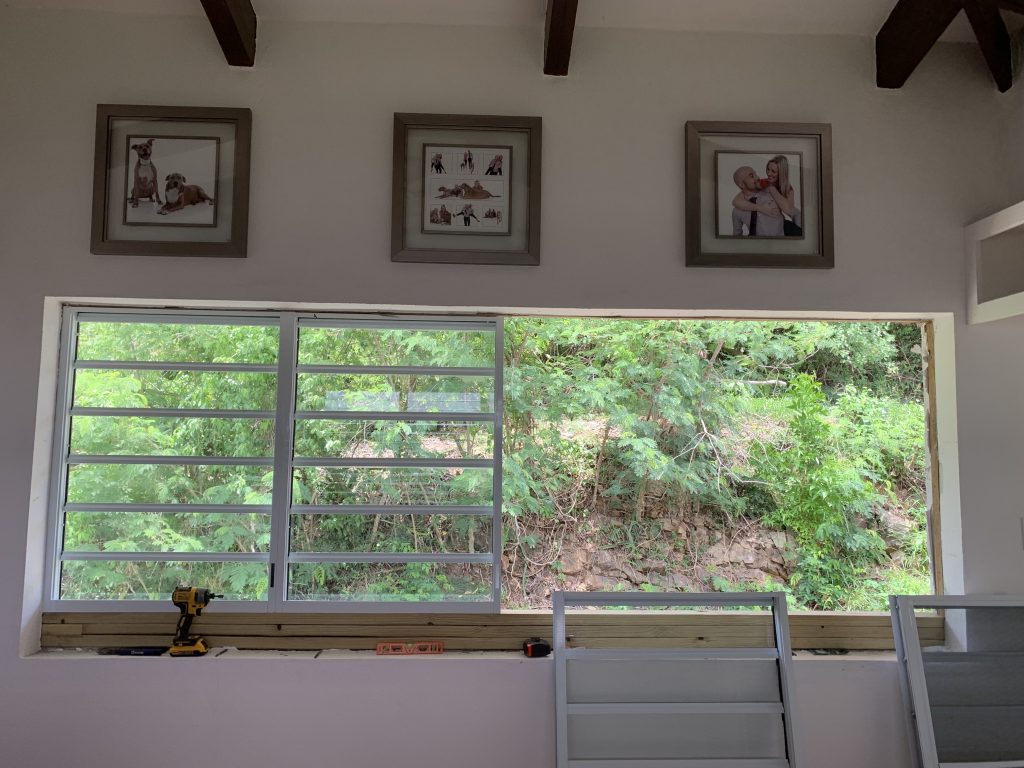
Installing Windows 
Removing the Wood Panes That Blocked The View
This process took us about 20 days of work in total, about 15 with two people working, and we installed 42 windows and doors. It would be much faster if this wasn’t a concrete house. I’ve got another 5 windows to do, which will probably add another 5 days worth of work once it’s all plastered and painted.
Finally, I’ll end with Liam – who is growing up incredibly fast. So far, he enjoys driving, and sailing as his main hobbies, other than eating, sleeping, and pooping.
Stay tuned! Flooring and kitchen is almost done!