Day 353
Total Spent So Far: $85,814.47
30 Yard Dumpsters Filled: 3.5
It’s been a while since I last posted. But a lot has happened. The next 4-5 blog posts will be “catch-up” for everything I haven’t written about over the last three months. We’ve been incredibly busy, not only with the remodel, but also with our precious new born son (don’t skip ahead readers!) To top it off, our annual music festival, Backwoods, is quickly coming upon us. All of this combined with our software company PromoJuice growing as fast as it is has stripped me of any free time to write really. So, catch up it is. I owe it to myself, and to our readers following along.
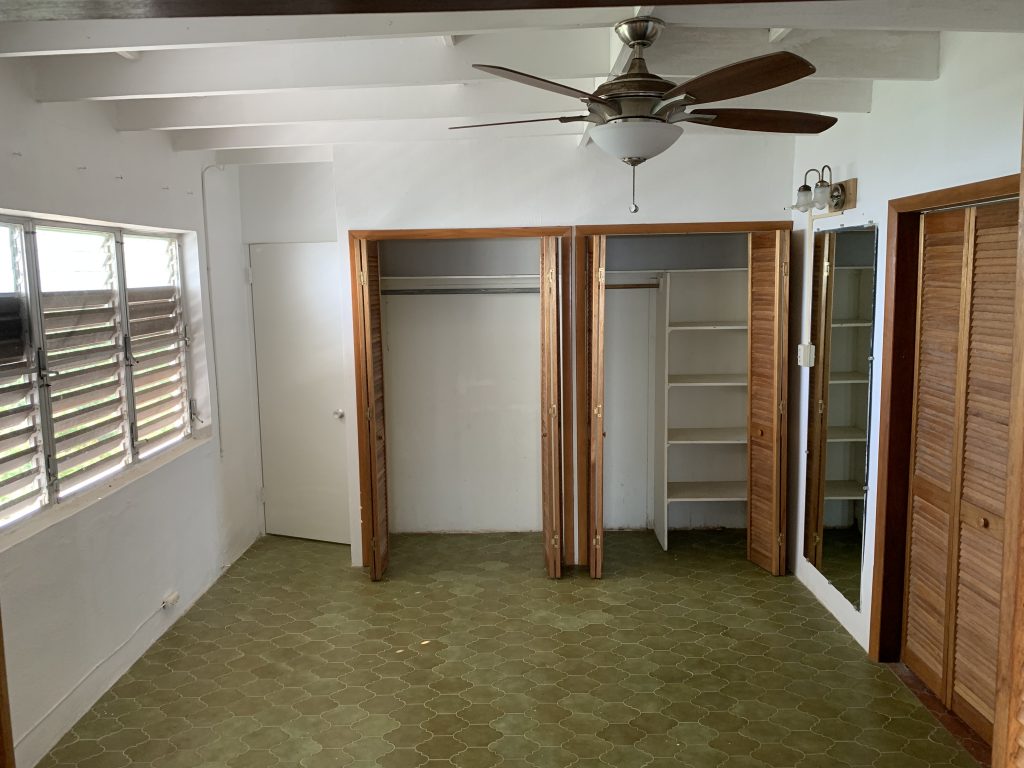
As with the rest of the house, Liam’s future room hadn’t been updated since the 70’s or 80’s. The room needed to be done from floor to ceiling, electrical and all. As with every room, we started with the demolition, removing the fan, the old closet doors (that were being used as doors to the room), pulled the mirror off the wall, the bathroom light fixture, and prepped the walls for painting.
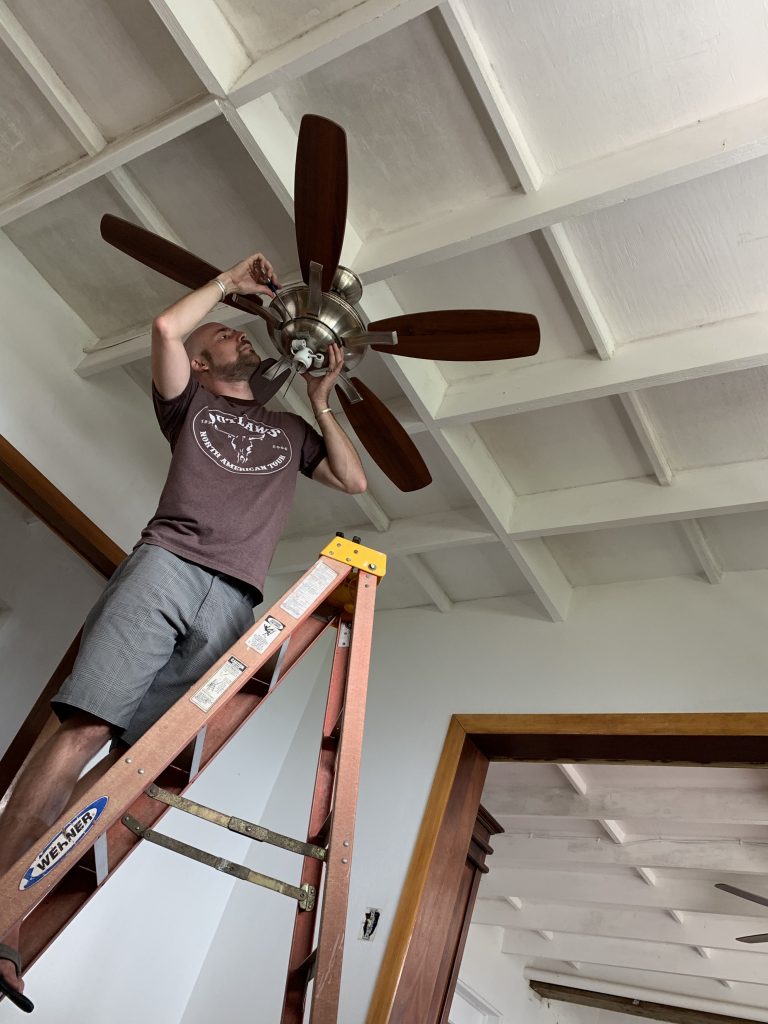
Removal of Fan 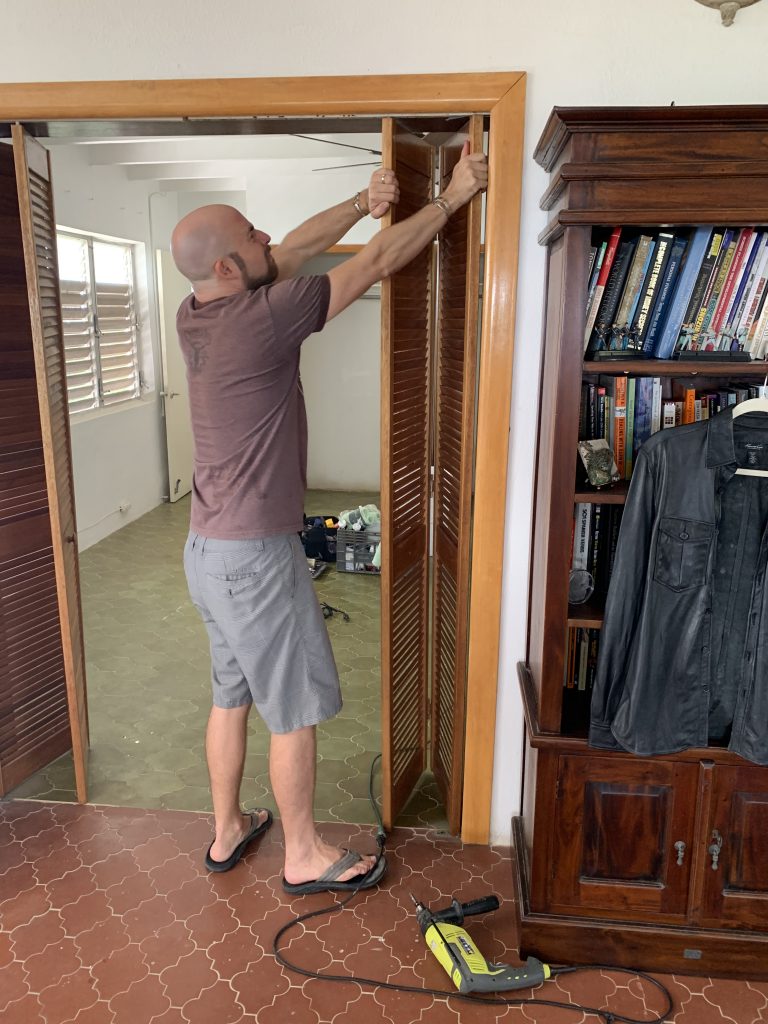
Removal of Folding Doors
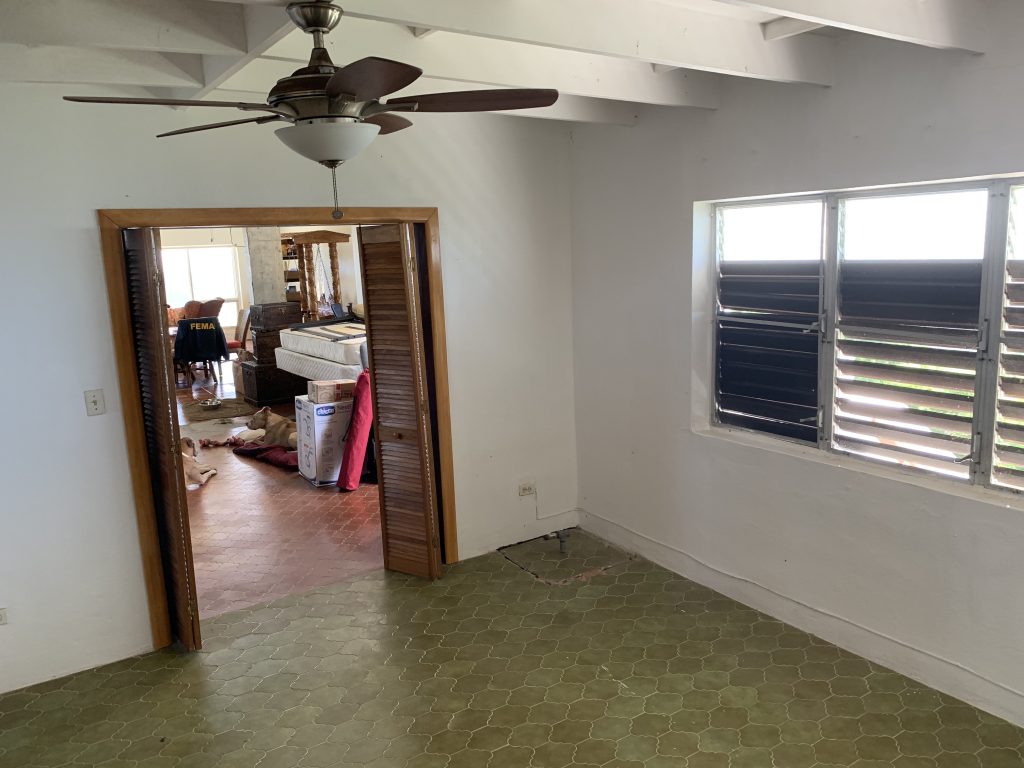
We decided to move forward with remodeling the hallway at the same time as Liam’s room since it connected our bedroom, which we had already painted, completed electrical, and ceiling work in. So the very first step was painting both the nursery and the hallway.
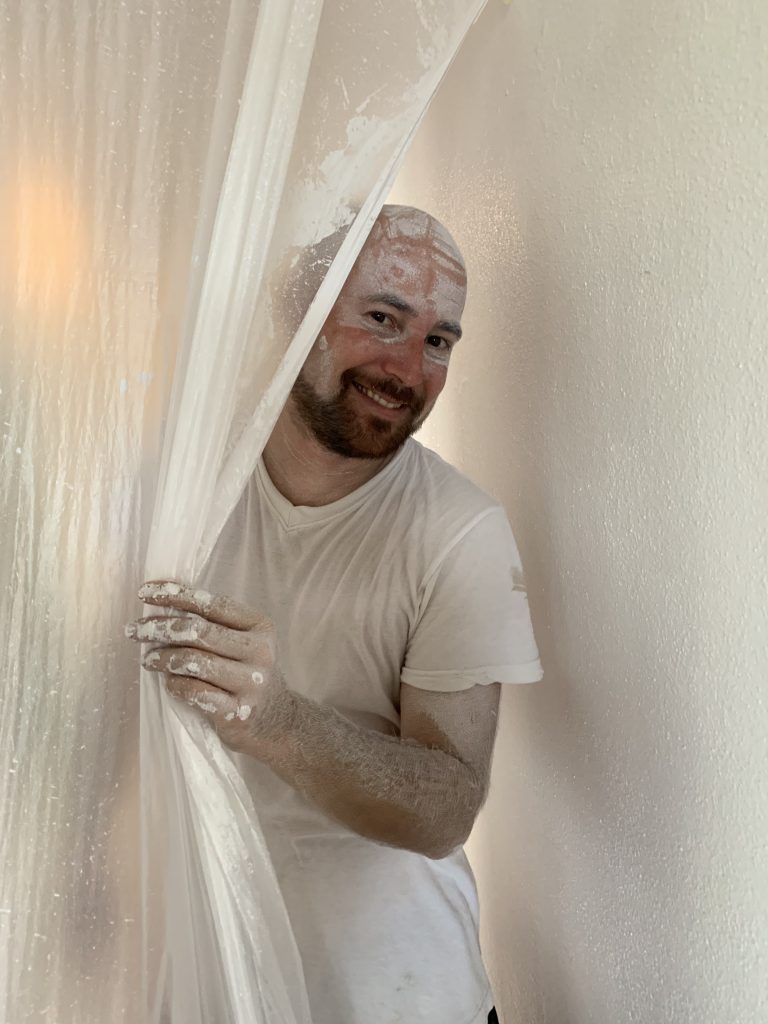
Covered from the Sprayer 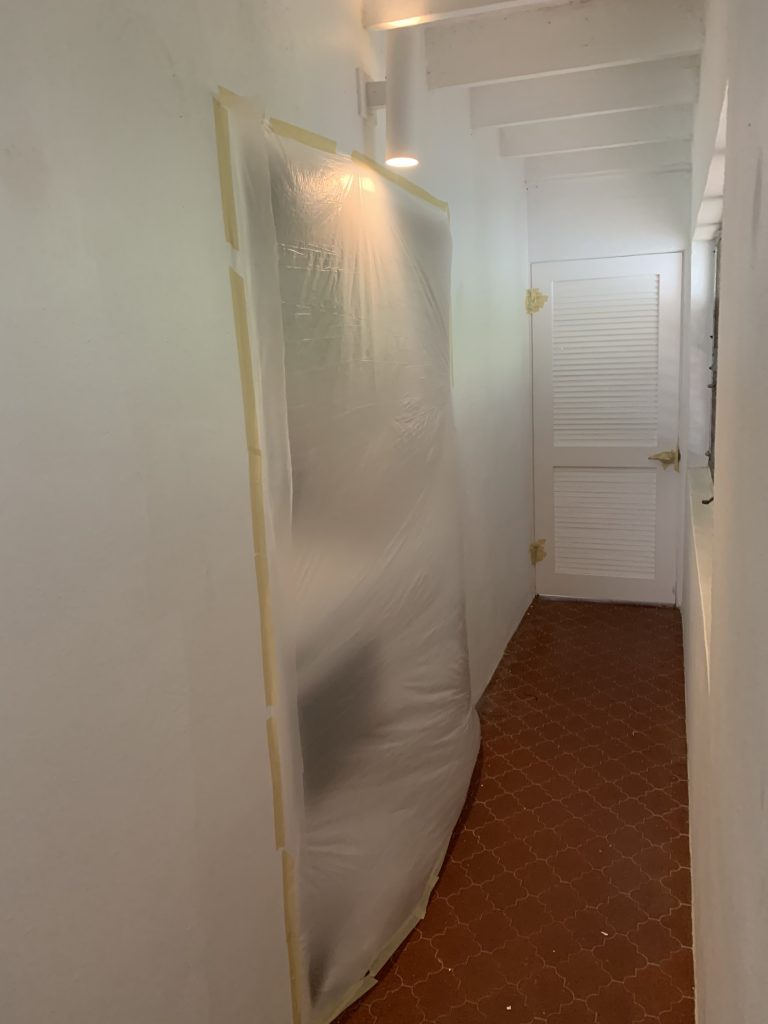
Painting Hallway
To speed up the process I used a paint sprayer, which is messy as hell, but gets the job done incredibly fast. You really have to make sure EVERYTHING is out of the room which you don’t want paint on, or at minimum covered. Don’t be surprised if it gets under the cover still. We plastic sheeted off every opening to the other rooms we didn’t want paint on.

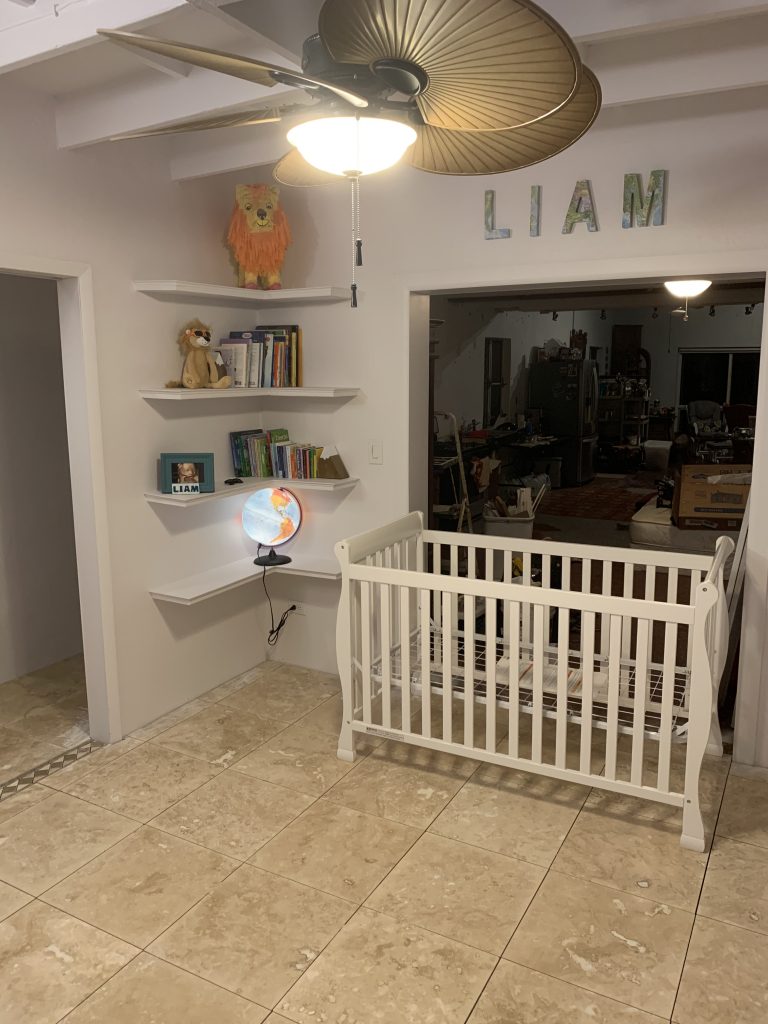
I decided I would build some floating shelves in Liam’s room, after Shaleece presented me with the idea, and as with everything told me, “Come on, you can do it. It will be easy for you!” They actually turned out really awesome, and I documented the entire process; so, I’m going to put up a post dedicated to “How to Build Floating Shelves” in case any of you want to try your hand at some carpentry for the next article as a side bar to our remodel progress.
After the shelves were done, and room painted, besides some minor electrical and fixtures work, the flooring was the next major job to tackle. I learned a thing or two in my day about laying tile (this isn’t the first house I’ve laid tile in) and the best advice I can give is to spend the extra money on a Floor Leveling System. It keeps any “lippage” from occurring by simultaneously lifting the tile from the bottom, and squeezing down on it from the top, at the corners where multiple tiles meet. Basically, if you’ve ever seen a room where the tile edges are at different heights (causing edges) it’s because they didn’t use one of these systems and probably used the good ol’ regular spacers. It’s almost critical in a house like ours where you have multiple types of flooring meeting up in different areas at slightly different heights.
Sebastian learned a thing or two about tiling and helped as well. He got an opportunity to use the tile saw, lay some mortar, and throw a few tiles into place. He did great for his first go-around.
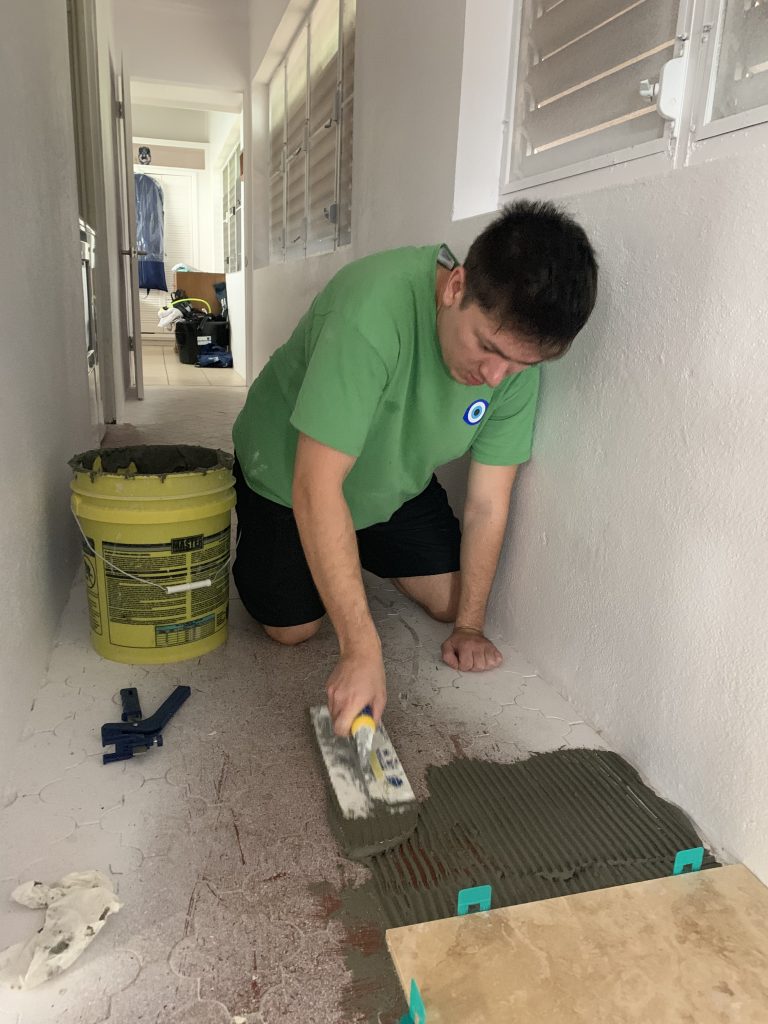
Sebastian Laying Tile 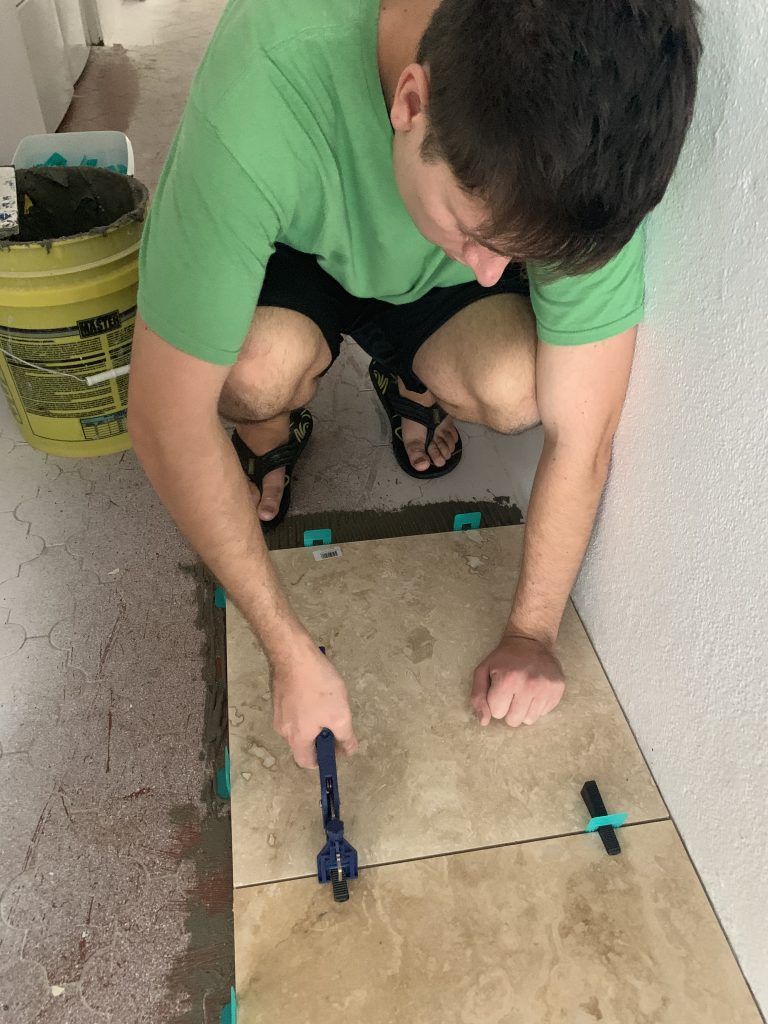
Using the Self Leveling System 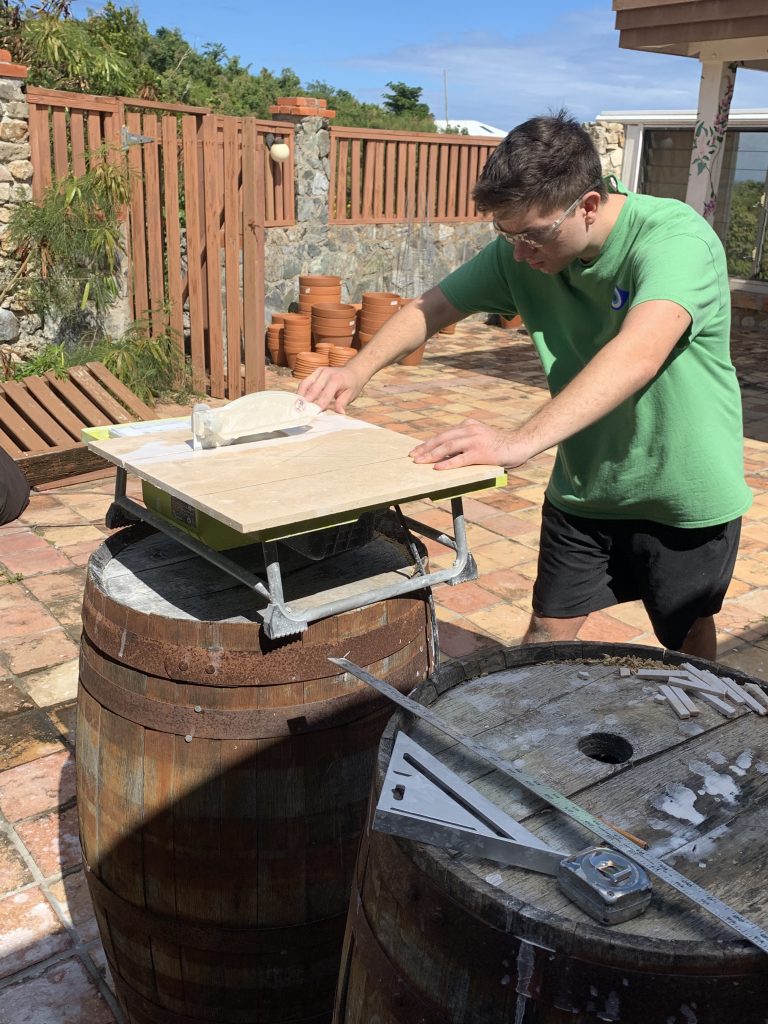
Sebastian on the Tile Saw 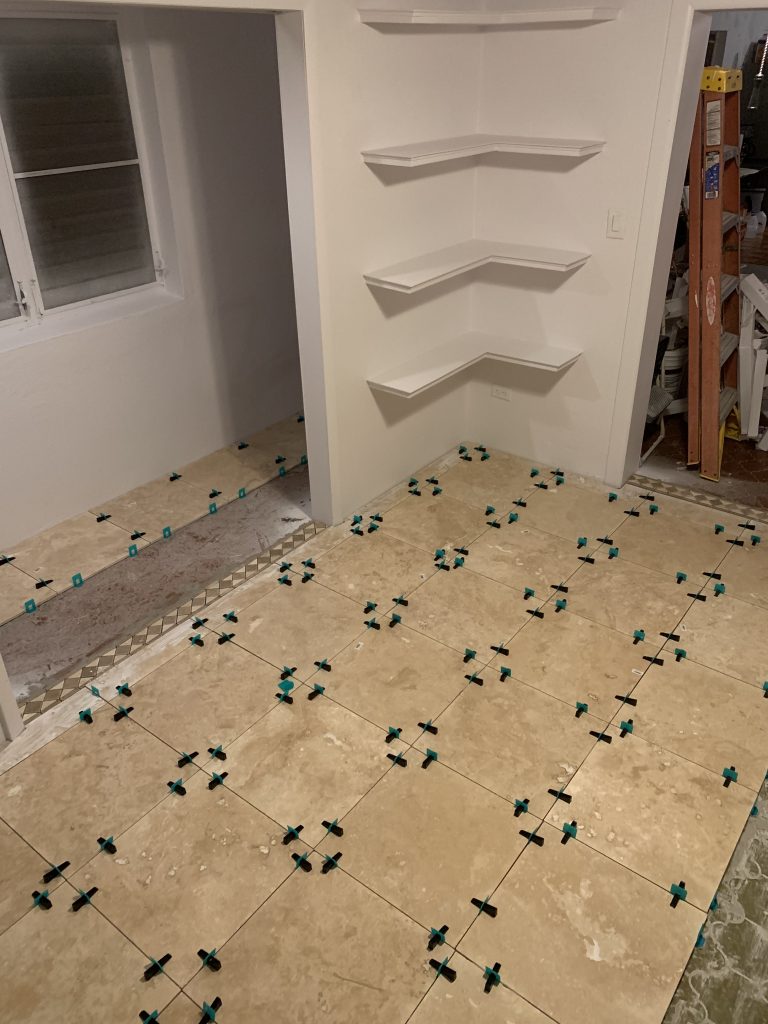
Half Way Done in Liam’s Room 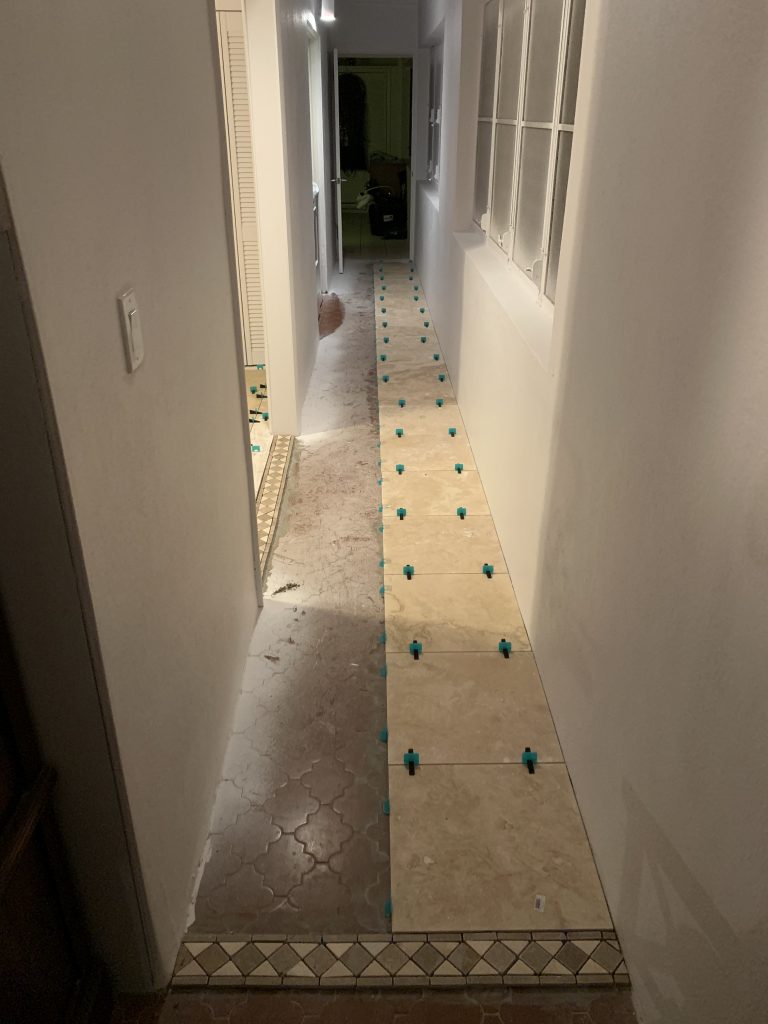
Tiling Down the Hall 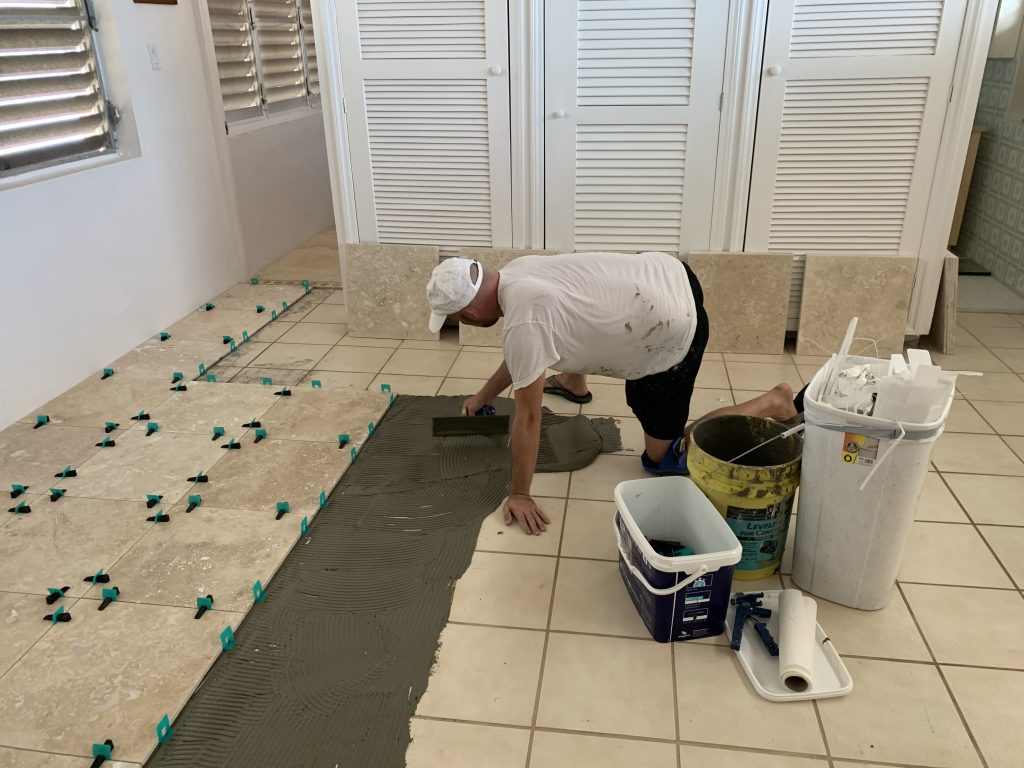
Tiling into the Master Bedroom 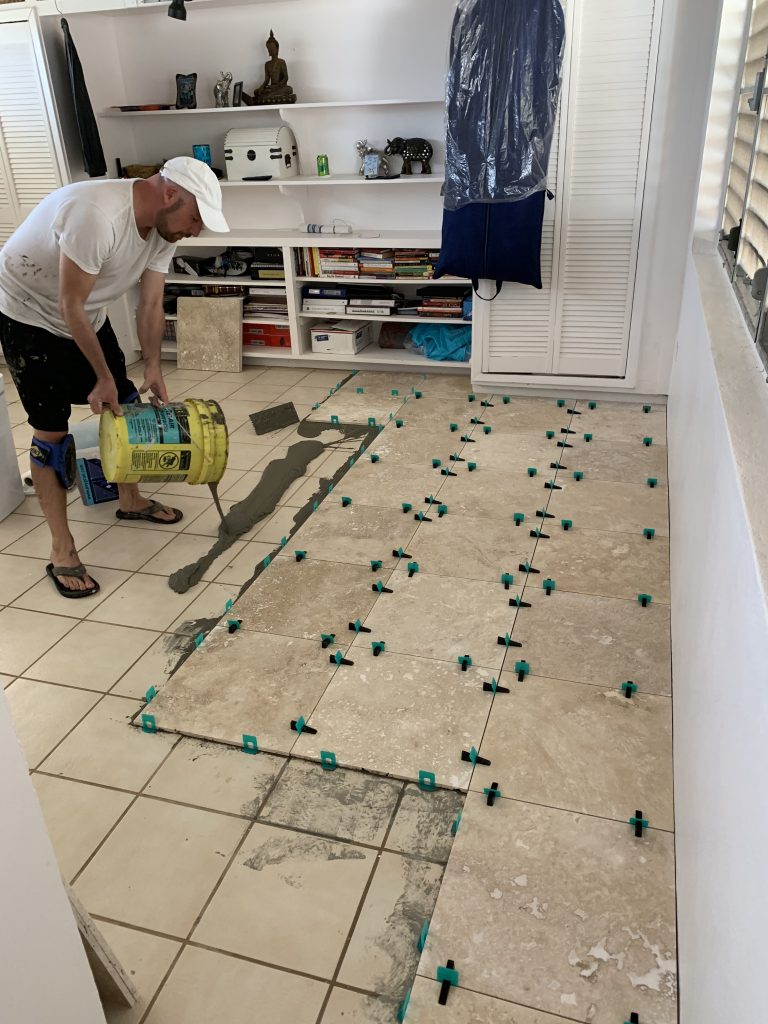
Still Going… 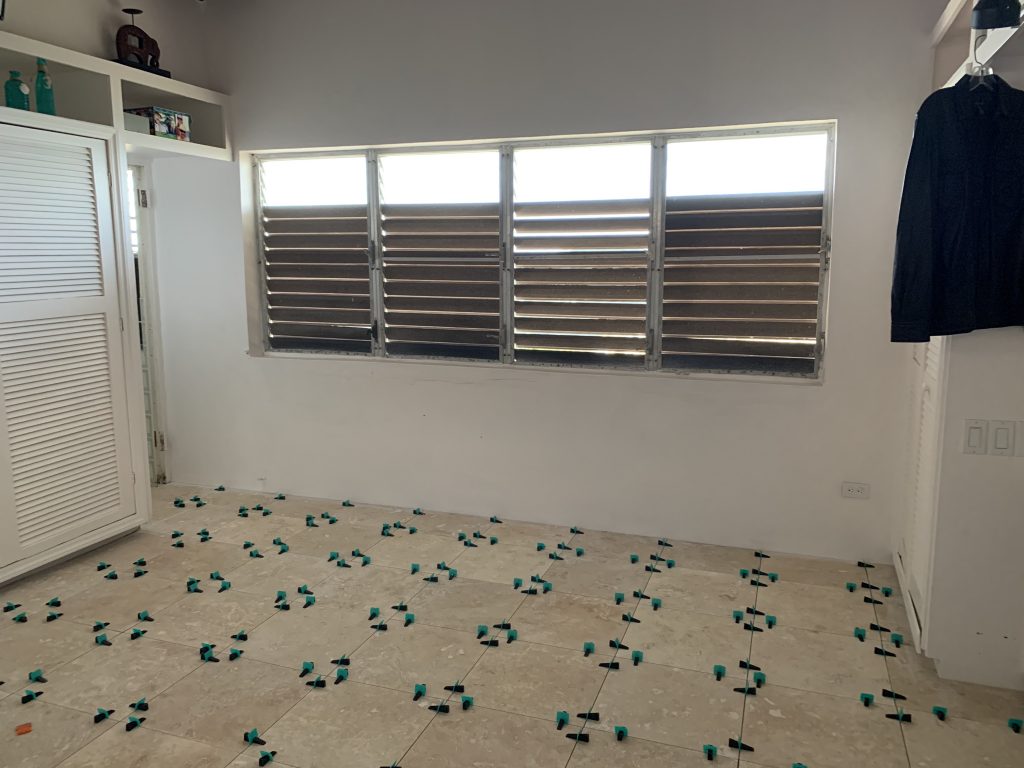
Half the House is Tiled!
We more or less finished up in Liam’s room with the exception of the windows and the barn doors which have been on order. The photo doesn’t show the grout, but that’s been complete as well. I’ll be sure to post some final photos of the room once the barn doors are up and the new windows are installed… “Soon Come” as they say on the island. Liam will be here soon, and we can’t wait…. well actually I’m playing catchup and most of you guys know he’s already here… but that’s what I was thinking at the time I actually took this photo… 🙂