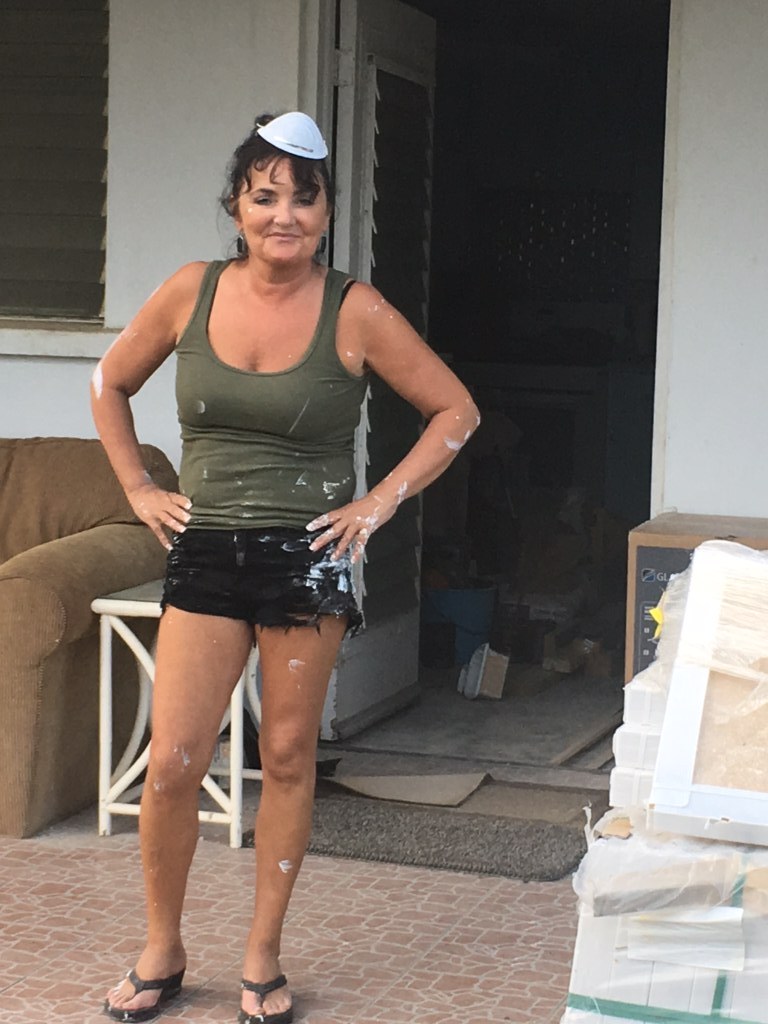
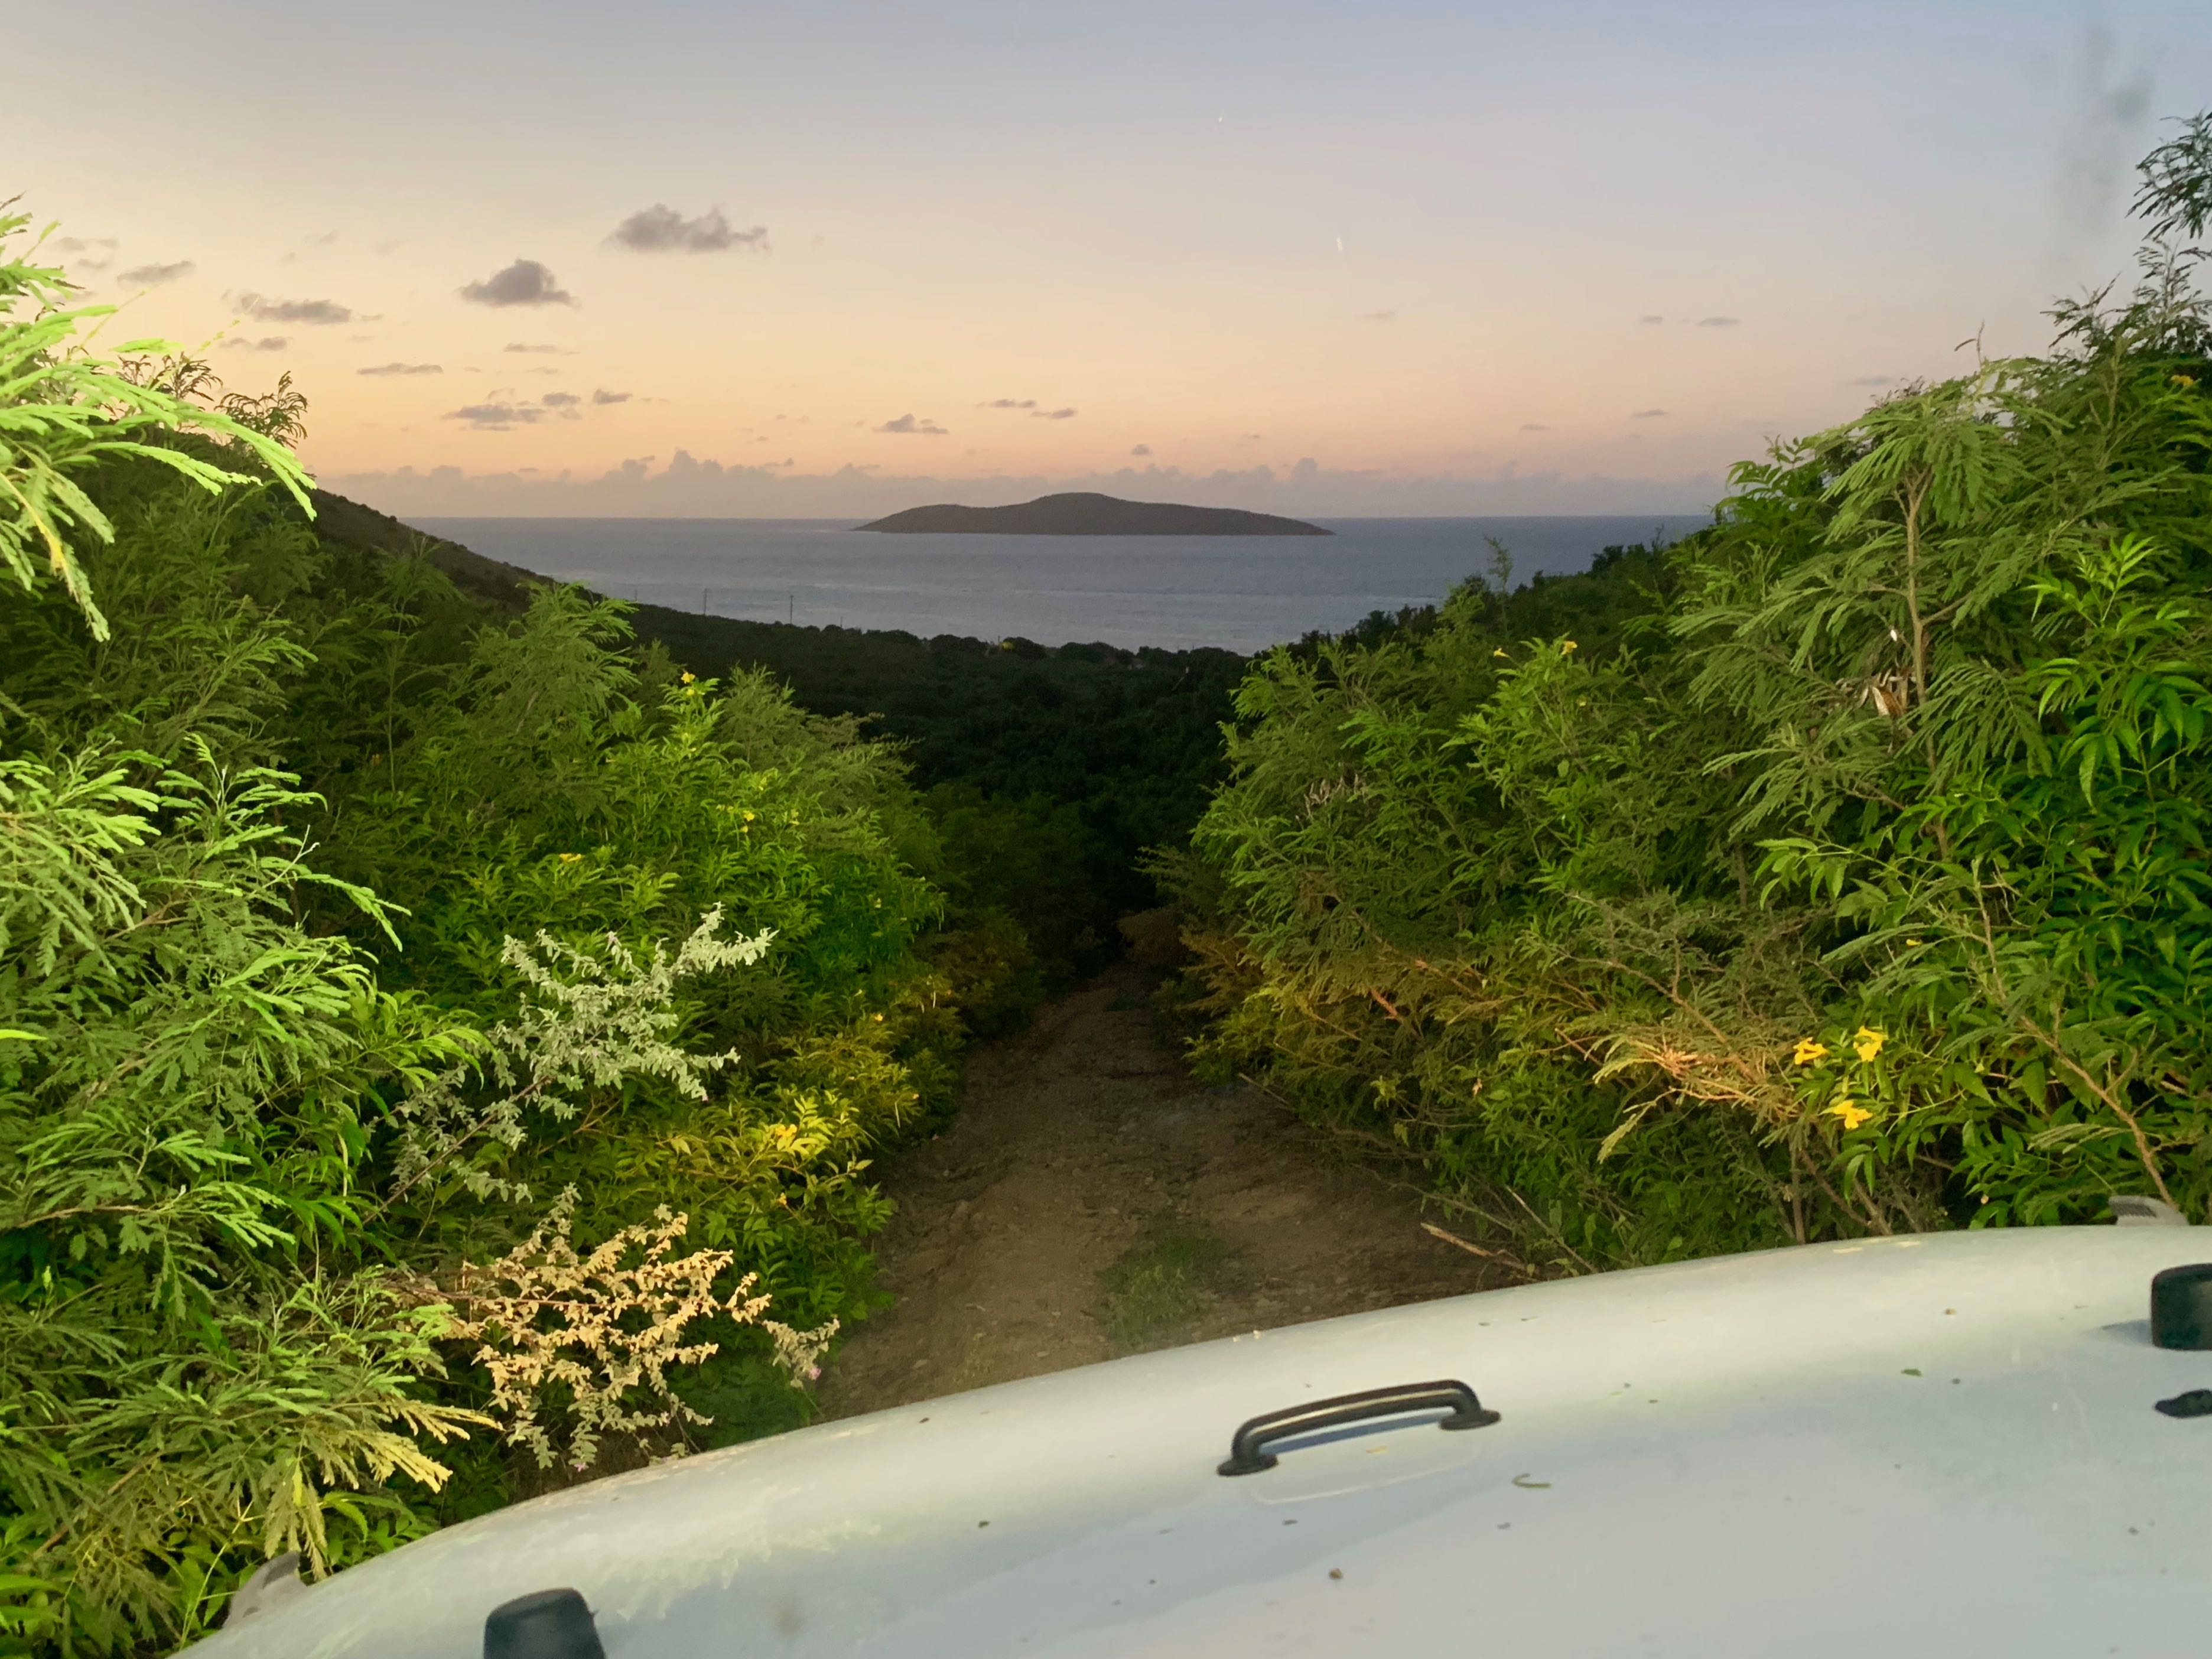
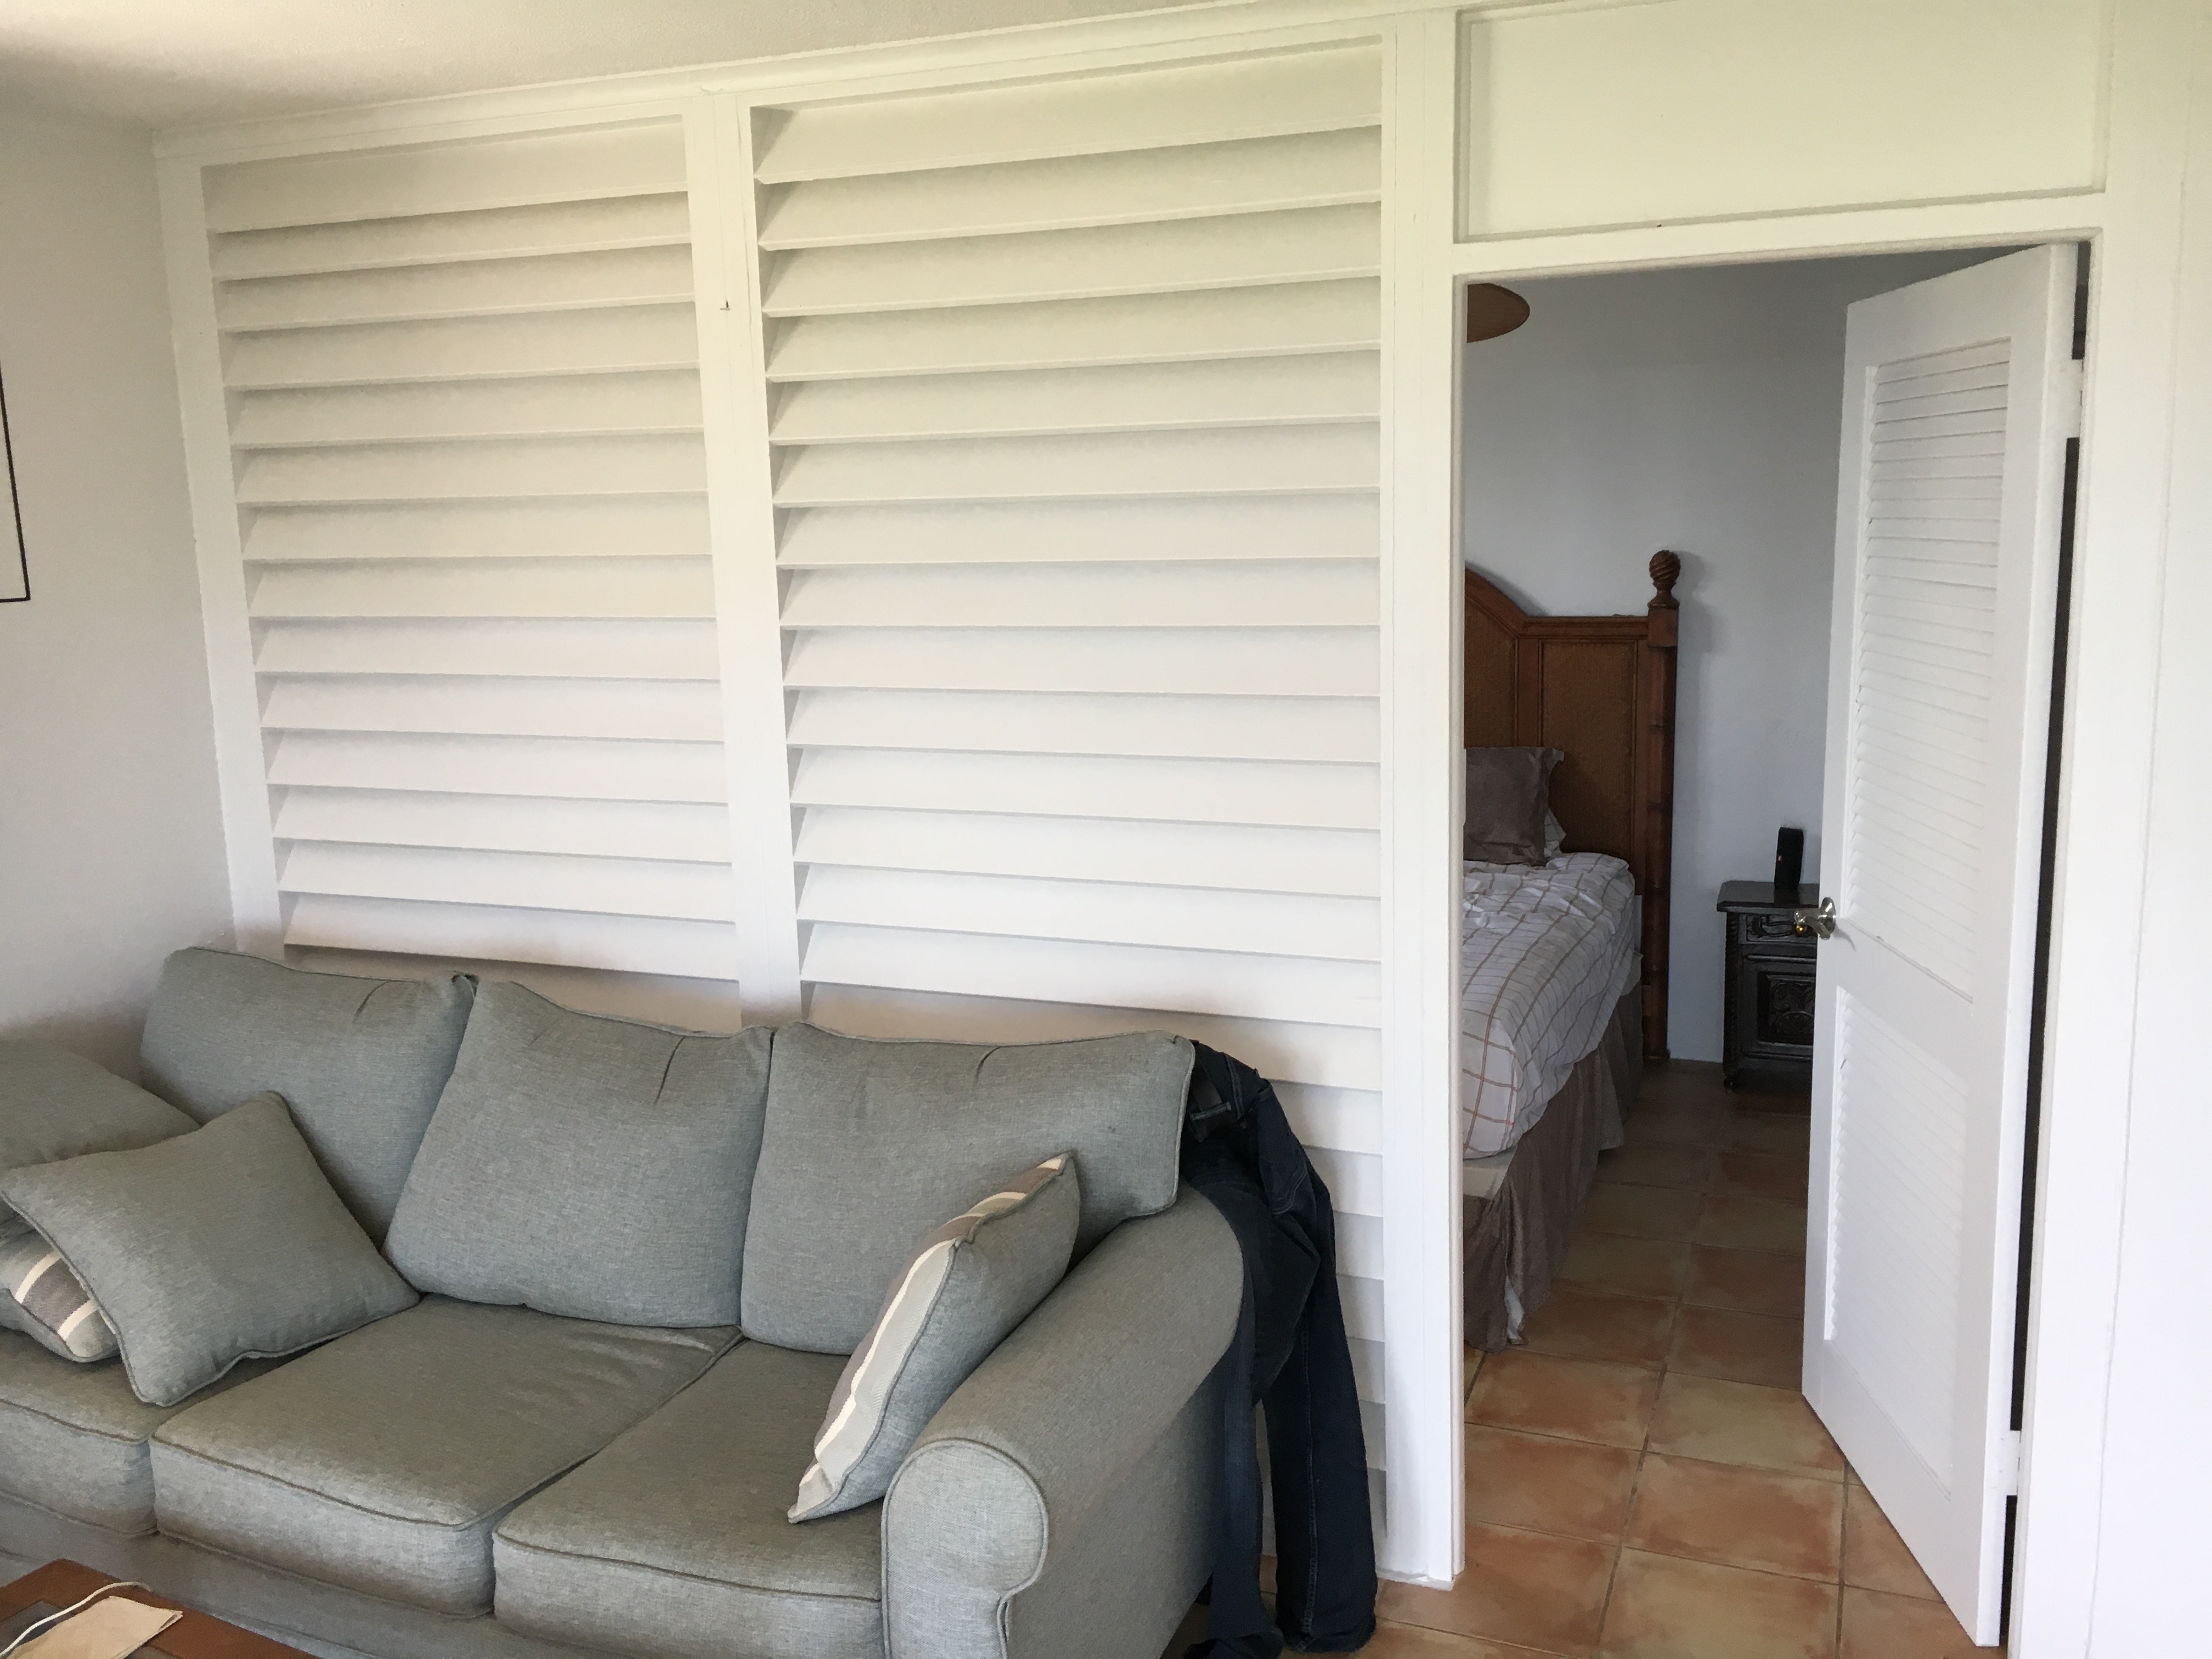
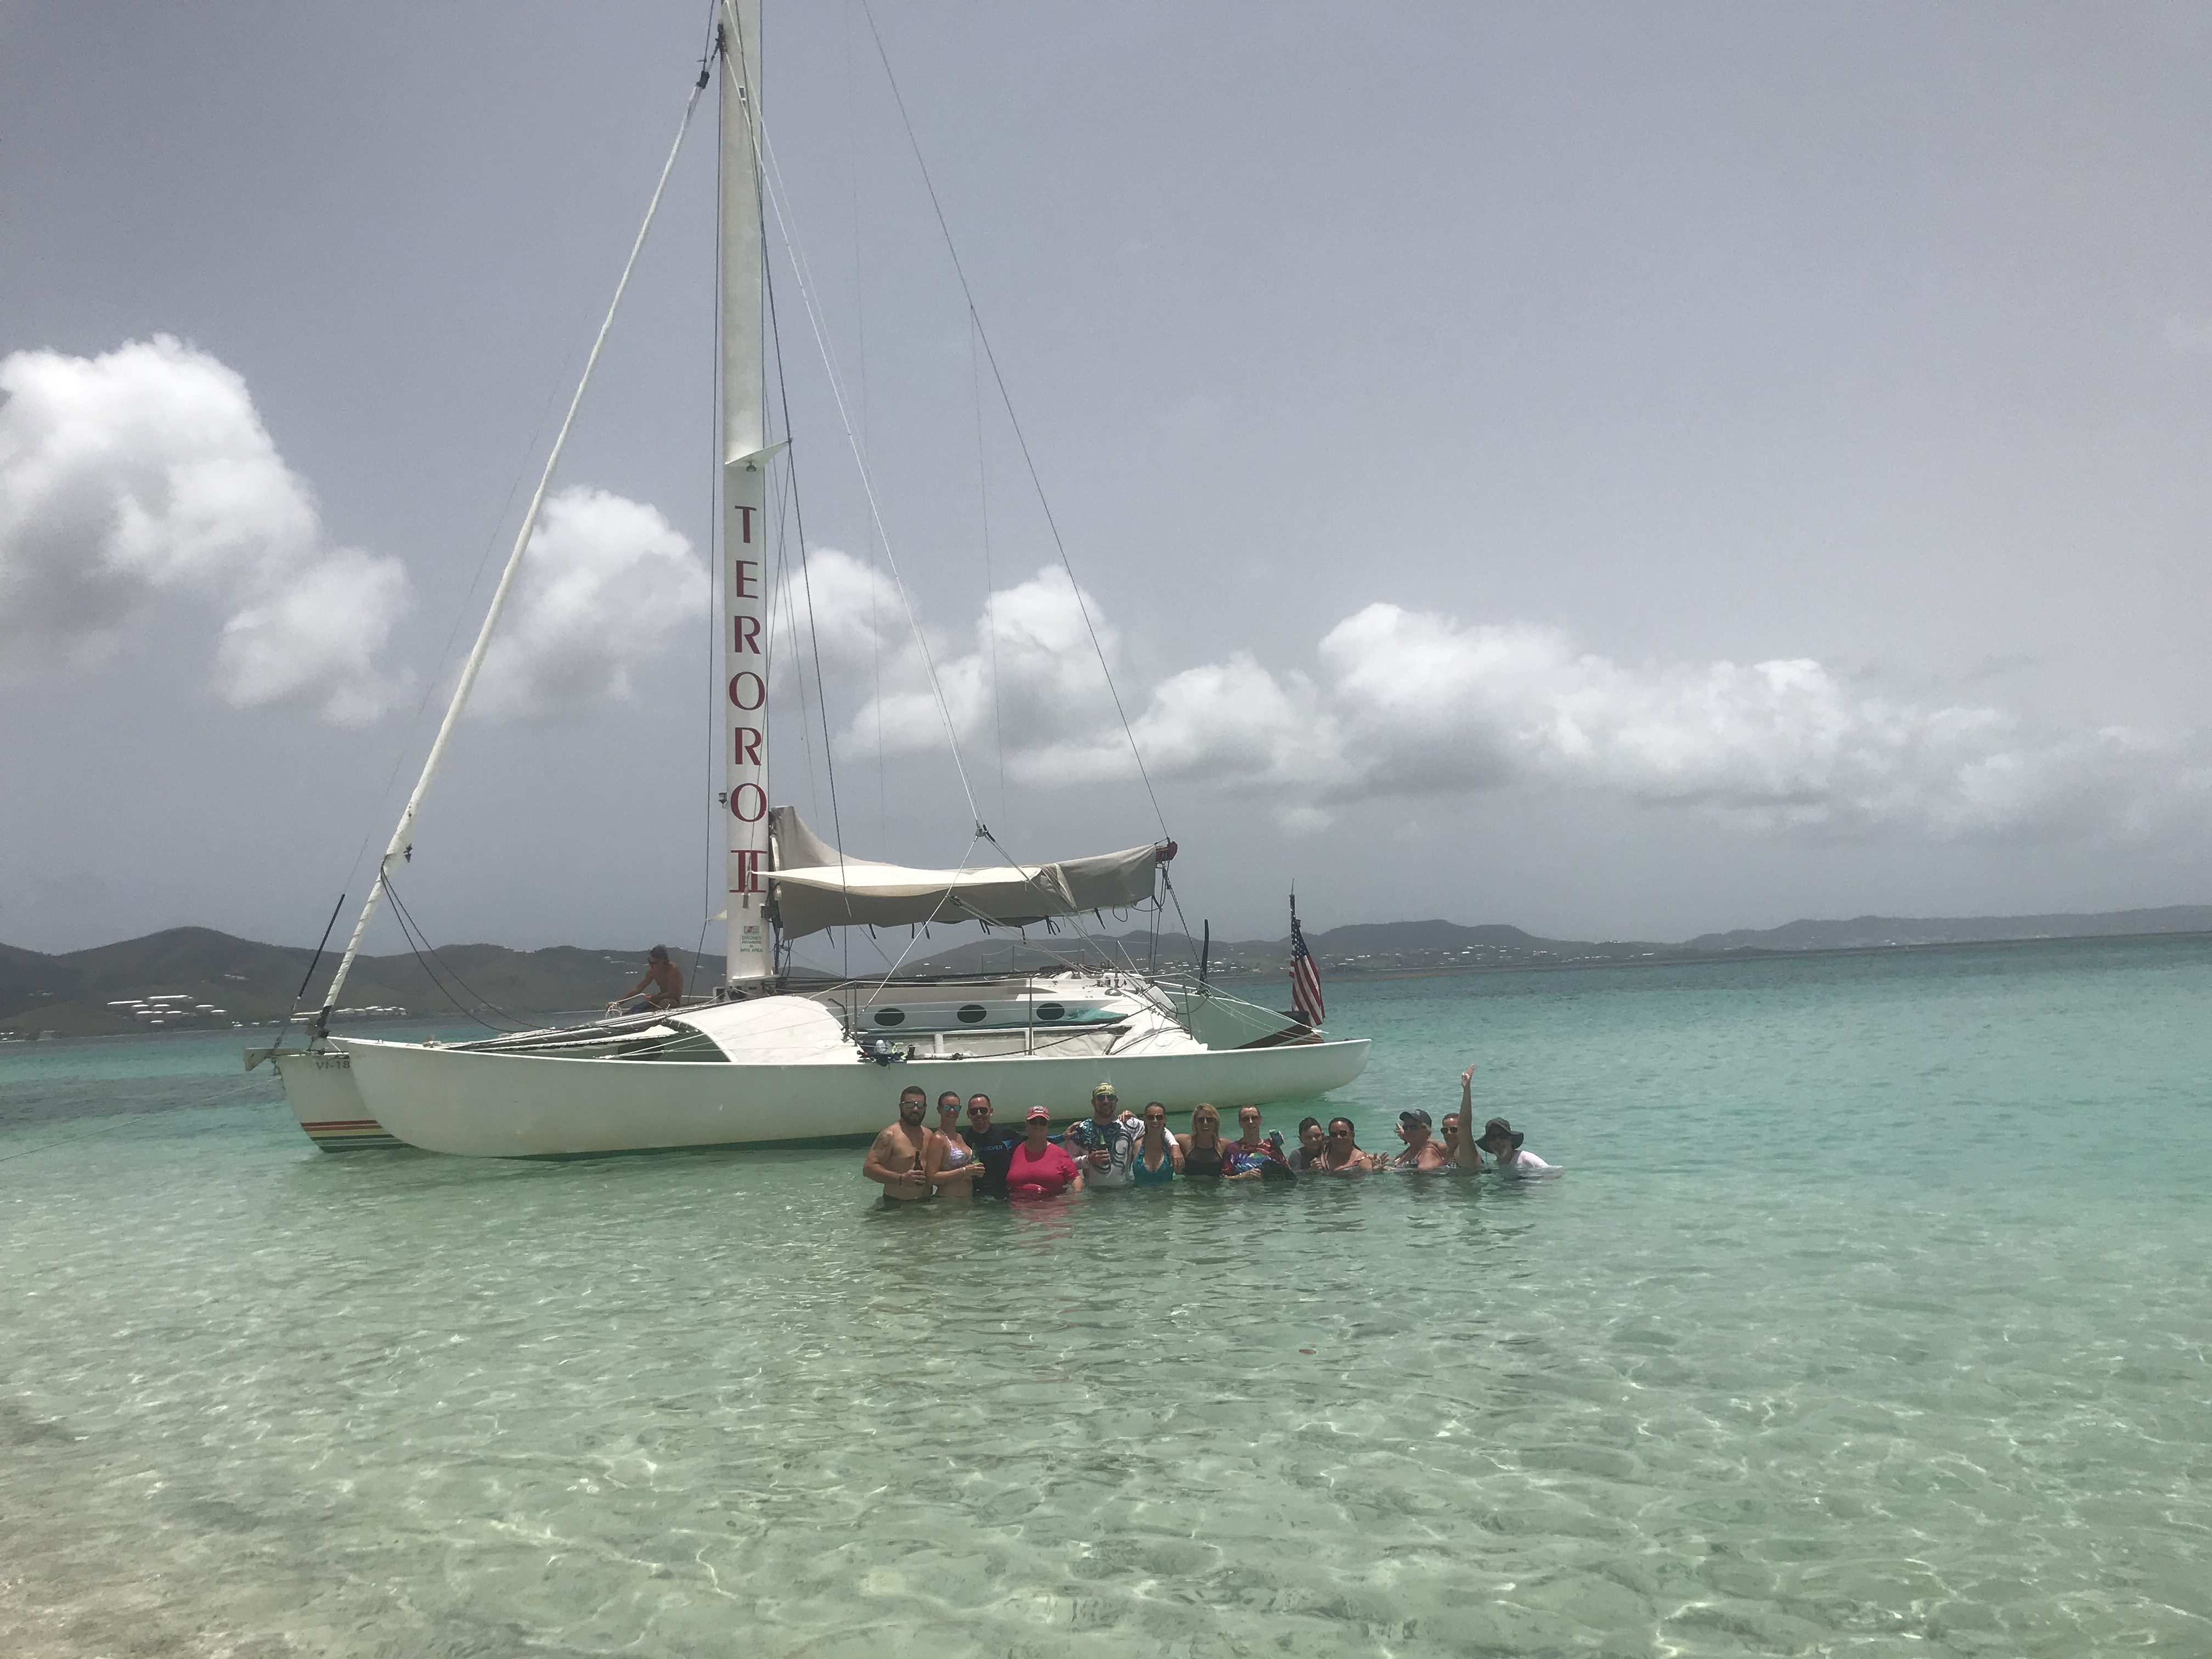
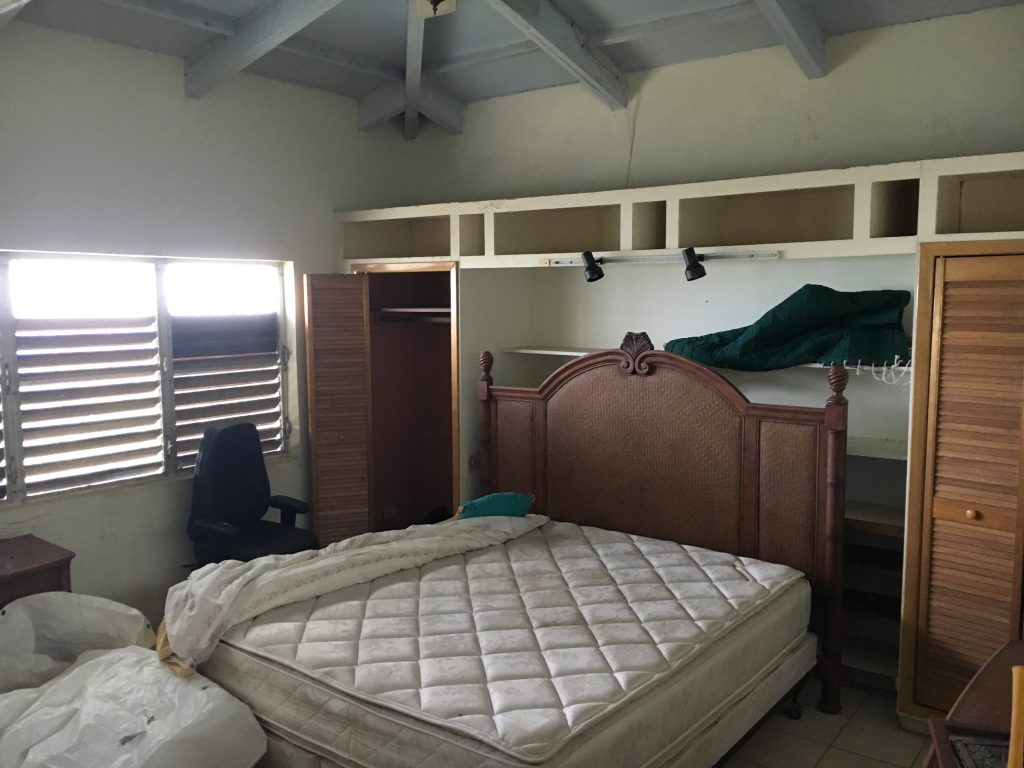
Day 458
Total Spent So Far: $131,622.64
30 Yard Dumpsters Filled: 4.5
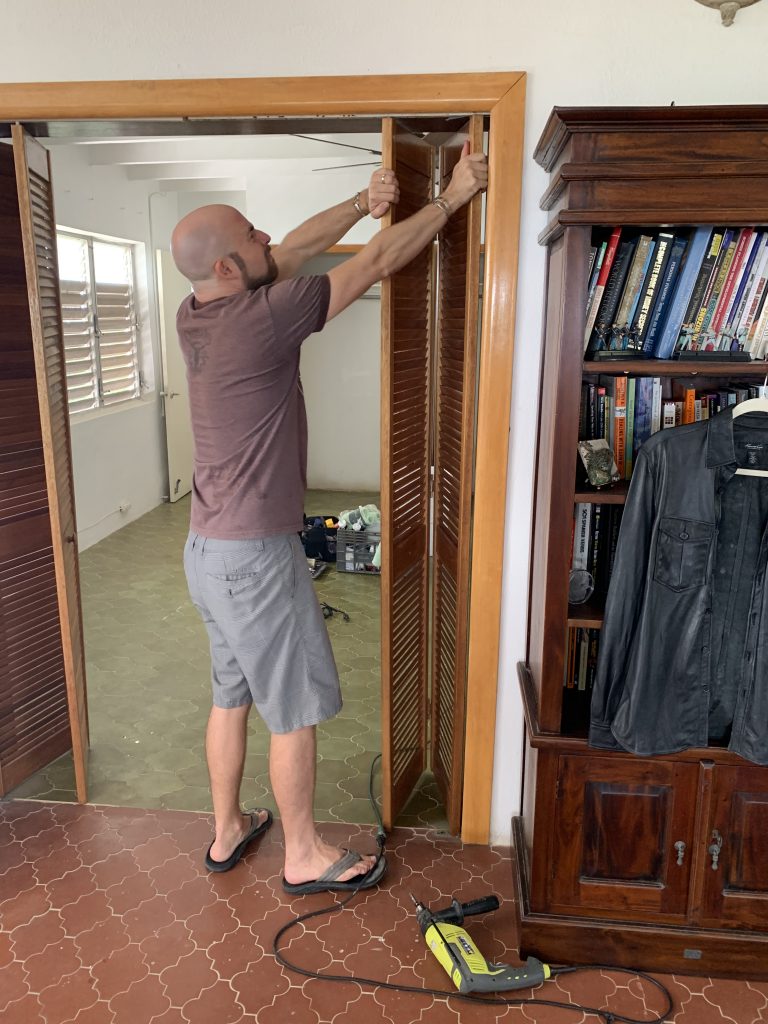
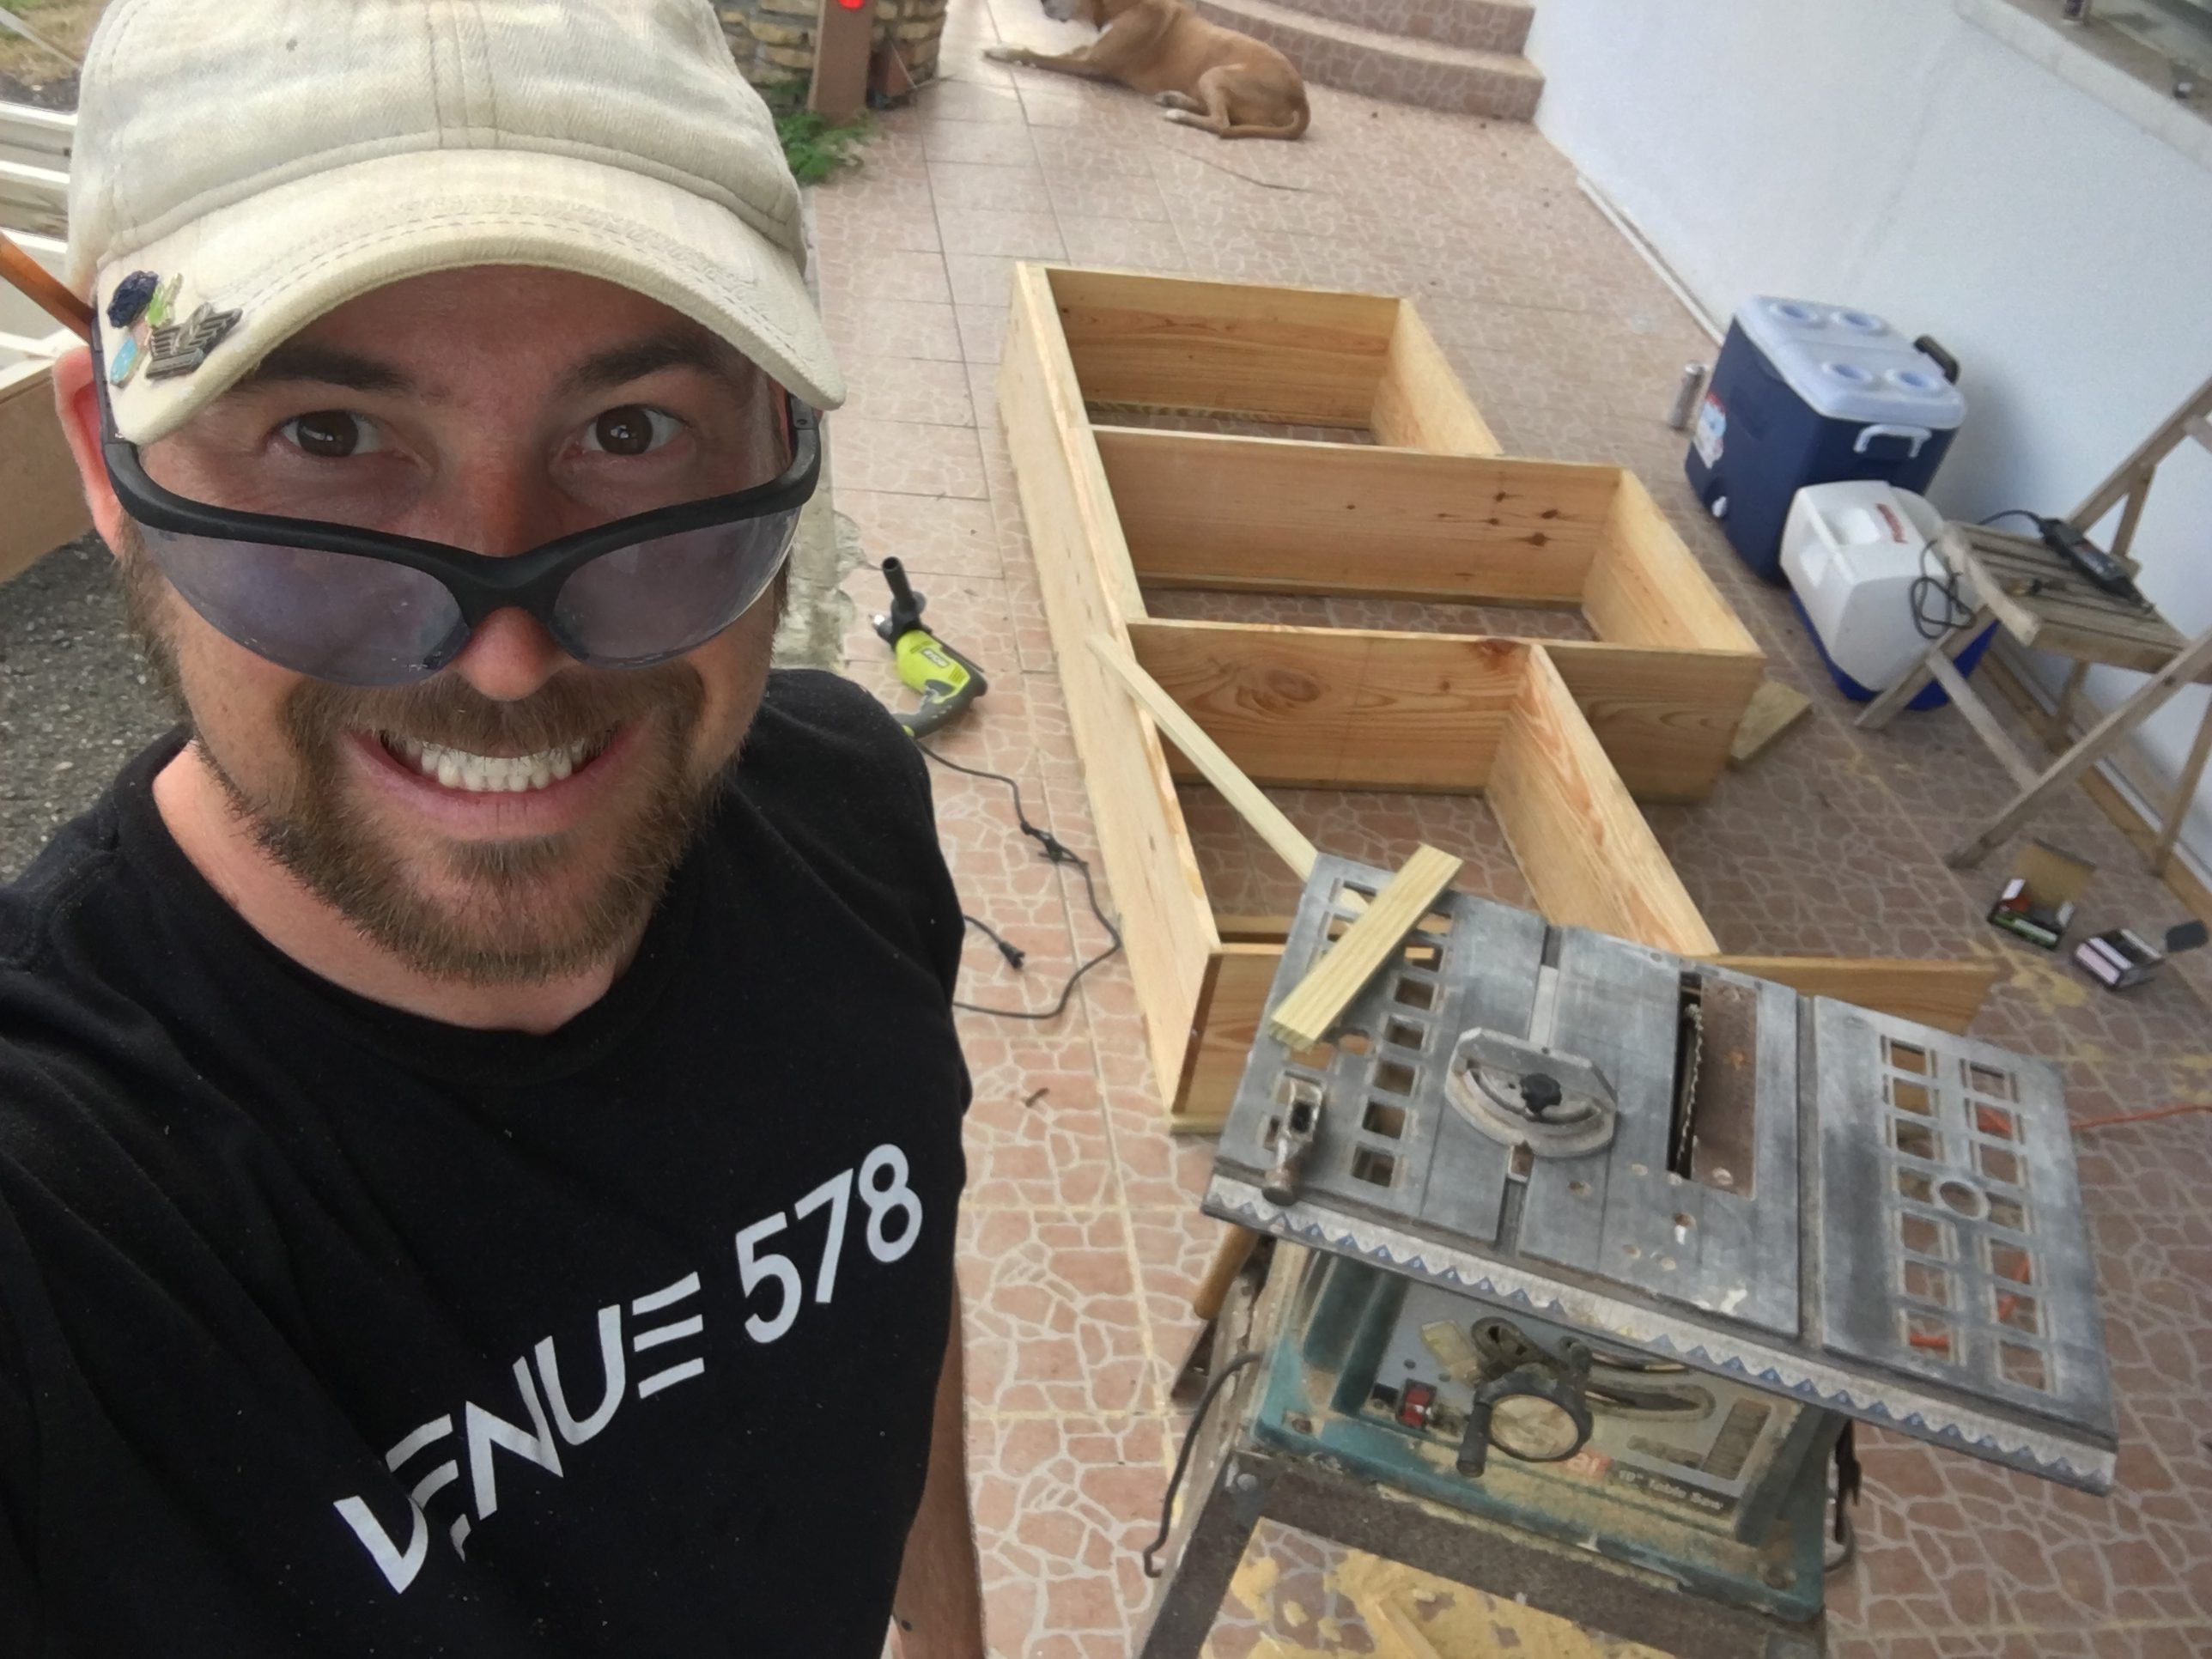
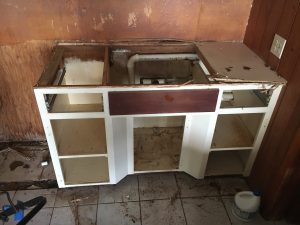
We’re getting pretty close to “caught up” on these blog posts so I’m going to start including where we are budget and dumpster bin wise again since it more or less aligns. The above includes the kitchen cabinet order and cupola repair as well which we’ll talk about in the next couple of articles.
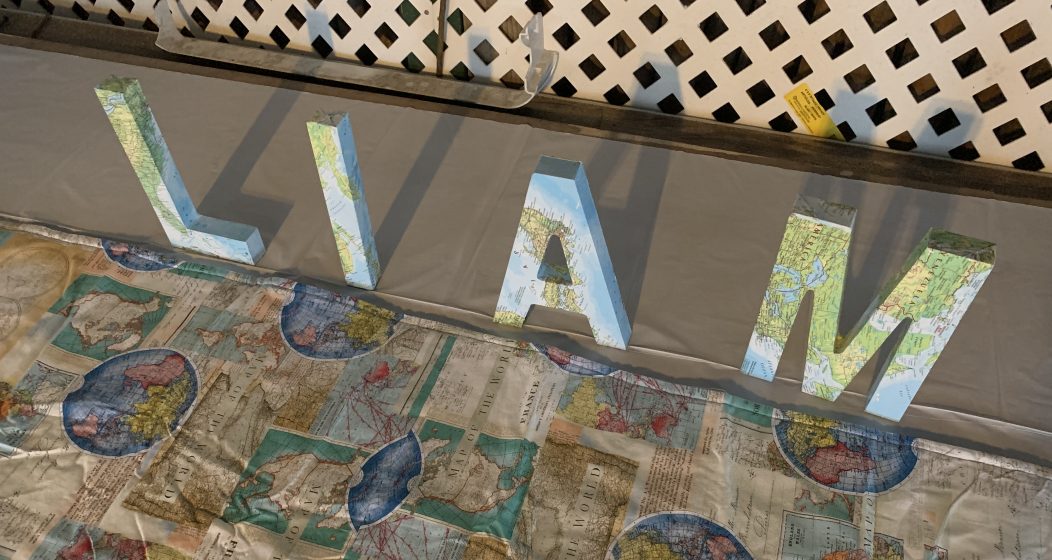
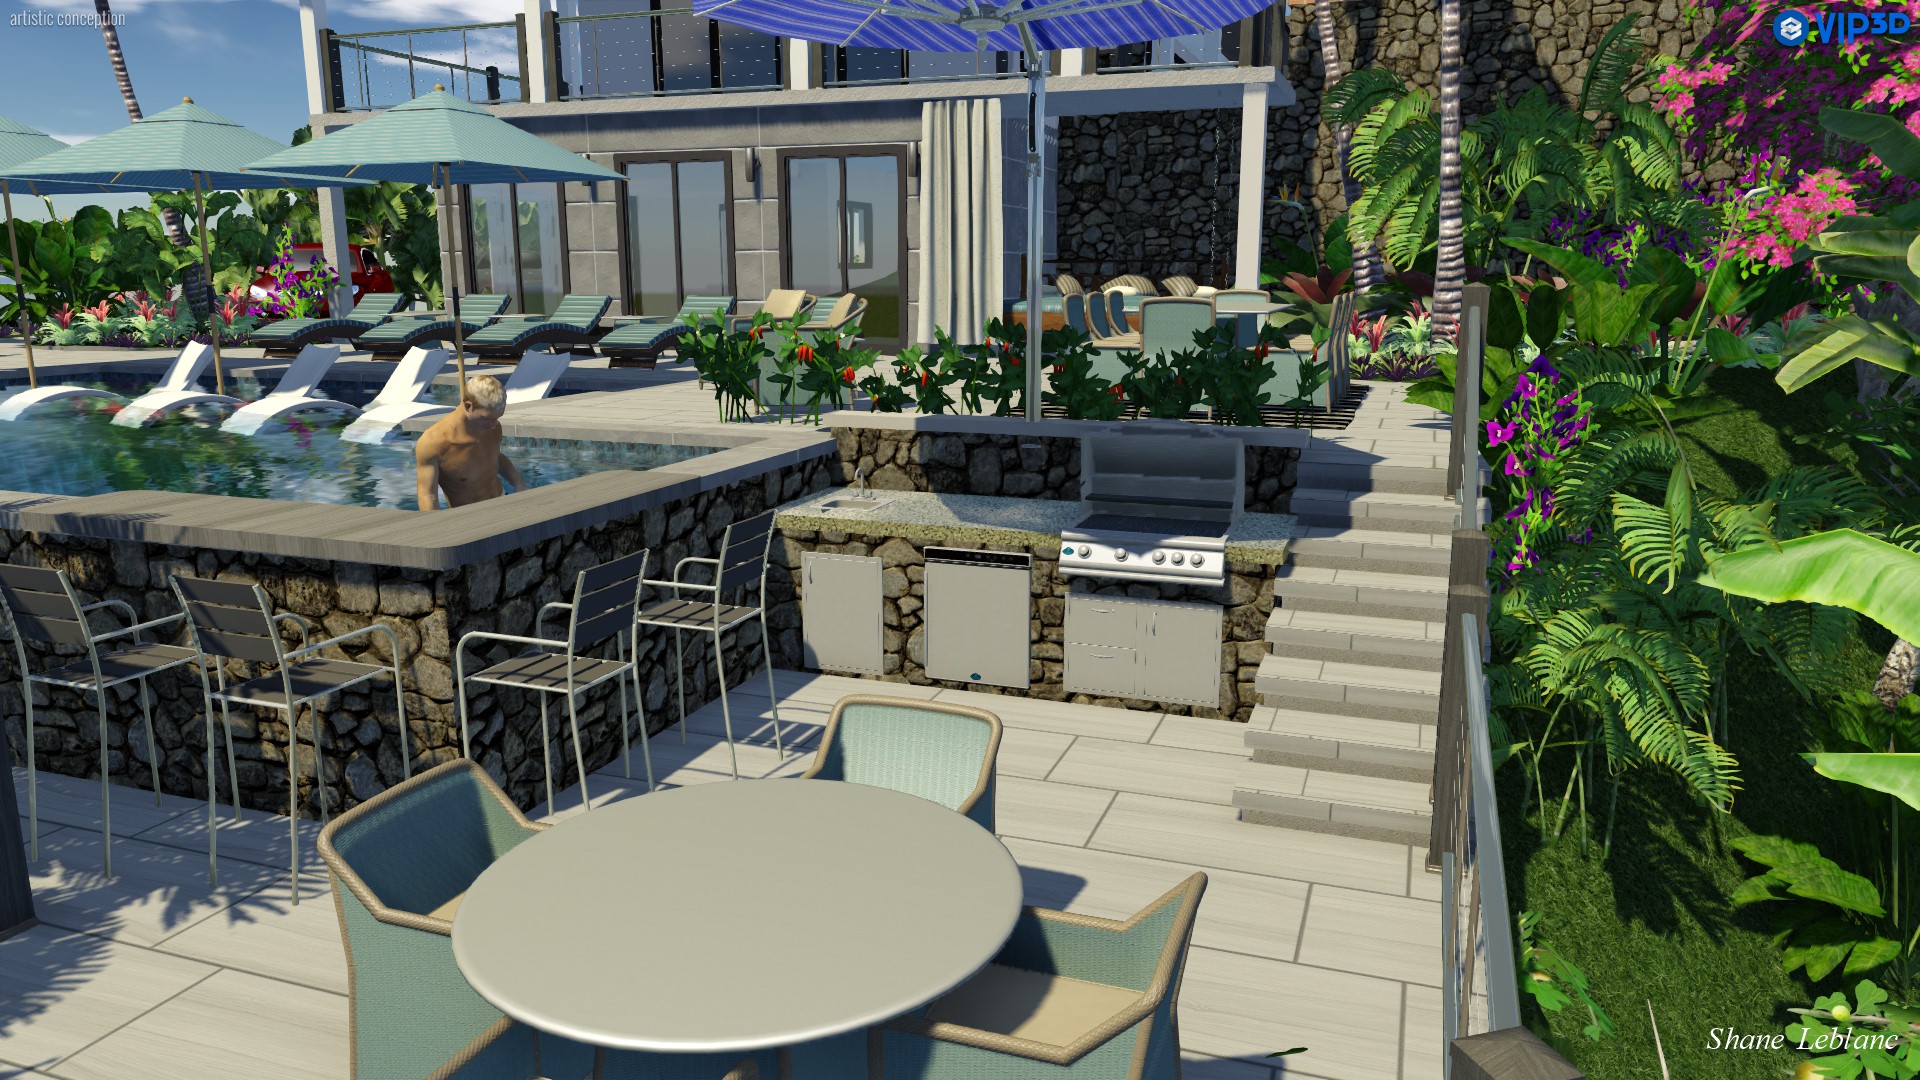
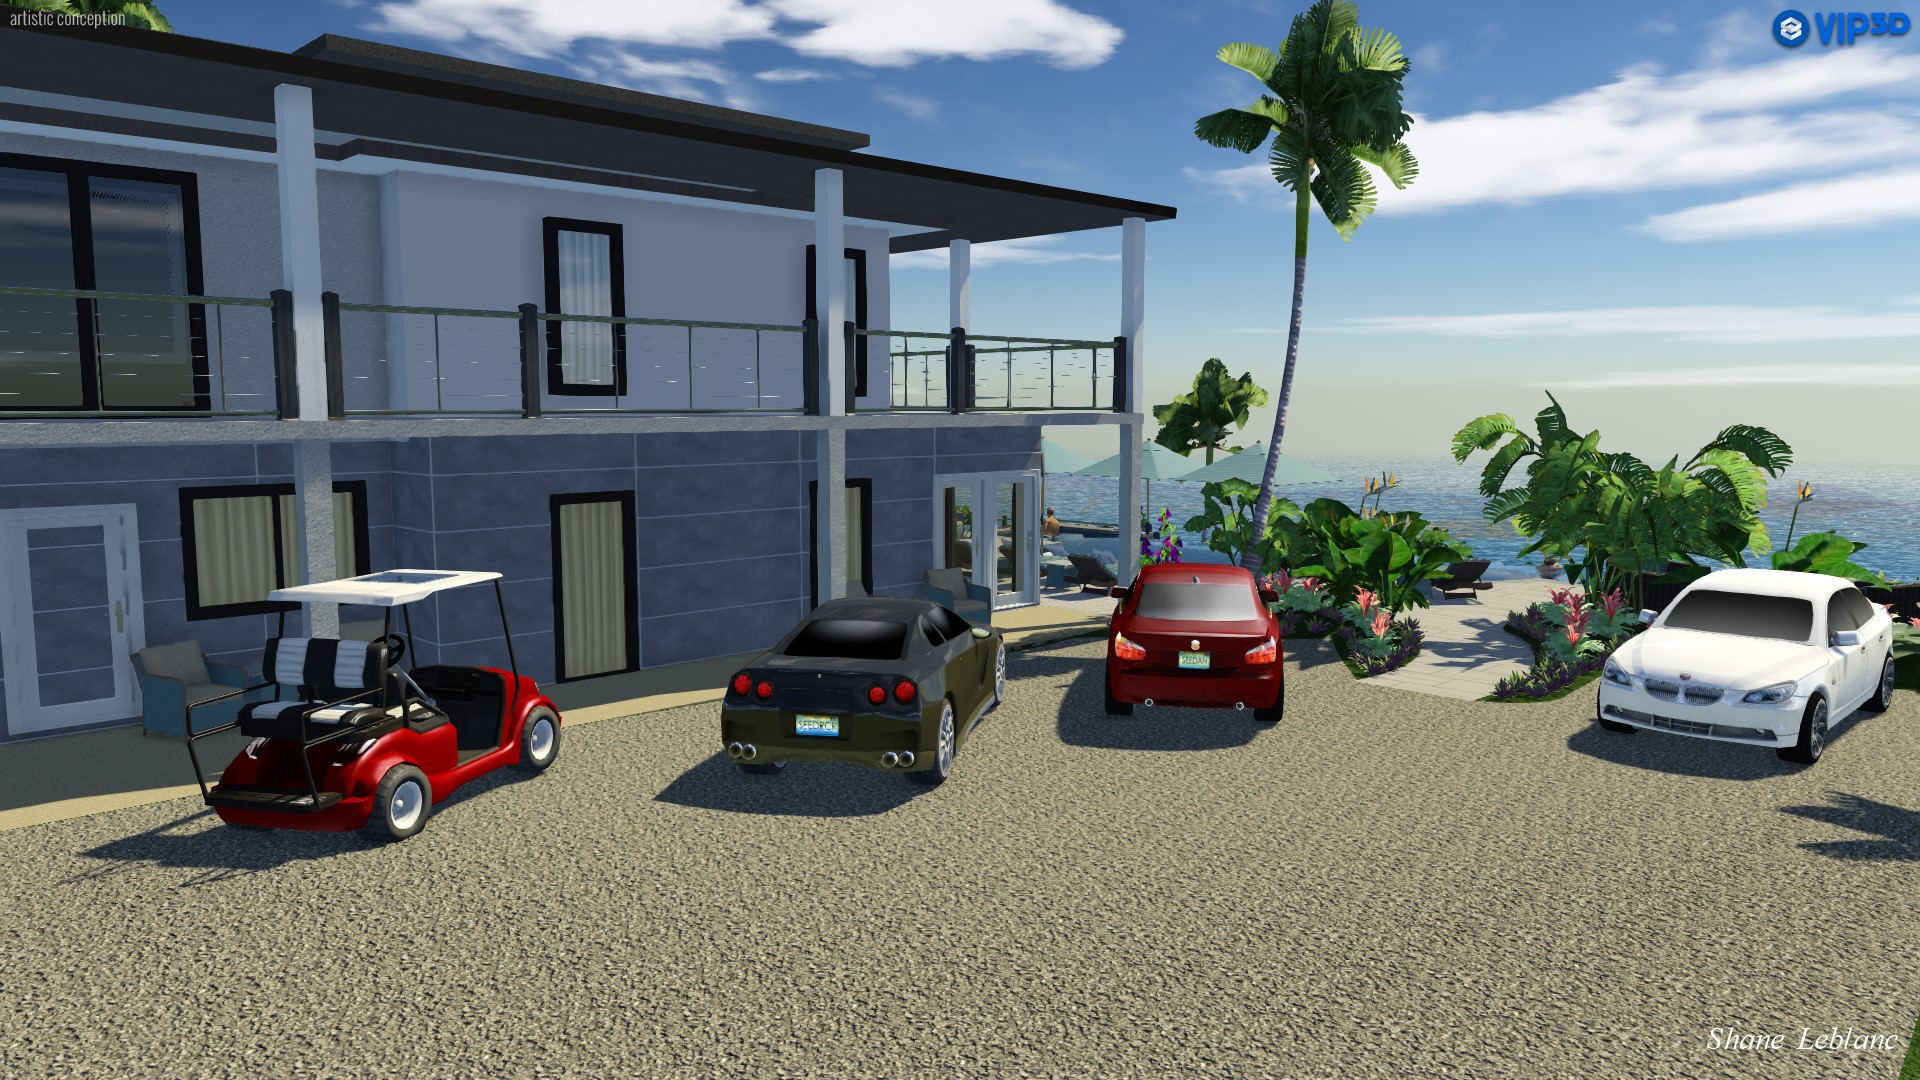
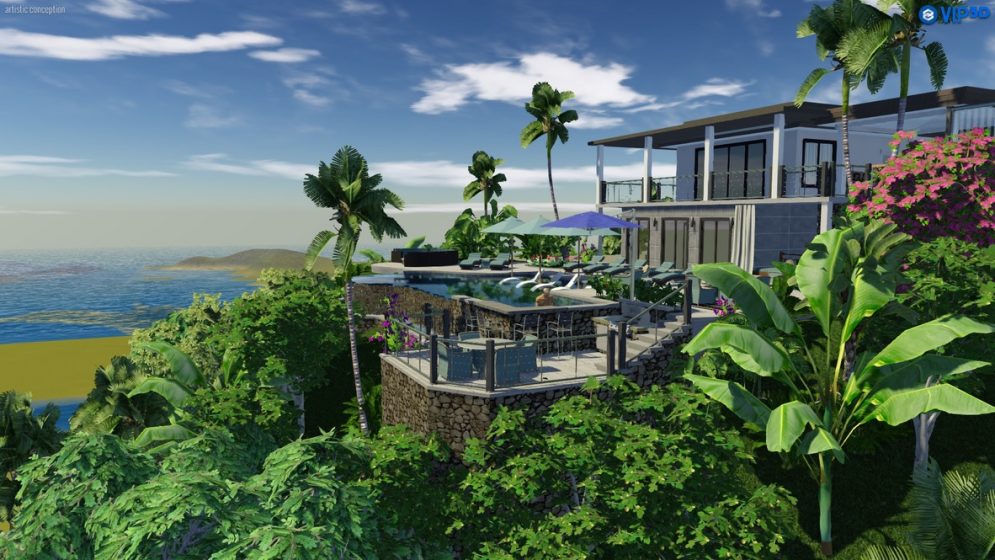
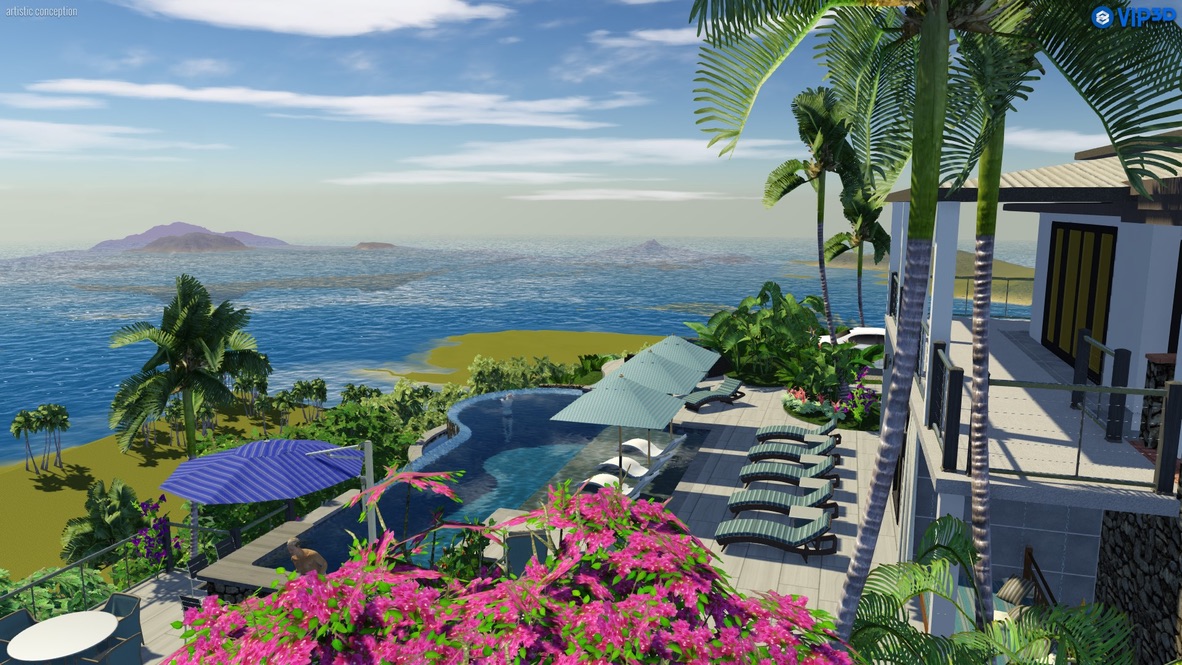
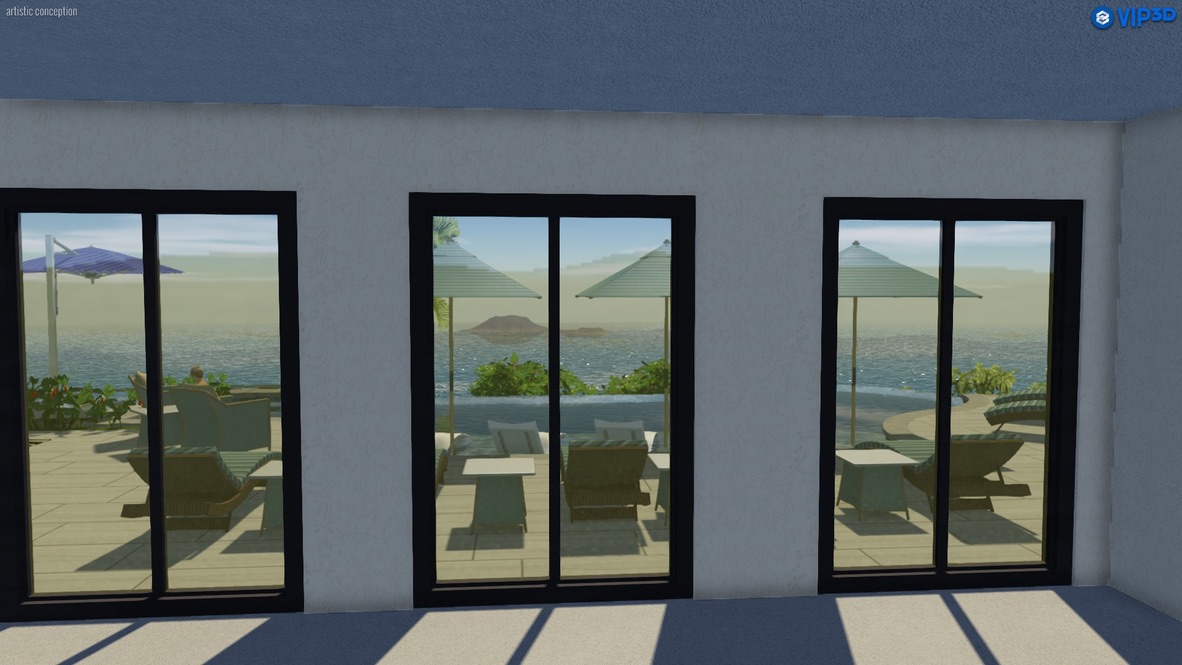
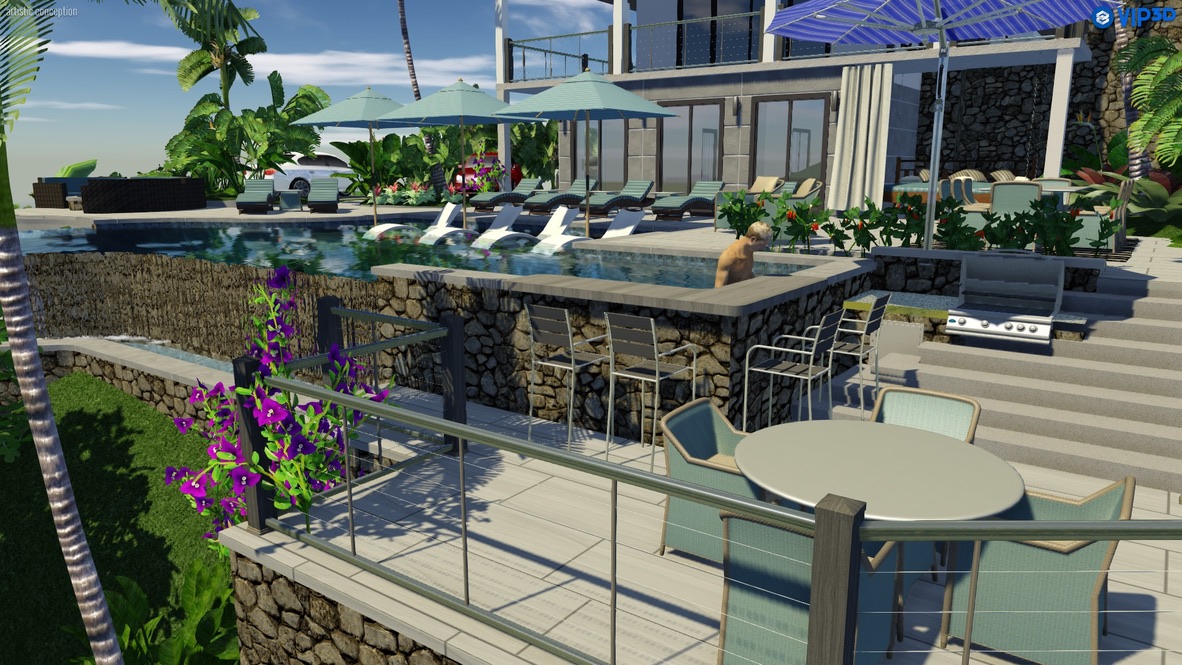
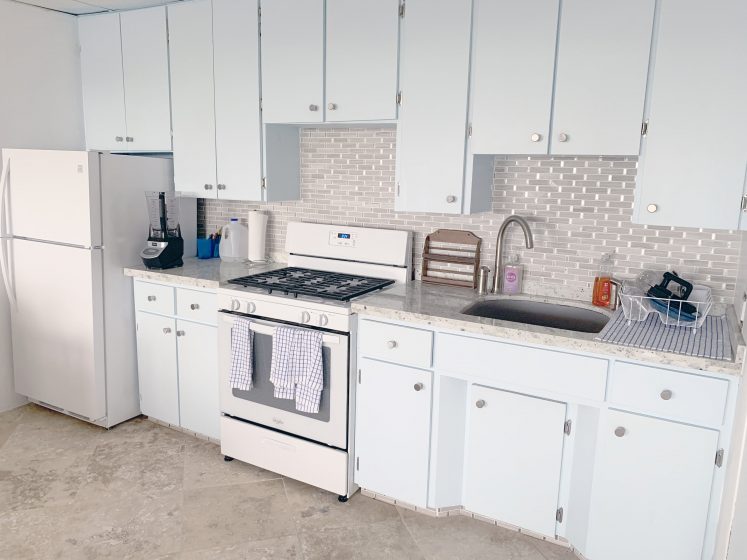
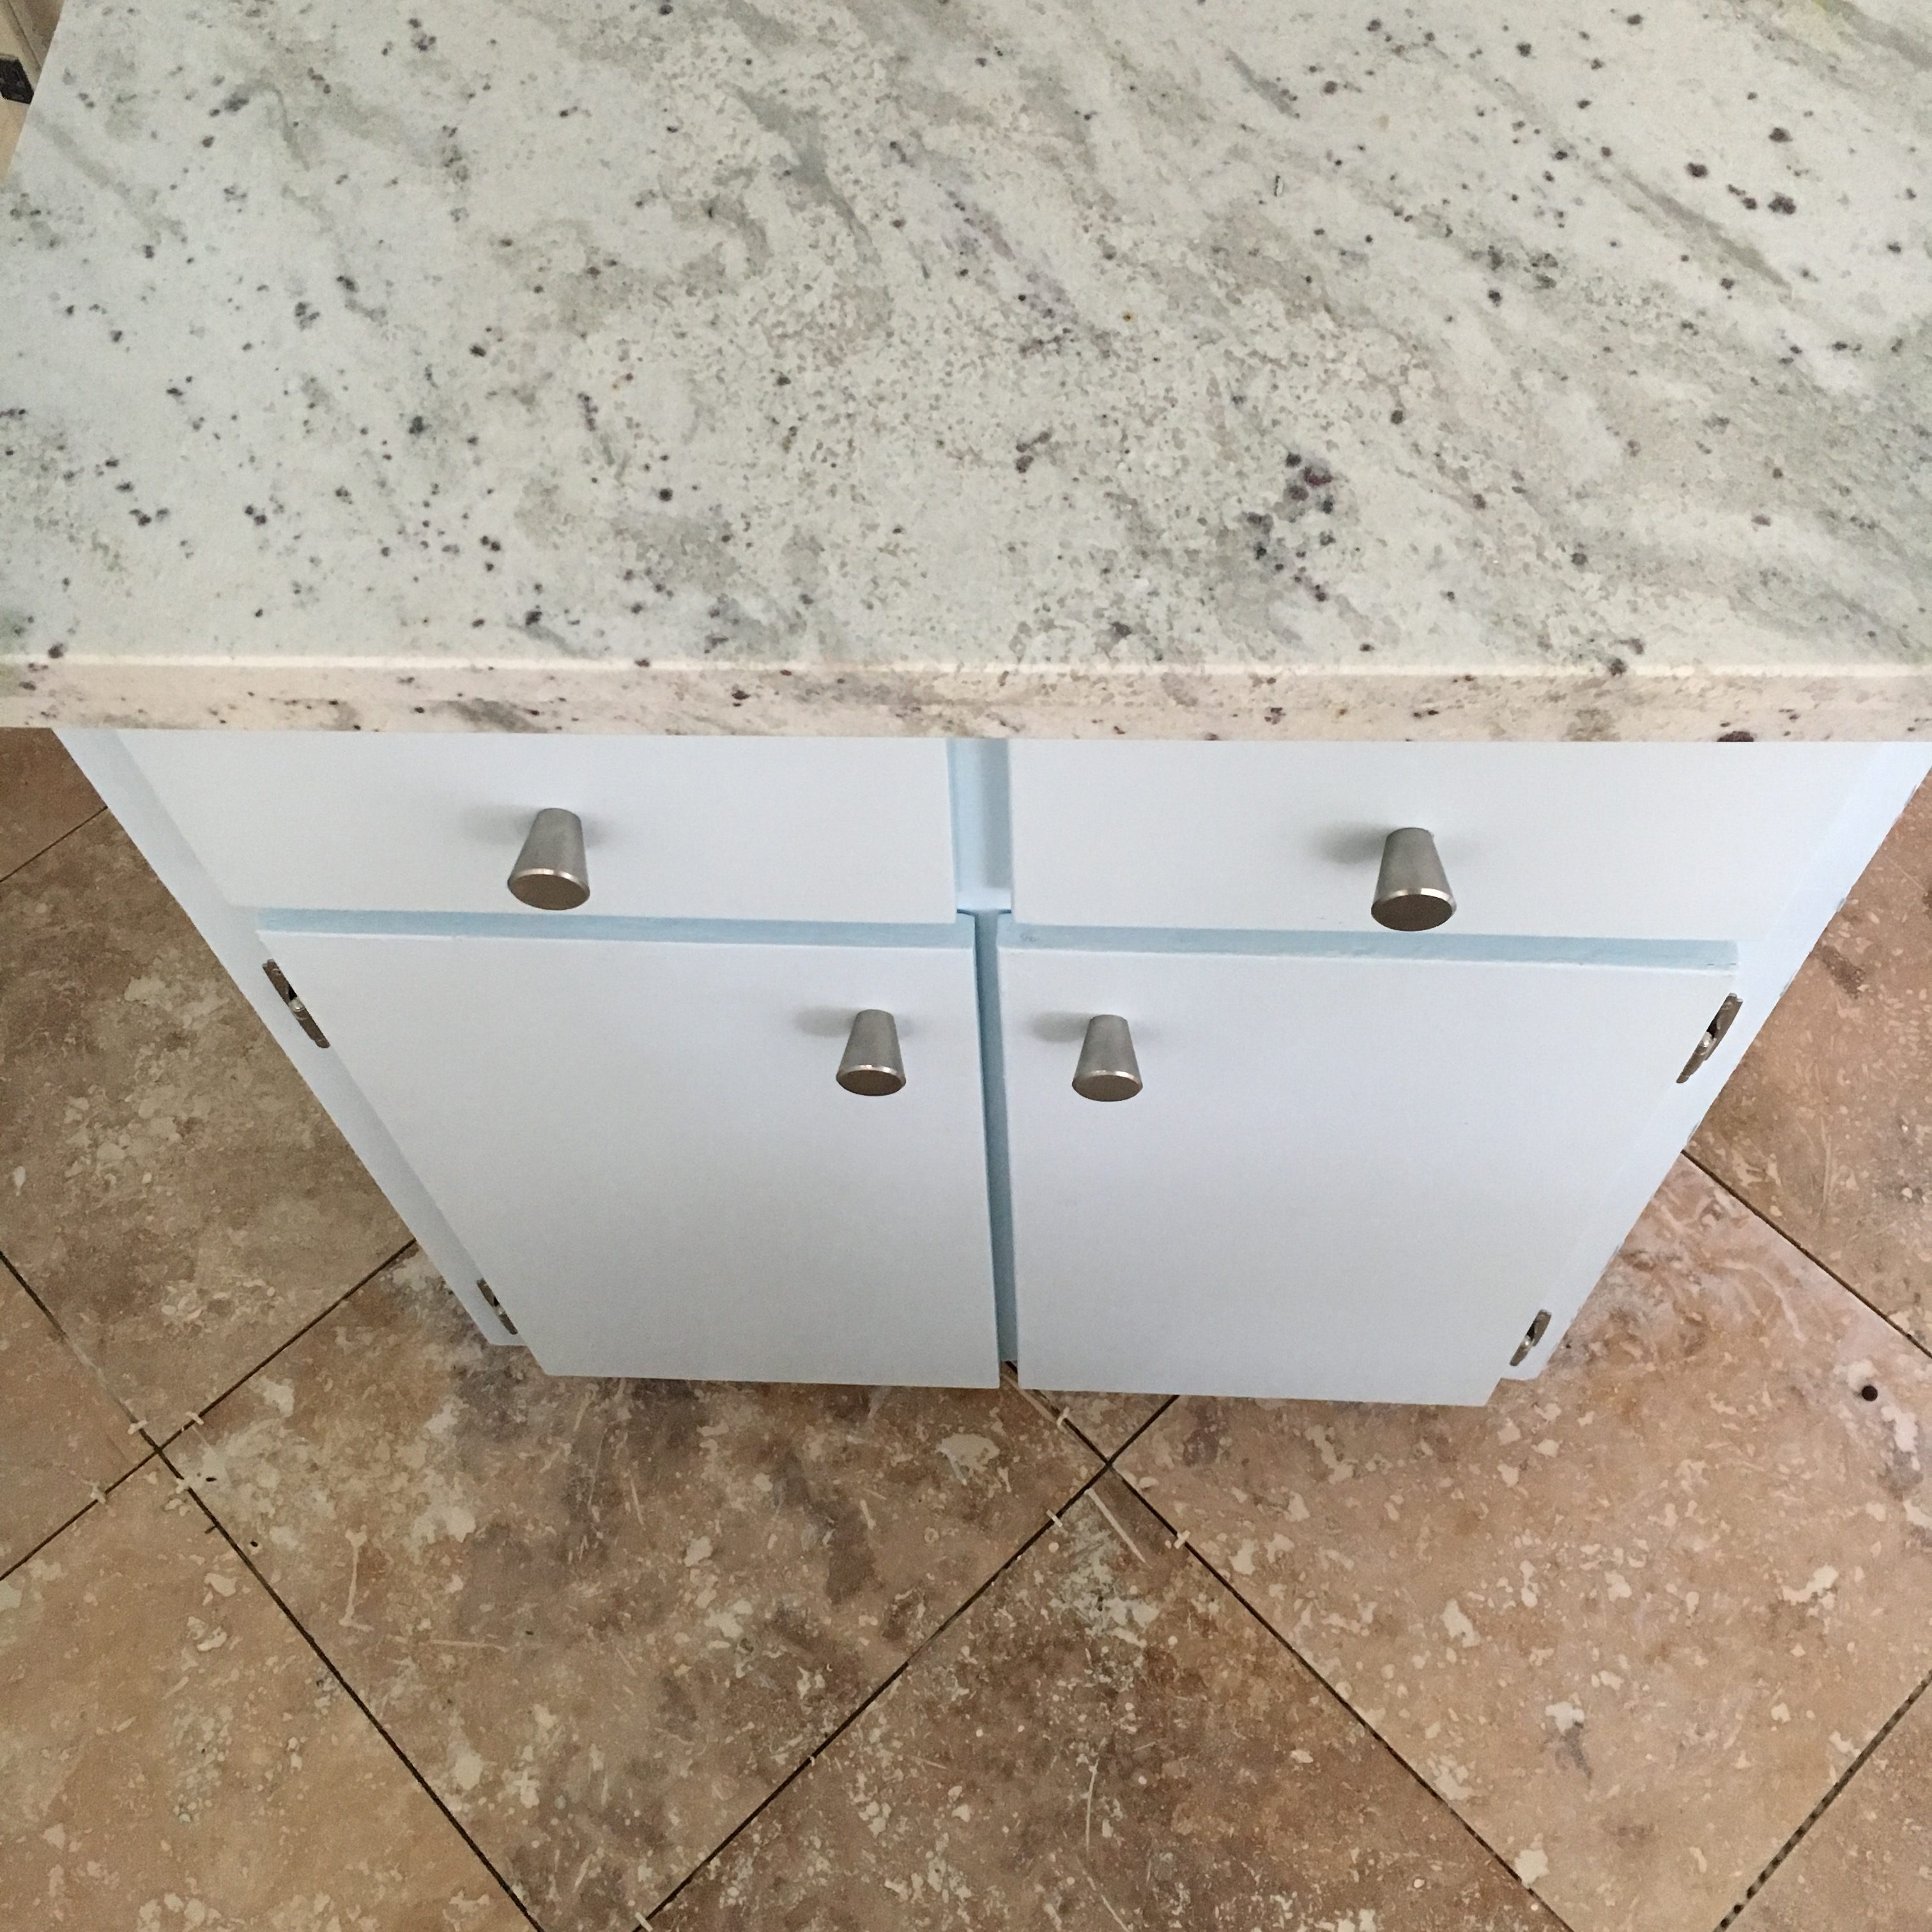
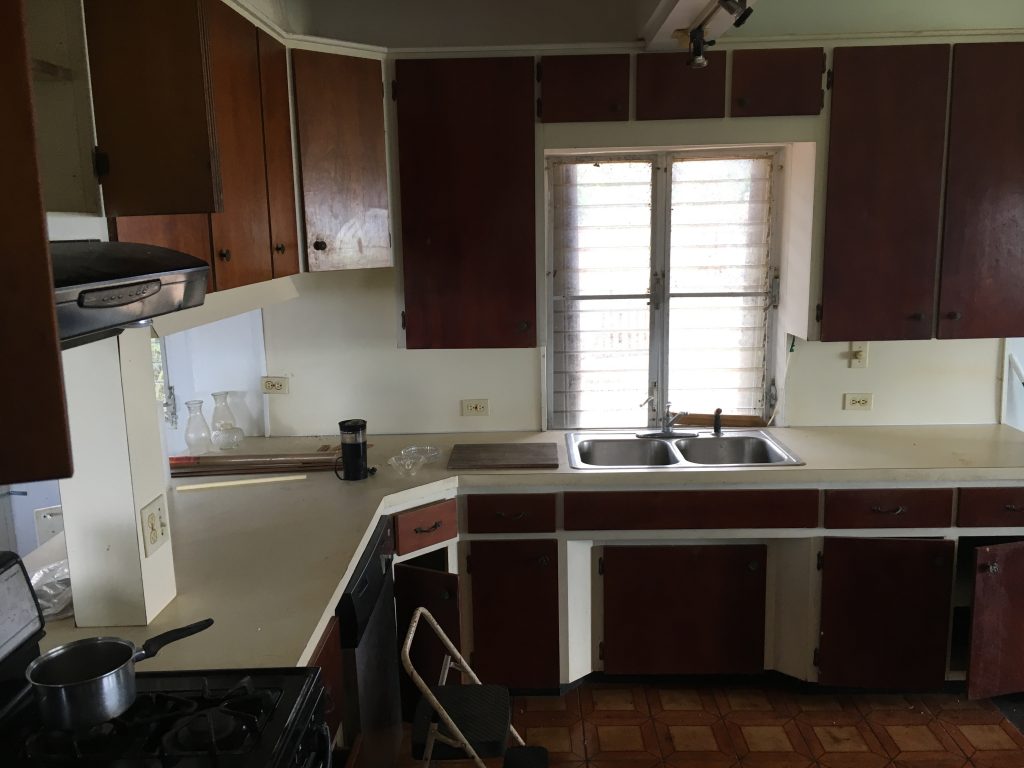
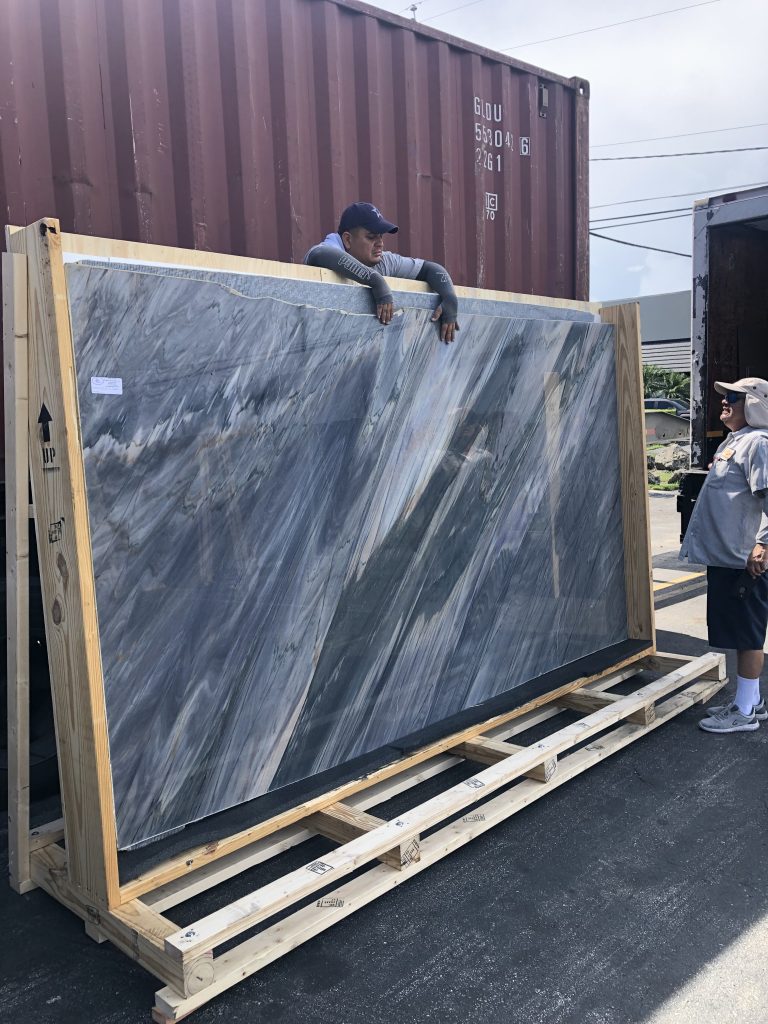
On the way back from our annual music festival trip in Arkansas, Liam, Shaleece, and I stopped in South Florida before flying home to hand pick some granite slabs for our kitchen and bathroom counter tops. We knew that we wanted “Blue Bahia”, which is a rare deep blue granite out of Bahia Brazil to pull in the ocean view we have even more. Our floors are sand colored, walls white, and with the counter top a bright blue – we really feel our ocean view will pop and we’ll bring the outside in.
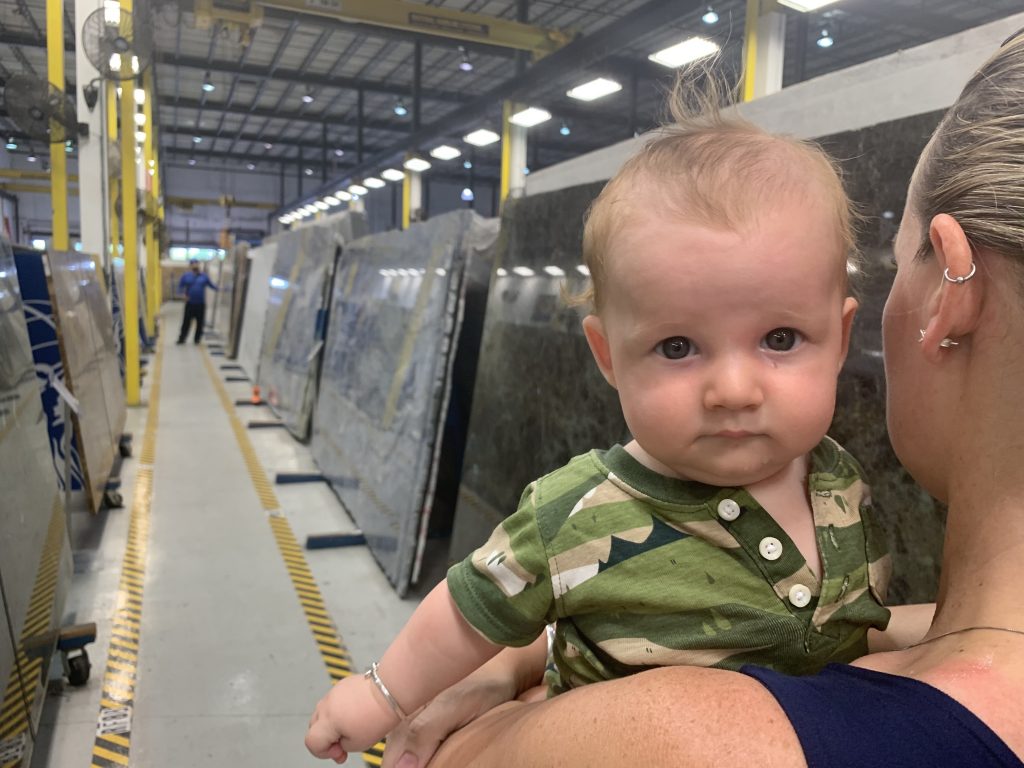
The reason we wanted to hand pick the pieces though, is because we could see from online, and were told, that the granite could vary greatly depending upon the lot it was cut from, anywhere from a light blue-green to a deep dark blue. We really wanted the deepest darkest blues with the least amount of green – so making sure we saw what we were getting was key. At $4,000 a slab – plus $400 in shipping down to the island, you don’t want something showing up you aren’t happy with, especially when you are buying 3-4 slabs.
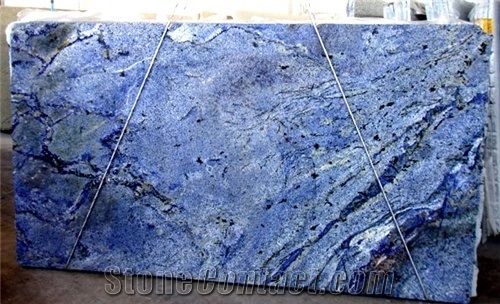
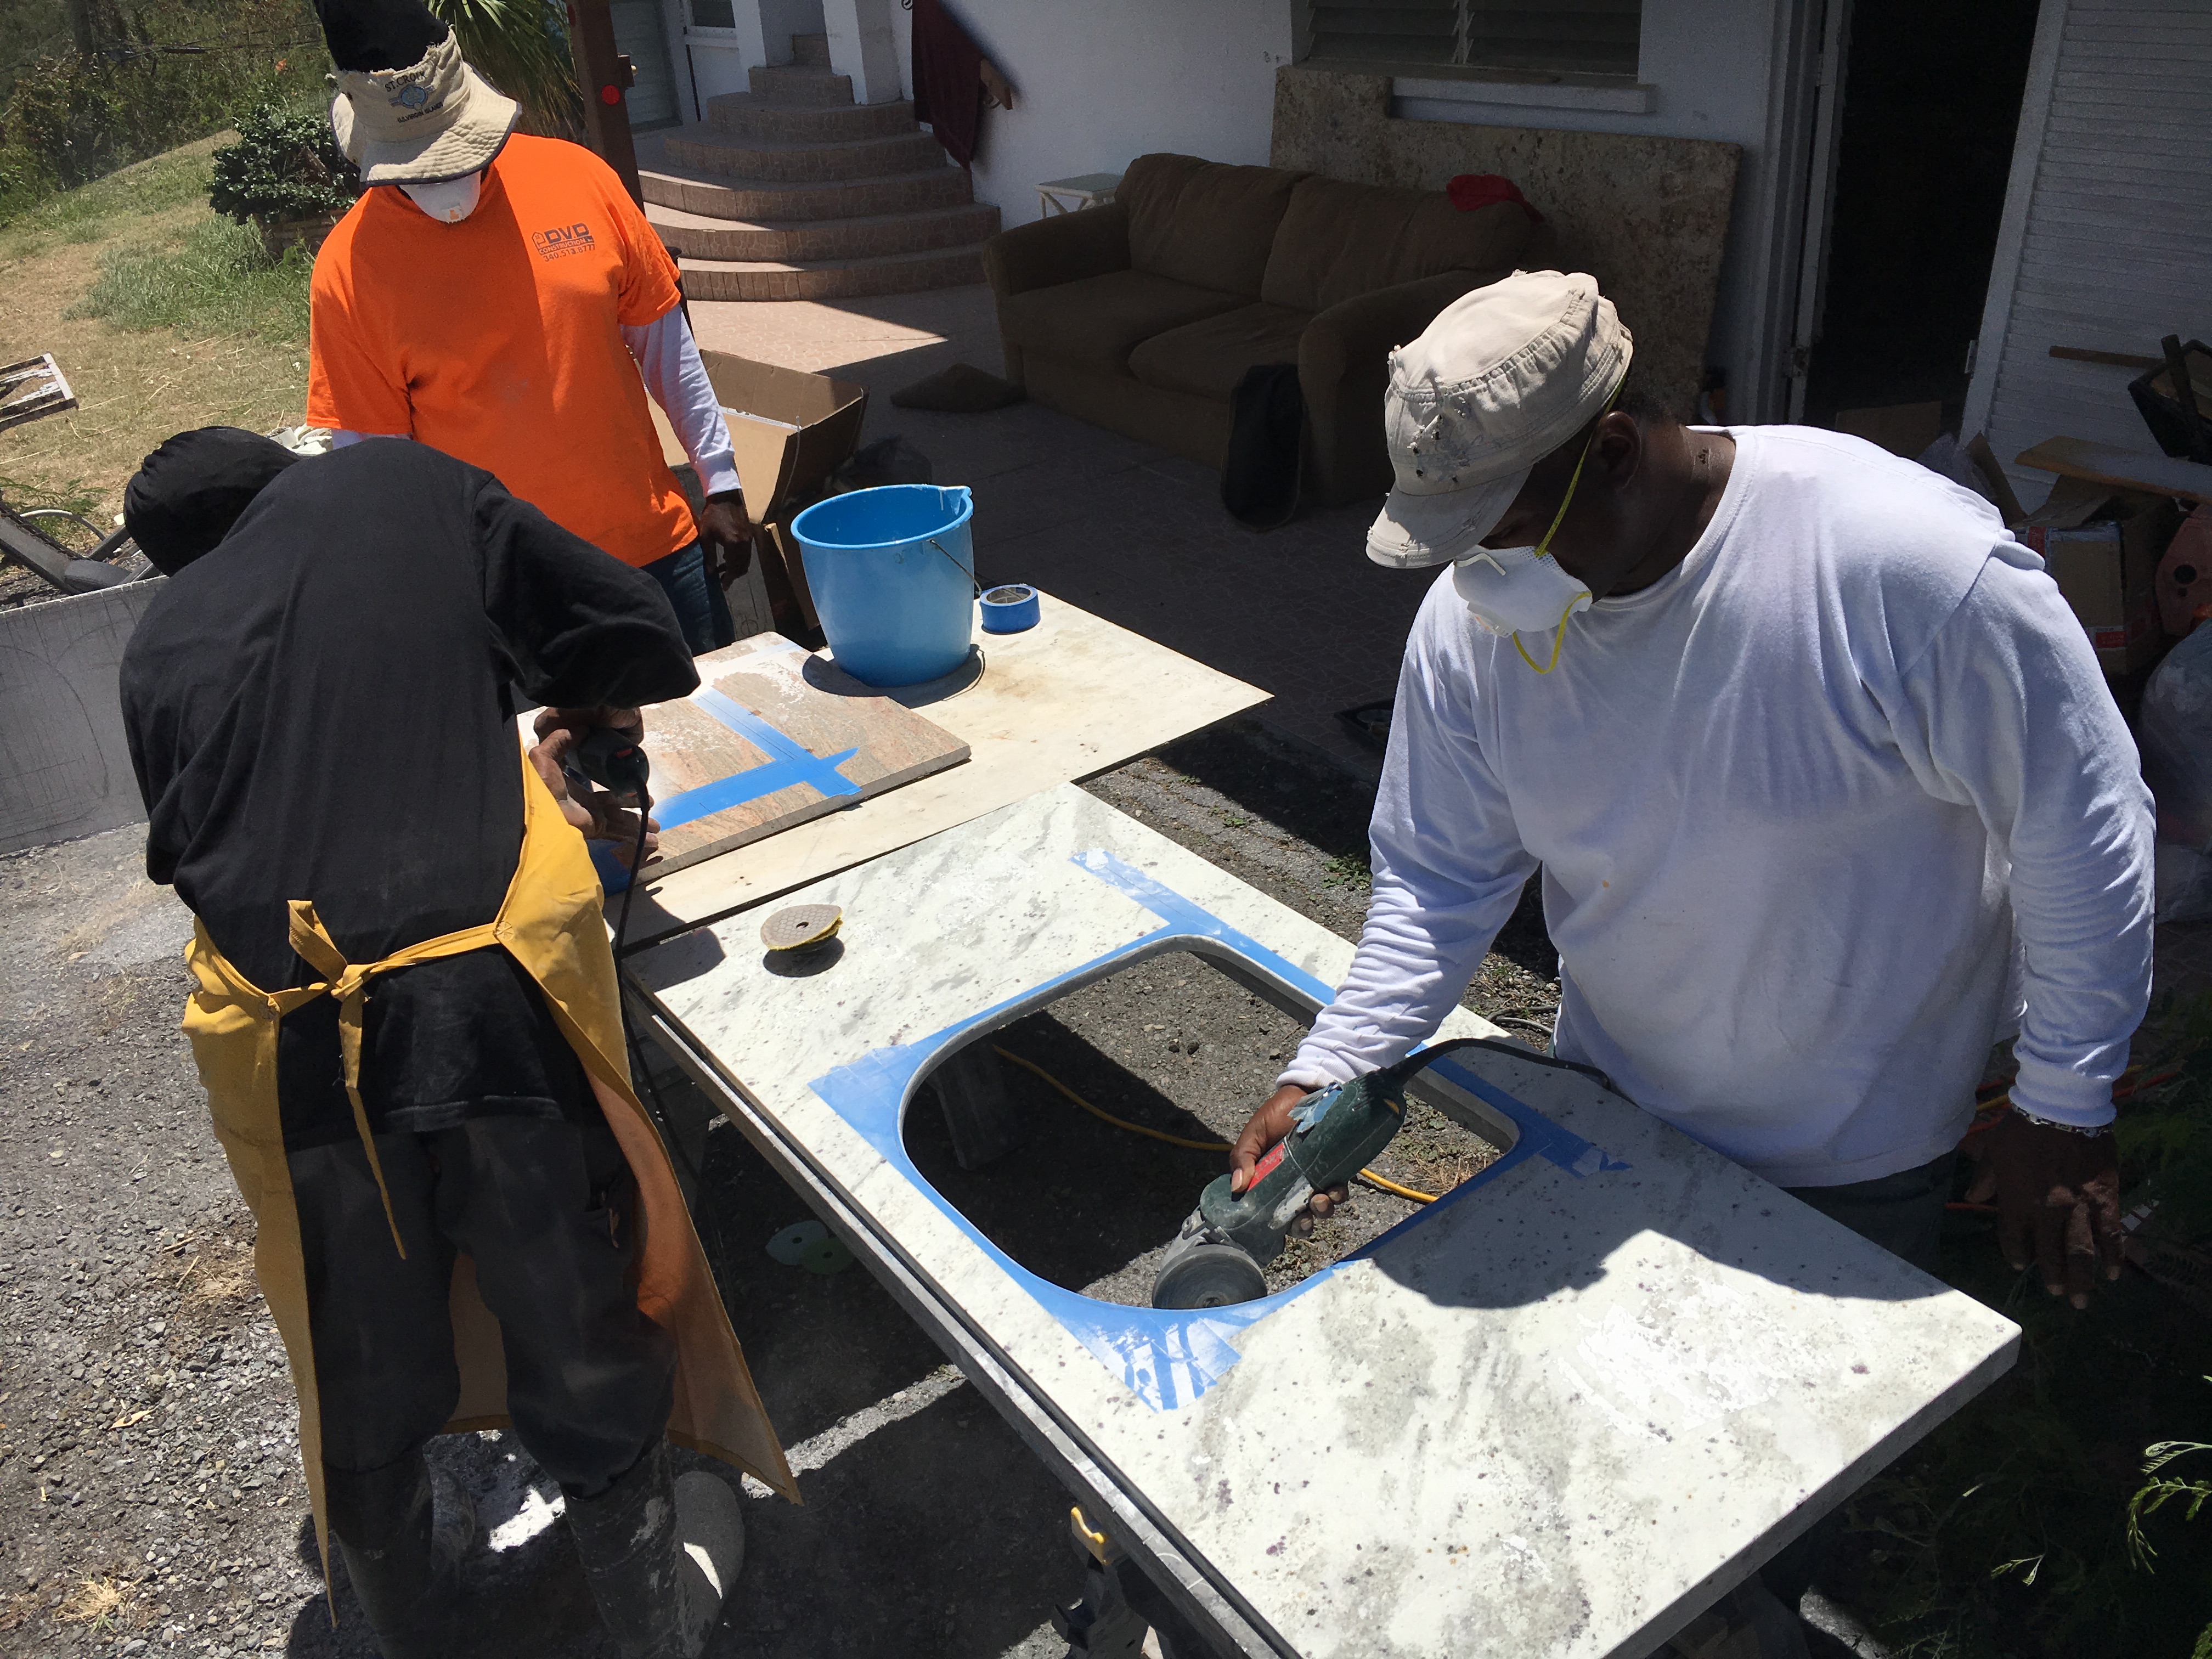
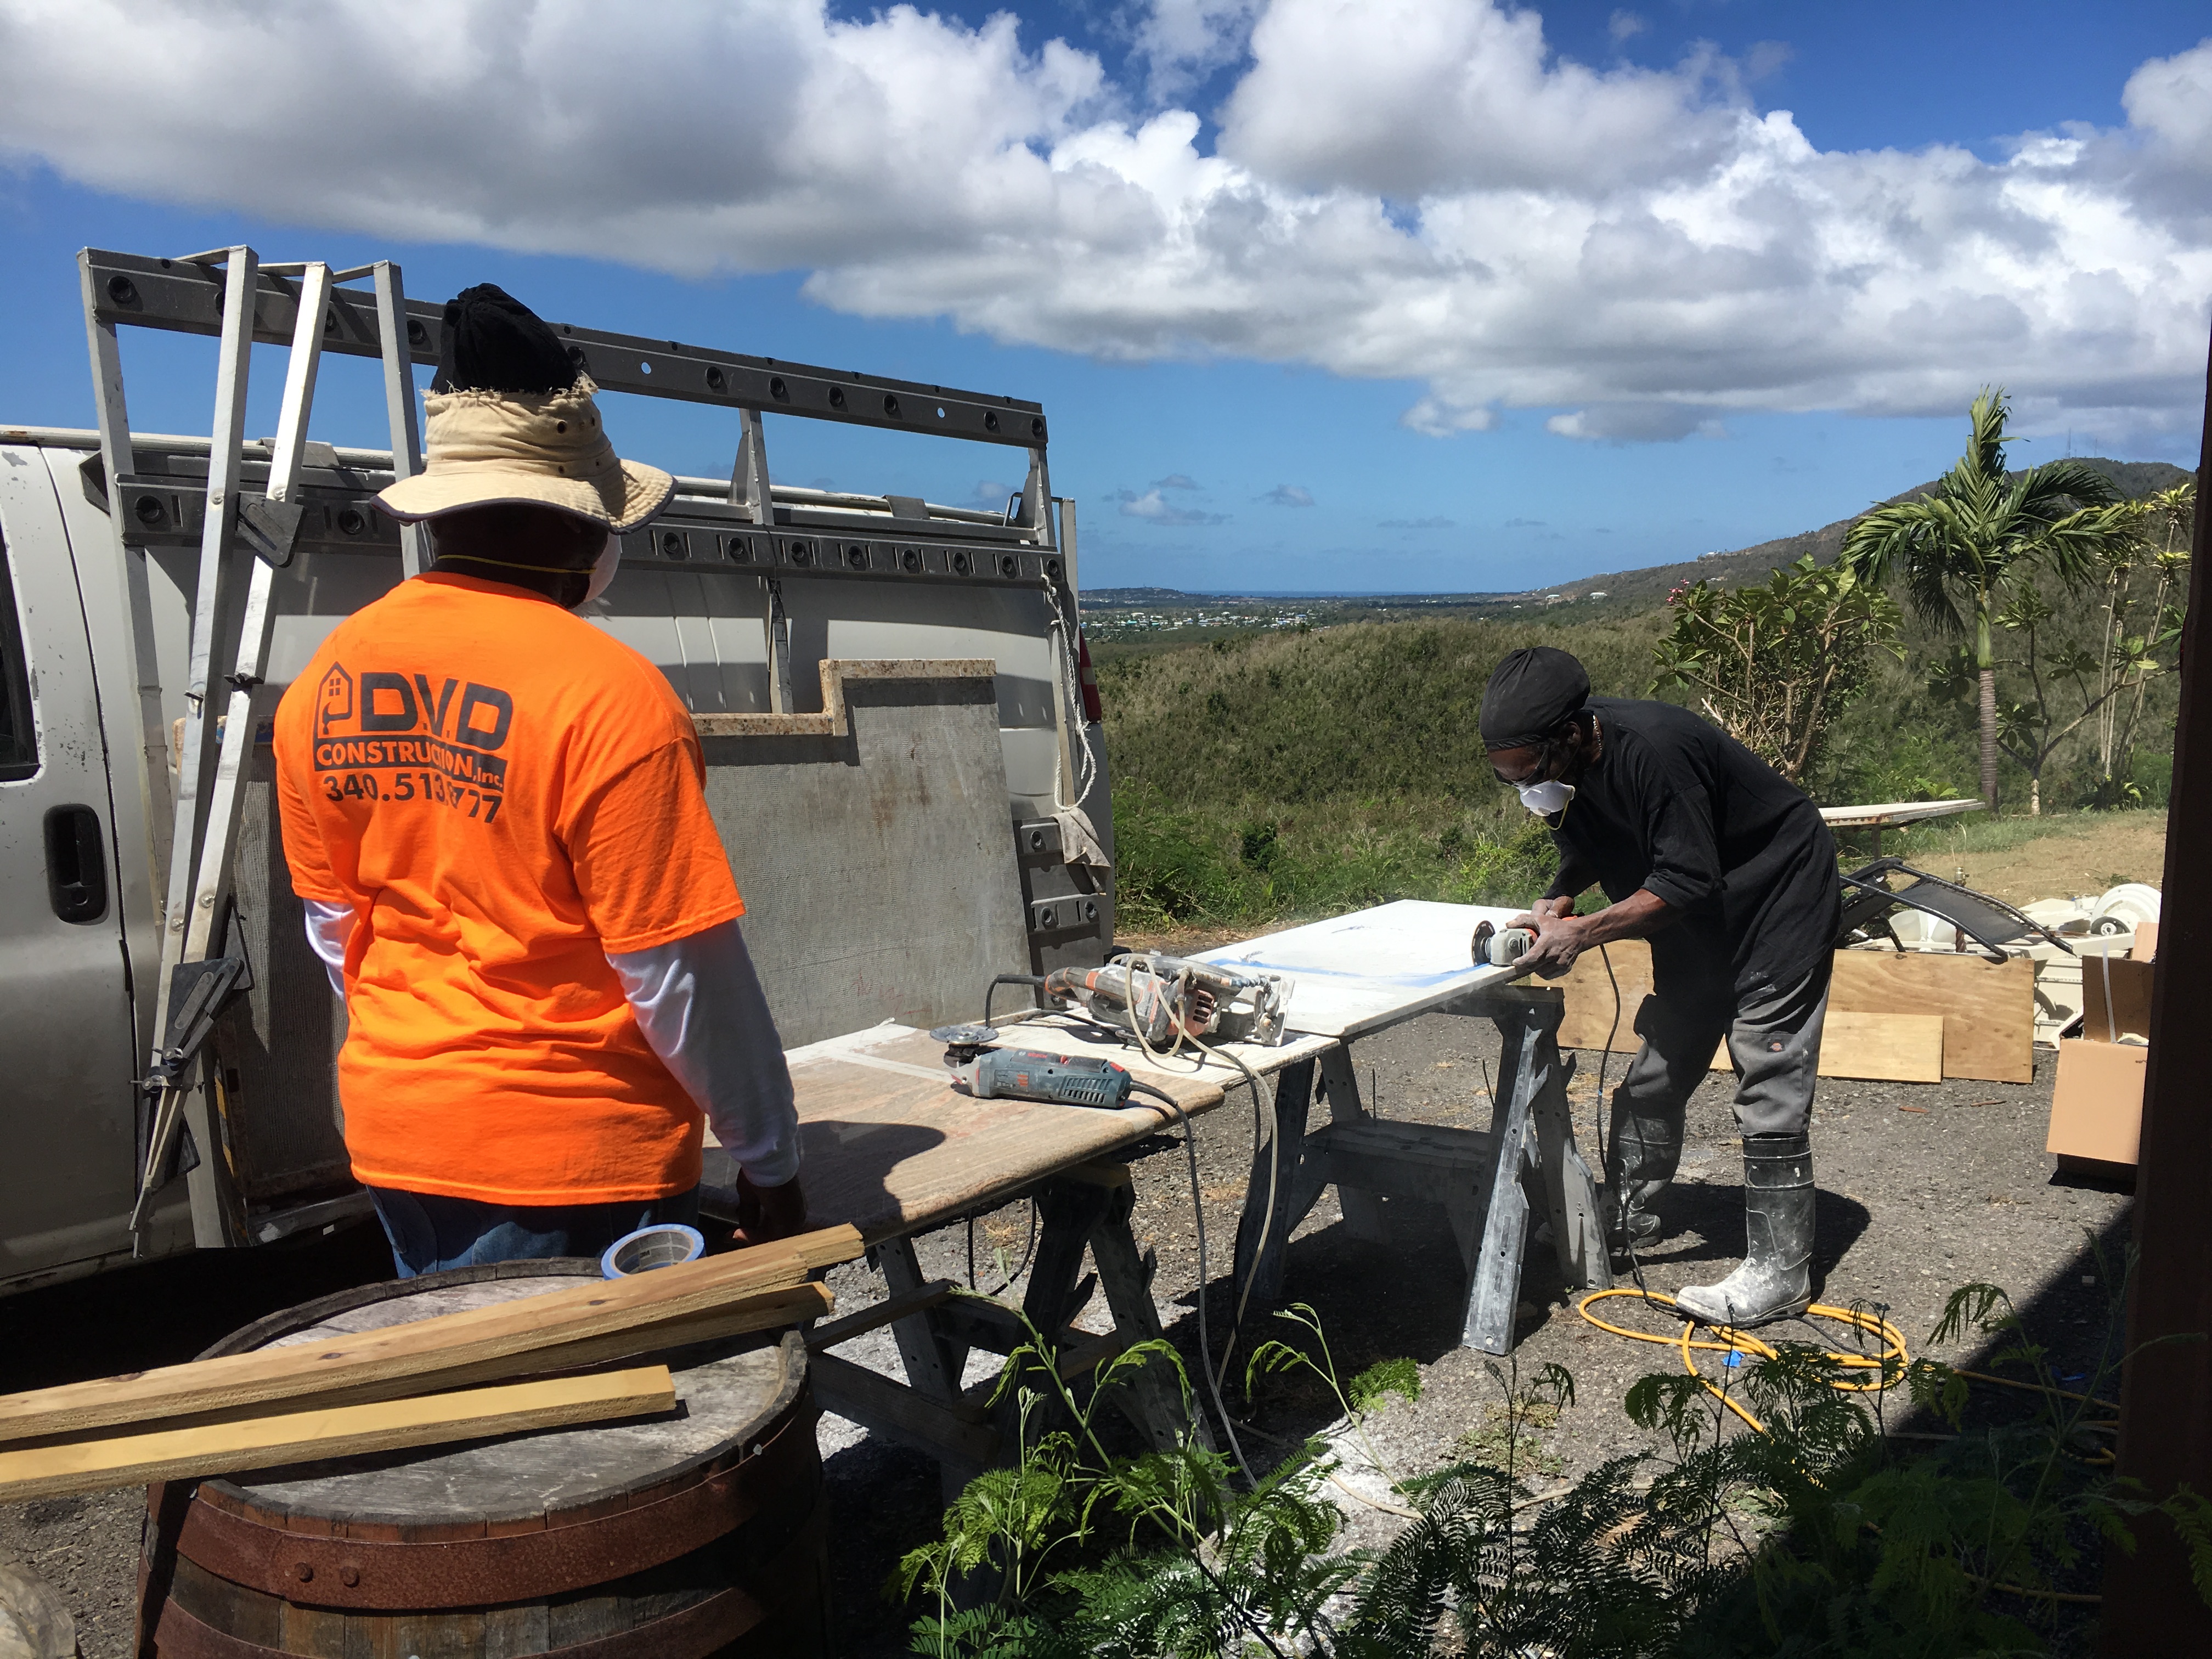
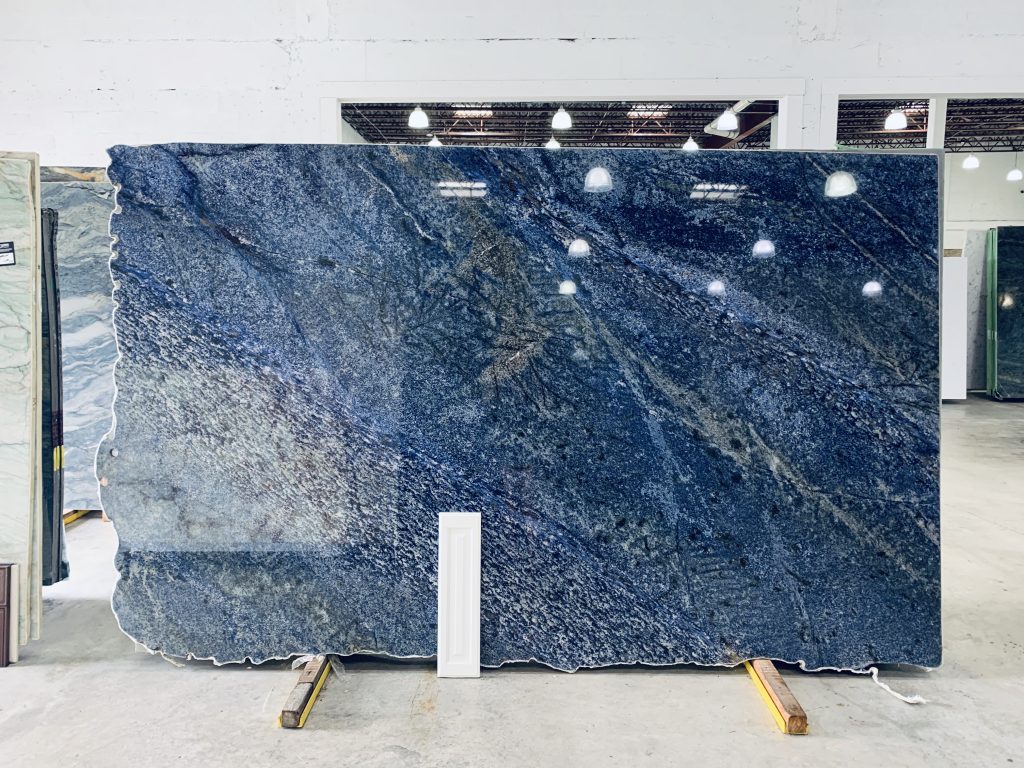
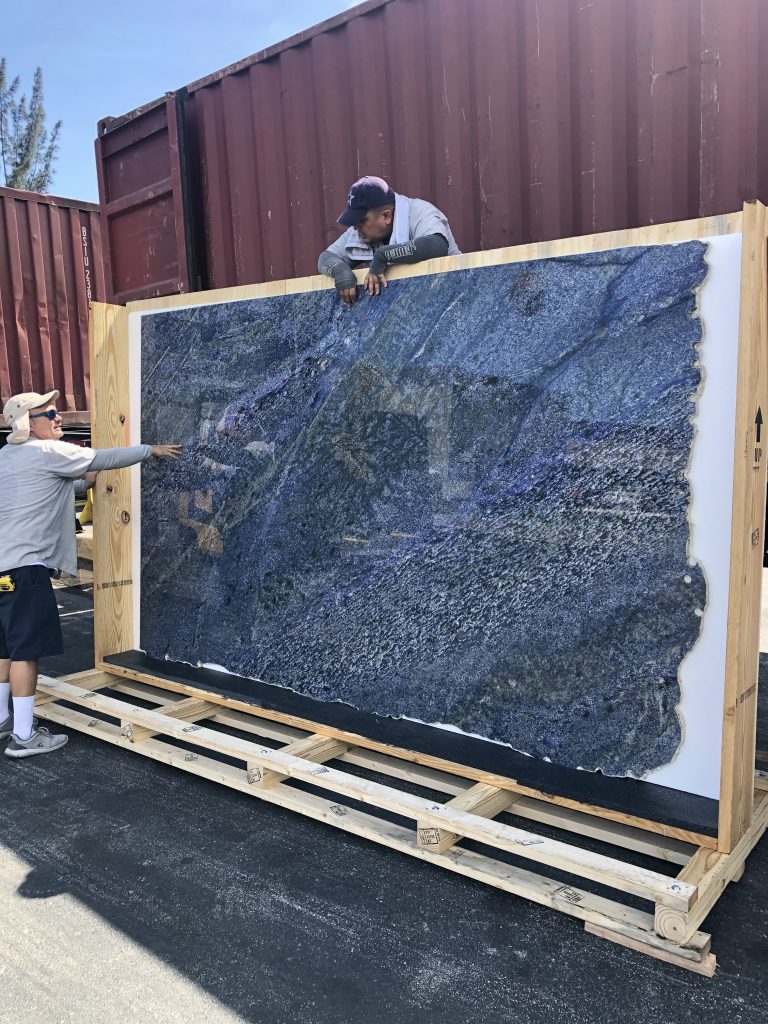
Blue Bahia Color Variation 
Blue Bahia Color Variation 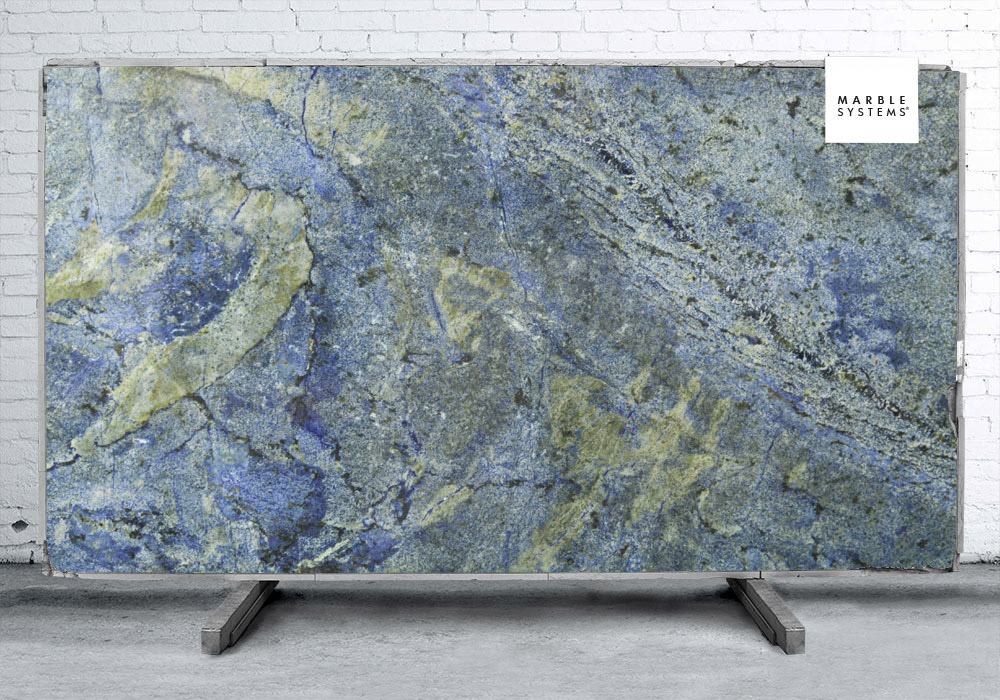
Blue Bahia Color Variation
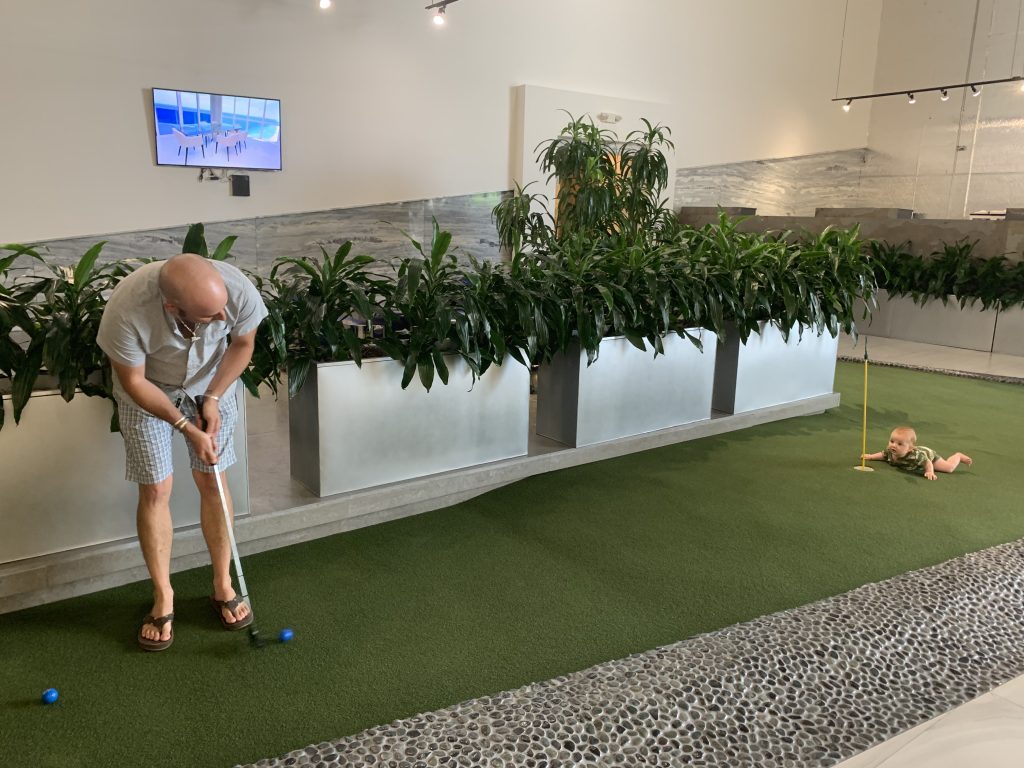
We stopped by four different granite places, which varied wildly not only in price, but in color as well. At our most expensive quoted place, we played a little golf in their waiting room. Liam was helping me to read the green. No wonder why they are so expensive.
We LUCKED OUT when we hit the last spot we checked out. A small warehouse with some very helpful people. Immediately we knew it was the right color we were looking for as soon as we saw it (love at first sight) and could only hope their pricing was going to beat out the other places we had already stopped – and they did! After negotiating with the guy a bit, we got what one company had quoted $22,000 for, for just $15,000 – and in the right color mix we wanted too! This included 4 slabs total (3 Blue Bahia for the kitchen from Pantai Granite) and a 4th slab we actually purchased from one of the other places we checked Blue Bahia at (named Blue Bahia Marble and Granite). The fourth slab is for the bathrooms and is called Blue Imperial.
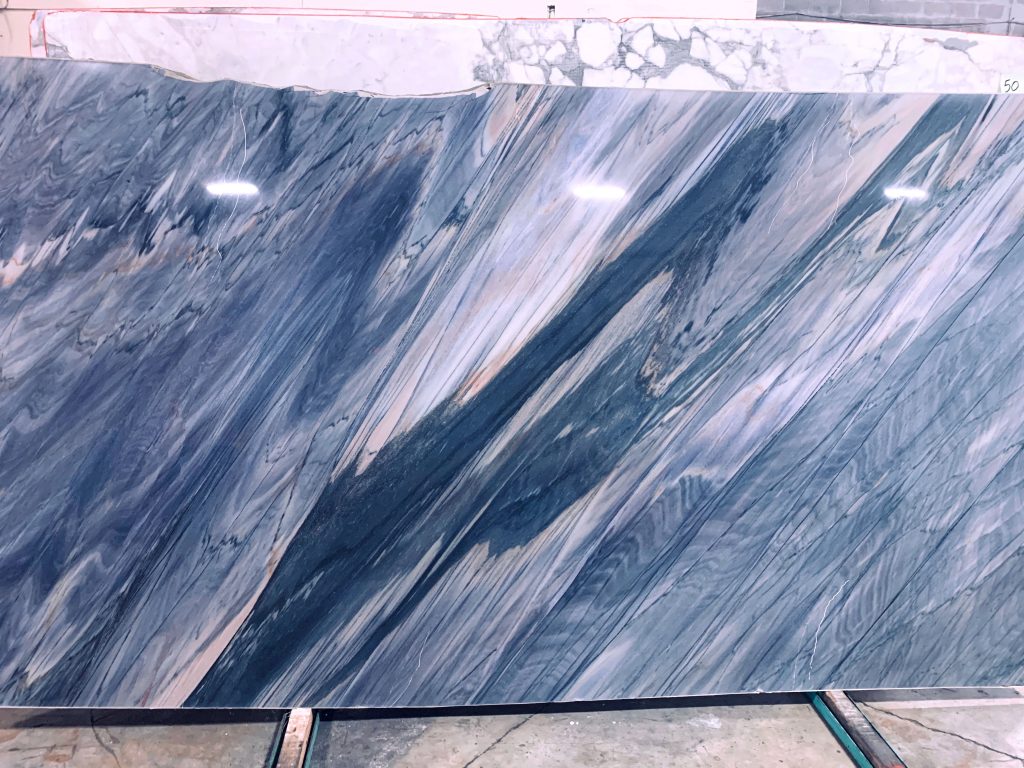
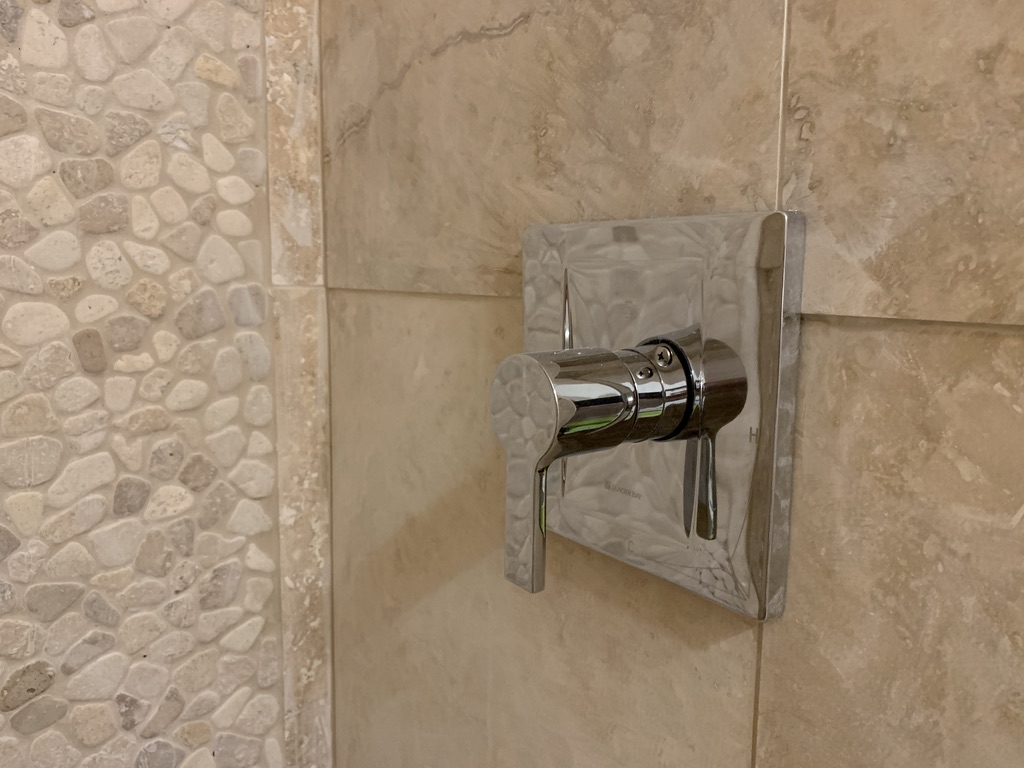
The Blue Imperial is supposedly some of the last of its kind. The mine is closed now and they are no longer pulling any from the Earth. There were only a few slabs left and it was EXPENSIVE. However, we found one with cracks in the top and bottom, making it a harder slab to sell for the vendor… but for us, our bathroom counter pieces were able to fit within the usable areas of the slab still. We got a steal of a deal on this giant slab after they knocked down the price 30% to $3,600. Even with the non-usable areas of the slab, we will definitely have some of this left over (it’s a big one) and I’m trying to think of other places we will get some use out of this beautiful stone. I will probably add some details in the shower and on the bathroom window sills to tie in the counters, for example.
We paid a crating company in Miami $780 to put all four slabs in a giant crate for shipping down to St. Croix. I was shocked at first at the price, but after seeing the crate, I totally get it. It ended up being a lot of wood, and it safely transported 3,300 lbs of granite standing on end from there to here, without issue. Don’t underestimate the value of a great crate! The same thing was important when we shipped our doors from California. The last thing you want is something you spent $10k-$20k on arriving to the island in shambles. Not only does it set you behind weeks, but recouping the funds may be difficult as well. We shipped them down via VICargo which ended up costing us $1600.
After it arrived on island, I had to hire a trucking company, Bates Trucking, who did an amazing job at getting it here with the right crane truck down our mountainous, bumpy, steep, dirt road. I can’t recommend these guys enough as I can never believe how they get these large Mack trucks down my road and turn around in my drive way. If you saw what they were working with here, you’d understand.
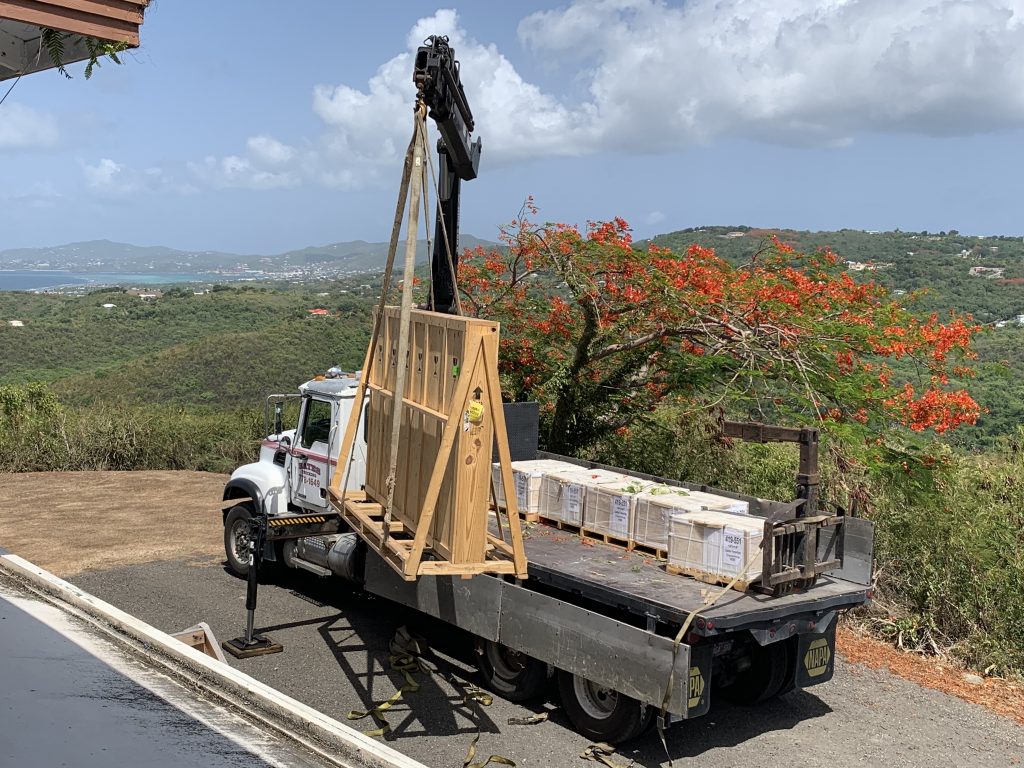
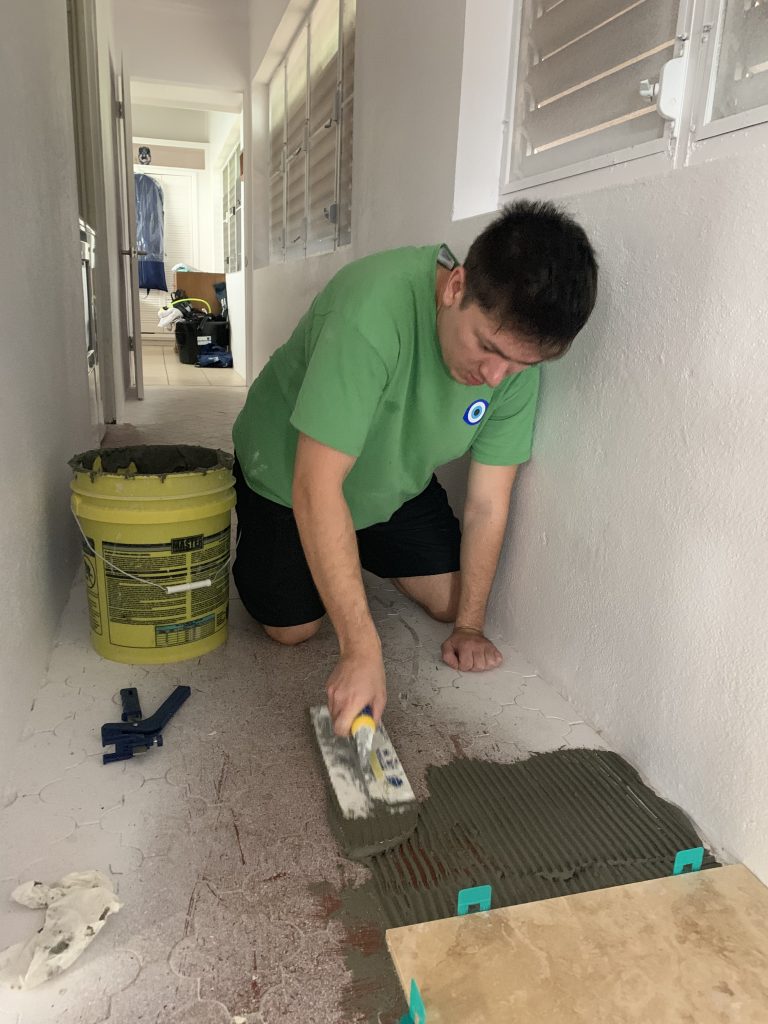
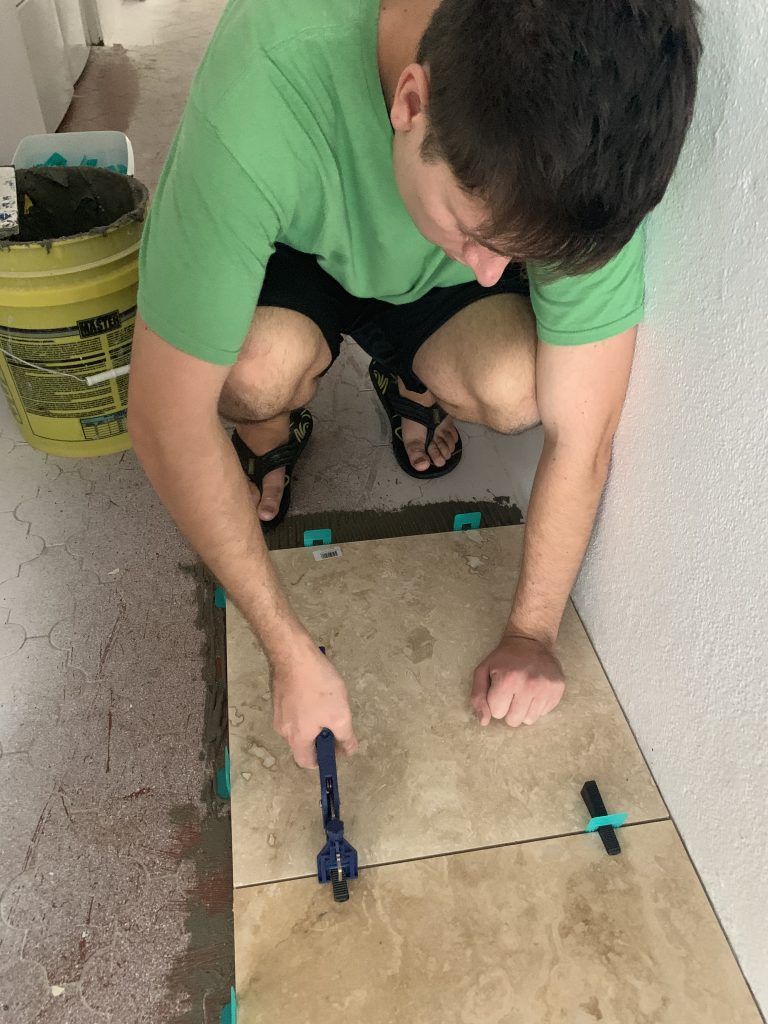
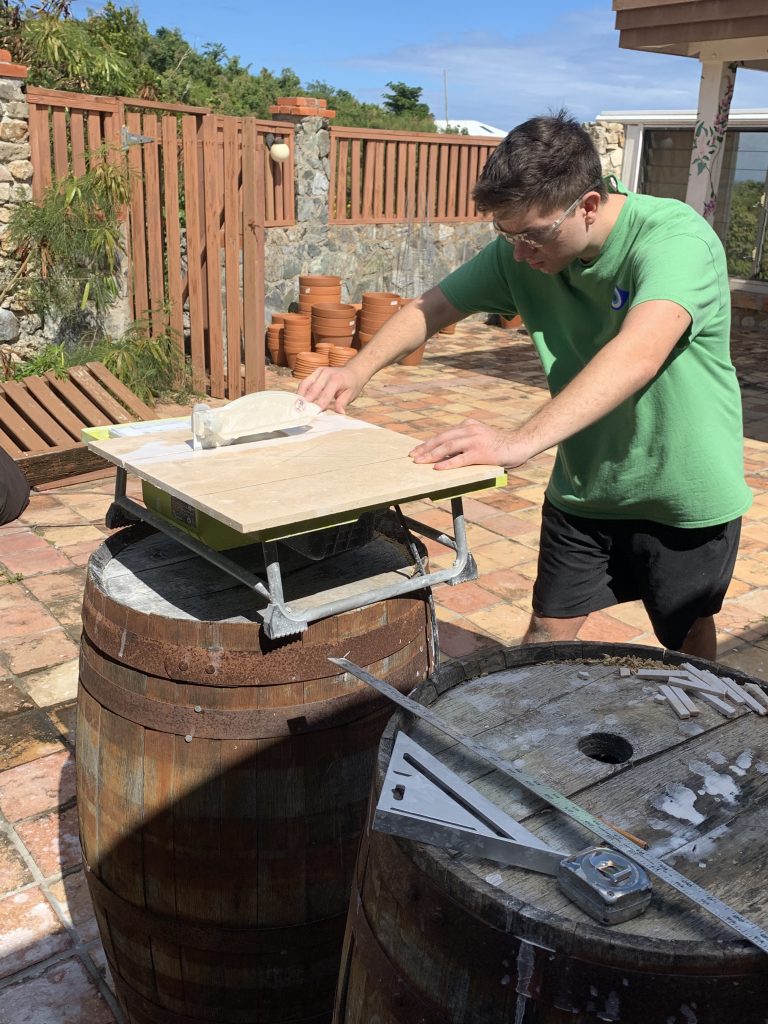
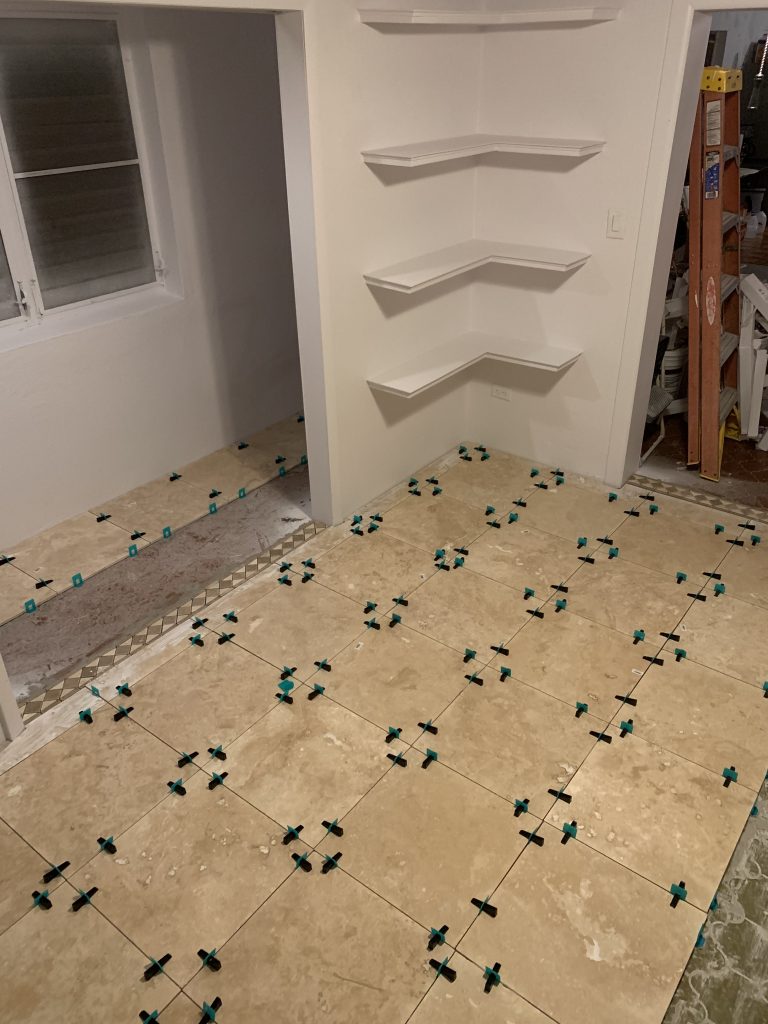
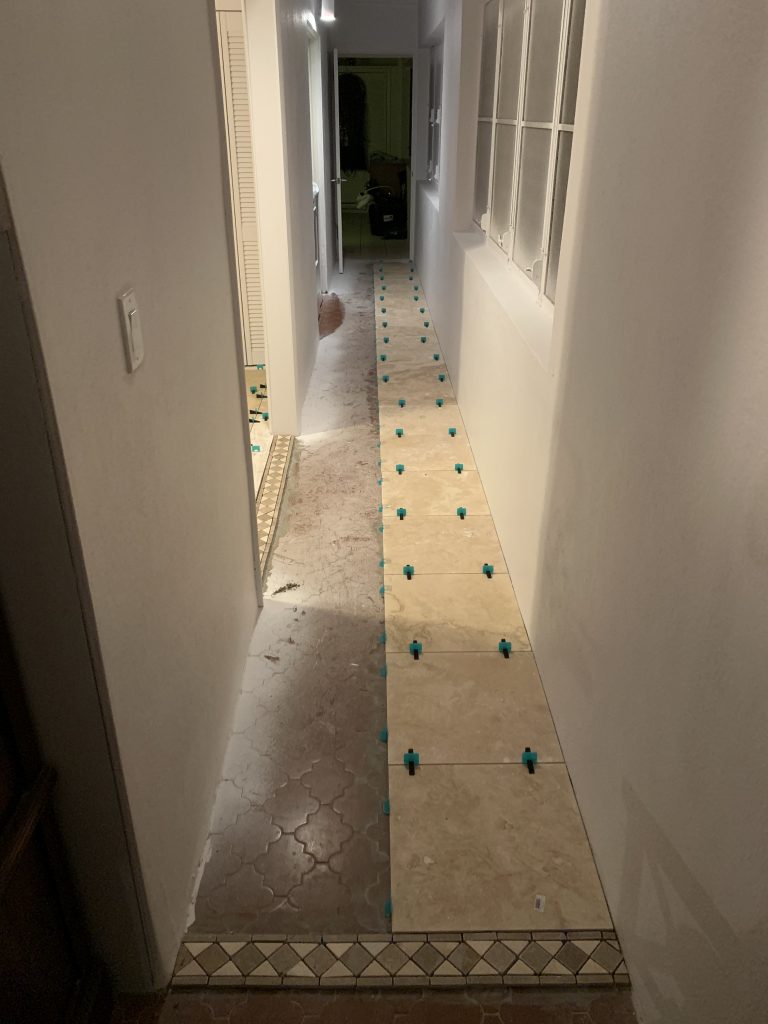
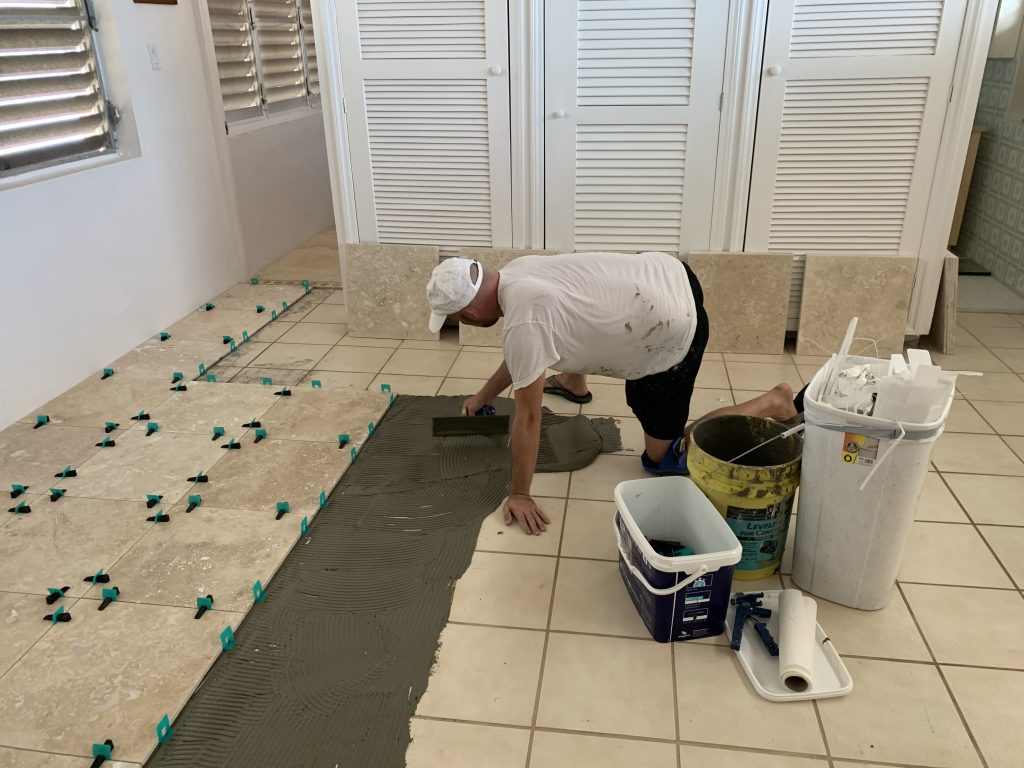
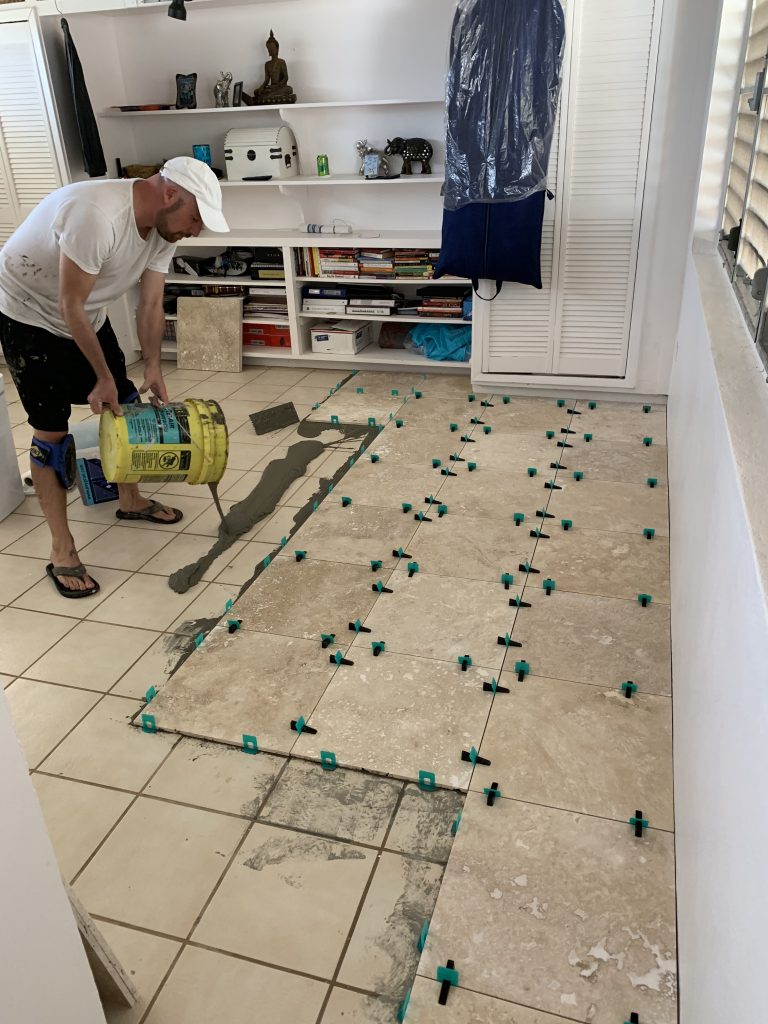
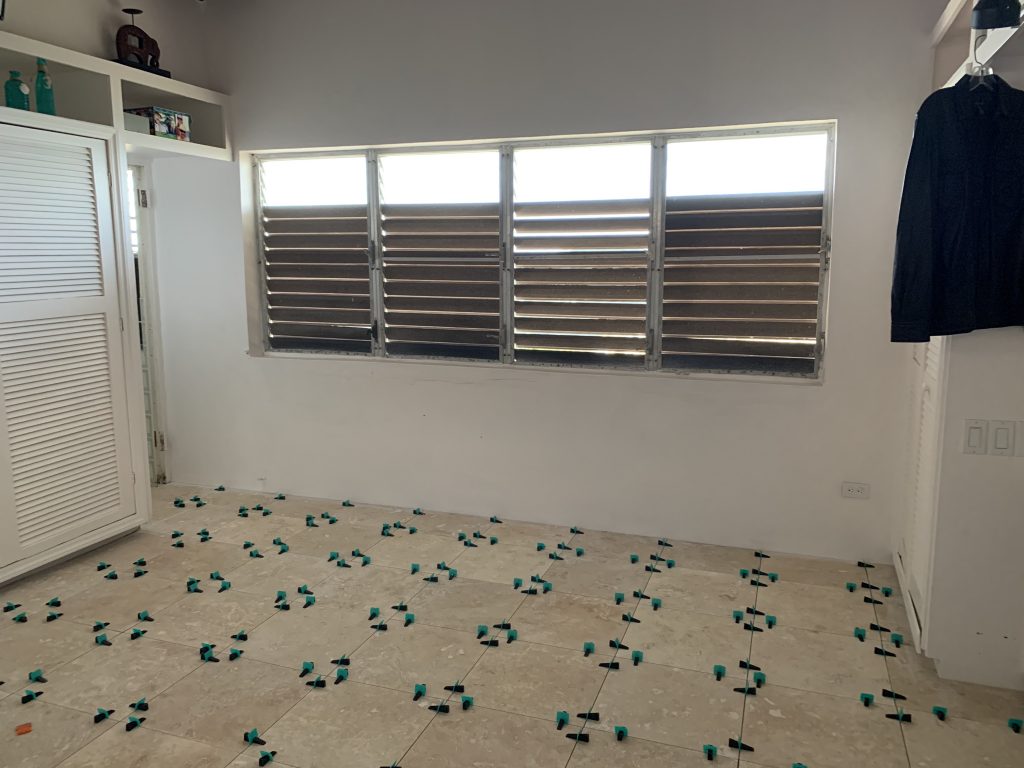
So, now these beautiful pieces of granite are sitting in our driveway, along with 5 more pallets of travertine stone flooring ready for install. It will probably be a few months before we’re ready. The floors need to be finished upstairs, and cabinets installed first. The cabinets have been ordered and are on their way. (Not here yet as of this writing.) In the next post, I’ll show you the kitchen design we put together with the help of my friend Dave and Home Depot super star Bibi. We are SO excited about the kitchen. Until then…